Flying on an airplane for the first time is an unforgettable experience. It's thrilling to soar high above the clouds and see the world from up there. But it can also make you a bit nervous.
I took my first airplane flight when I was 26. I was really excited, but also a bit unsure about how to get on the plane. It's not as simple as getting on a bus. There are several steps you have to go through before you can actually sit on the plane and take off.
Luckily, I managed to go through all the steps and had a smooth flight. It was a bit confusing at first, but you'll soon get the hang of what you need to do each time you fly.
If you're planning your first flight soon, don't worry. I'm going to give you a guide on how to board a plane. This will include everything from buying your ticket, getting to the airport, being on the plane, and arriving at your destination.
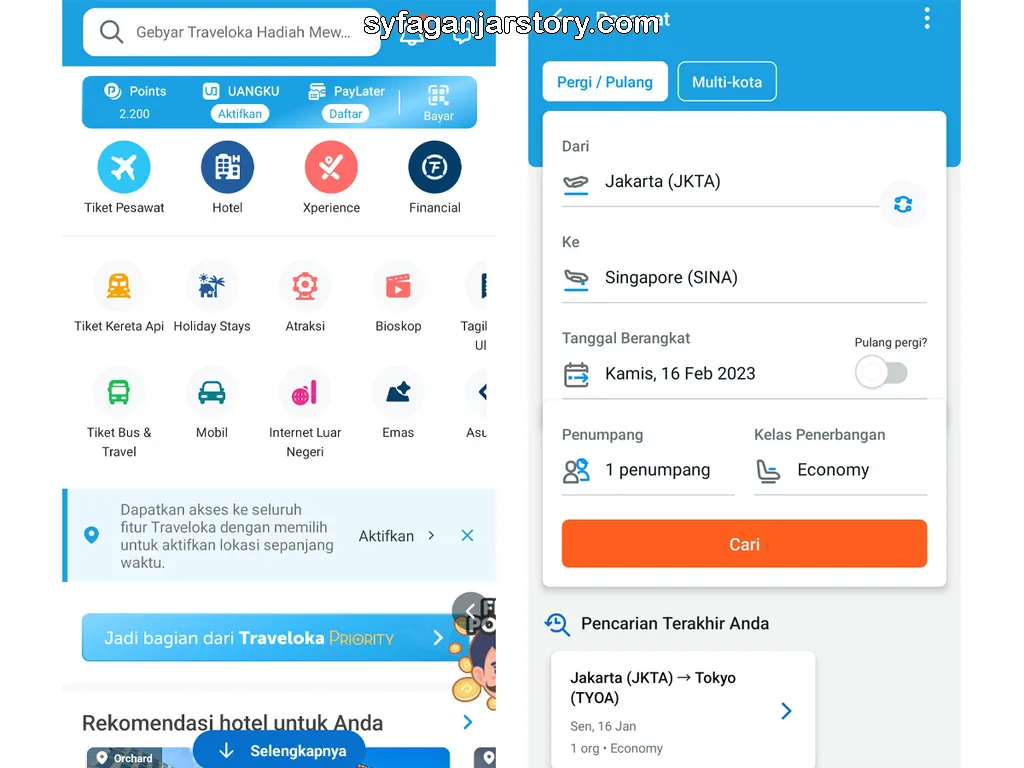
First, you need to buy a plane ticket. In the past, you could buy tickets at the airport, just like at a bus terminal. But now, you need to purchase them before you go to the airport.
There are several ways to buy flight tickets. The traditional way is to go to an airline or travel agent's office in person. You can also order tickets by calling them.
Yet, I believe the simplest and most convenient method is online booking. This can be done via the airline's website or mobile application, or through online travel agencies that are reliable, of course.
It's important to know that flight ticket prices change daily. You'll need to be savvy to seize opportunities for lower prices. If you're interested in buying tickets at a more affordable rate, please see the article I've written, which offers tips on buying cheap airplane tickets.
Once you've got your ticket, it's time to get ready for your trip to the airport. It's best to prepare everything a few days before you leave so you're not in a rush.
Here's a list of things to take care of before you head out to the airport:
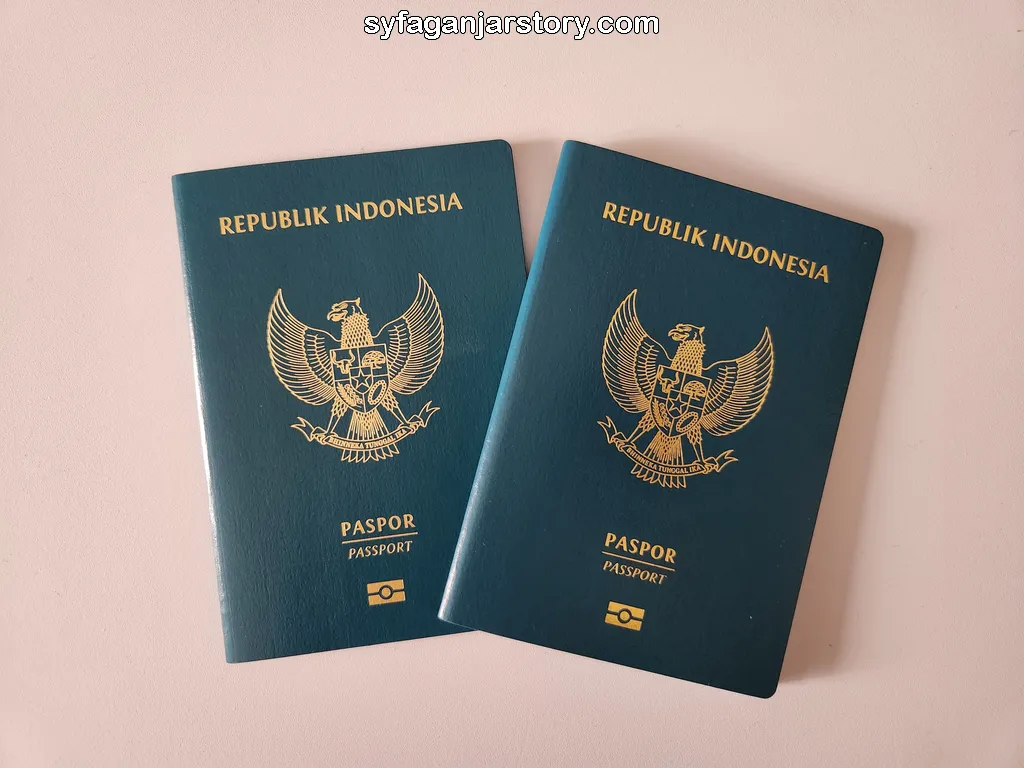
Missing your necessary documents could be a deal-breaker; without them, it's likely you won't be able to fly. Here are the essential documents you'll need:
If your flight is within your country (domestic), it's mandatory to carry your ID. This must be an original document, not a photocopy. If you don't have an ID, you can bring other forms of identification like a driver's license or a passport.
For international travel, a passport is a must-have. Your local ID won't be recognized abroad, so your passport becomes your universal ID. Make sure your passport isn't set to expire within the next six months, as it will not be valid for travel if it is within six months of its expiration date.
If you're traveling to a country that requires a visa, ensure you've applied for and received it before your travel date. Arrival without a valid visa could result in your being denied entry and deported.
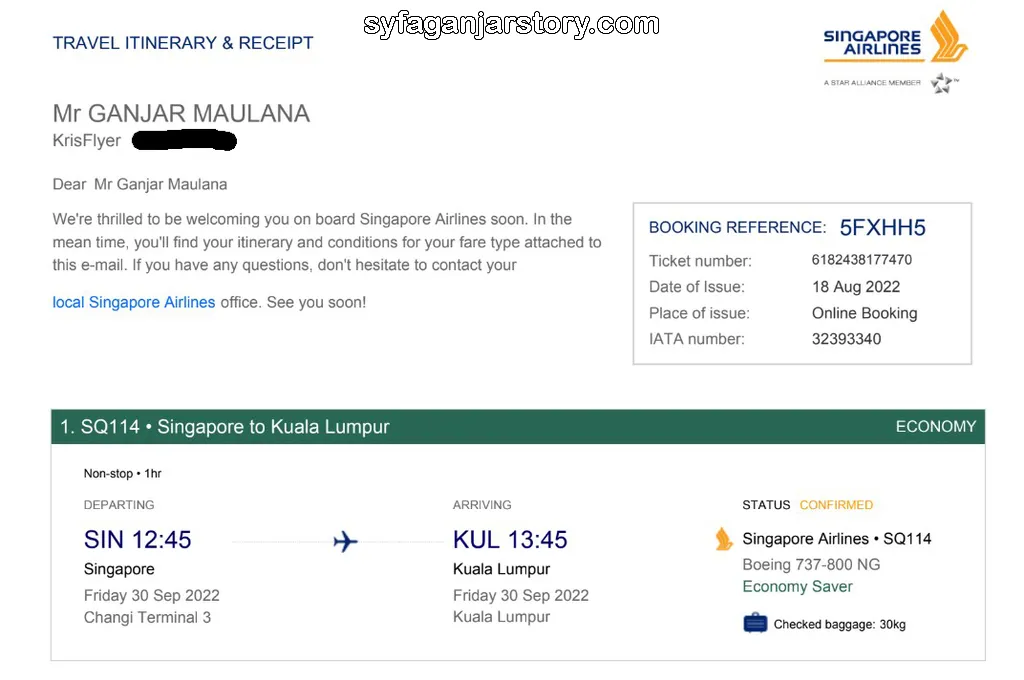
Another crucial item to have on hand is your airplane ticket. If you booked your ticket online, it's typically available in the booking app and also sent to your email. I recommend downloading and saving the ticket to your phone or cloud storage for easy access.
Is it necessary to print the ticket? Well, a hardcopy of the ticket isn't strictly required. You can simply carry the softcopy in your email or on your phone. However, for added peace of mind, you might choose to carry a printed copy as well.
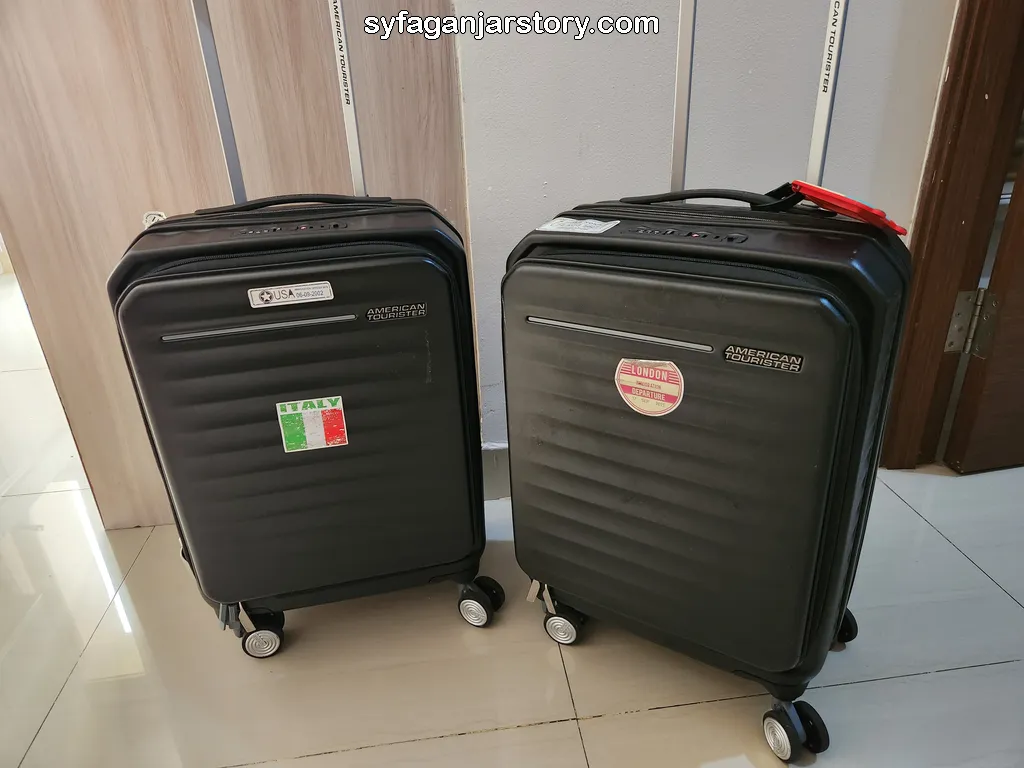
Your luggage isn't just any old bag that you can throw items into without a second thought. Air travel differs from bus or train journeys in that there are numerous restrictions on what can and cannot be brought onto the plane. Therefore, packing your luggage requires careful consideration.
Generally, the items you take on a plane fall into two categories: cabin baggage and checked baggage. Cabin baggage refers to items you carry with you into the plane's cabin, such as a bag, suitcase, or any other handheld item.
On the other hand, checked baggage comprises items that you put into the aircraft's hold, such as suitcases, bags, boxes, and the like. These items are handed over to the airline at the check-in counter at the airport.
For a detailed list of what is not permitted in cabin or checked baggage, I recommend reading the following articles:
Additionally, you can check out our article that provides a list of essential items to bring when traveling, compiled from my personal travel experiences both domestically and internationally.
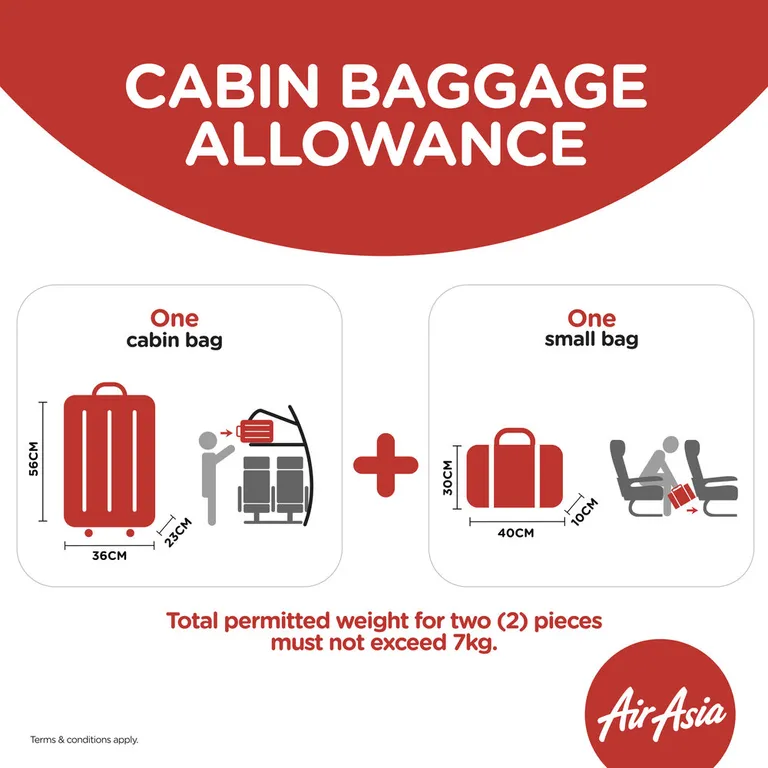
After deciding what to take and what to leave behind, you need to ensure your luggage doesn't exceed the airline's weight restrictions. Each airline sets its own limits, and exceeding these will result in additional charges.
For cabin baggage, you are typically allowed one suitcase and one small bag. The maximum weight generally ranges between 7kg to 9kg, depending on the airline's policy. So the total weight of all your items, including suitcases and bags, mustn't surpass this limit.
Additionally, the maximum allowed size for any one item is usually 20 inches. The idea is to ensure all items fit into the overhead storage compartments in the cabin. Some airlines enforce these cabin baggage rules strictly, weighing bags during check-in or just before boarding the plane.
As for checked baggage, the maximum weight allowance depends on your specific ticket purchase. If your ticket doesn't include a checked baggage allowance, you can purchase it separately. Otherwise, you're restricted to what you can bring within the cabin baggage allowance.
If you wish to increase your checked baggage allowance, you can do so during the ticket purchase process, online check-in, or at the airport. However, purchasing additional allowance at the airport is usually more costly.
For checked baggage, there's no limit to the number or size of the items, as long as the total weight doesn't exceed the given allowance. Also, ensure your baggage is securely closed and wrapped, as handling during loading and unloading may be rough and could damage your belongings.
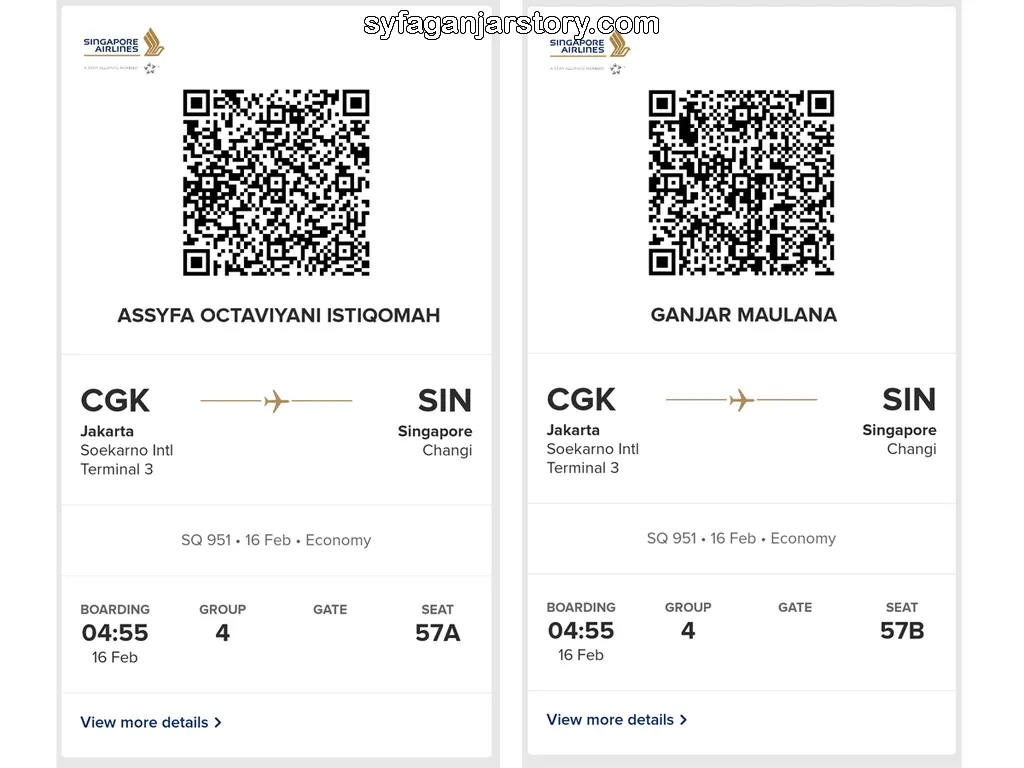
Many airlines now offer an online check-in system. This facility allows you to check in ahead of time, which means you can bypass this step at the airport. Online check-in typically opens several days before departure, depending on the airline's policy.
During online check-in, you'll be asked to enter personal data and details about your luggage, and agree to the airline's terms and conditions. Upon completion, you'll receive a softcopy boarding pass with details such as your seat number, boarding time, and departure gate.
If you've checked in online, there's no need to bring the airplane ticket sent to your email. You only need to bring the boarding pass, either in softcopy or printed form.
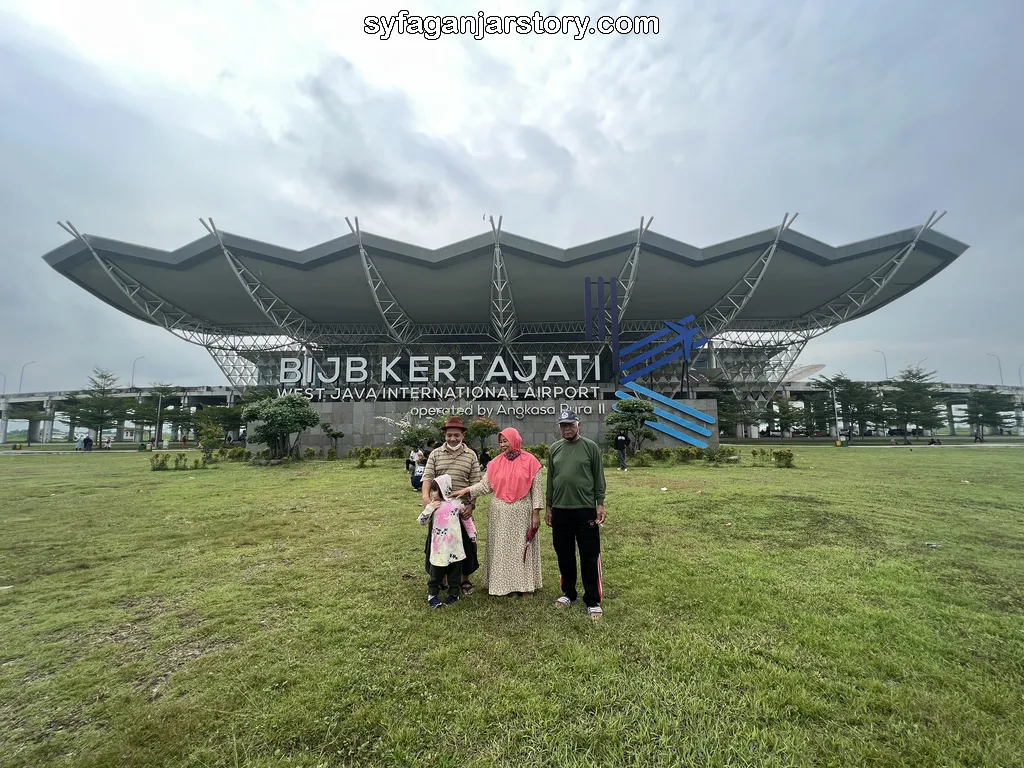
Once all your preparations are complete, it's time to head to the airport. Be sure not to arrive too late, as you won't be allowed to board the plane if the check-in counter is closed. Also, there can sometimes be long queues at the check-in counter, security check, or immigration.
To avoid these potential setbacks, try to arrive at the airport as soon as the check-in counter opens. For domestic flights, check-in counters generally open 2 hours before departure and close 45 minutes before departure.
Regarding international flights, the check-in counter commonly opens three hours before departure and closes one hour prior. However, these timelines may differ among airlines and airports, so you need to review the specific guidelines of the airline you've chosen.
Don't overlook the vital detail of determining which terminal your flight departs from. Large airports usually consist of multiple terminals. For instance, Soekarno Hatta Airport features three terminals: Terminal 1, Terminal 2, and Terminal 3.
Therefore, make sure to head to the terminal specified on your ticket. Arriving at the wrong terminal could consume more time as you have to travel to another terminal; even though they are within the same airport complex, the distance between terminals can sometimes be quite substantial.
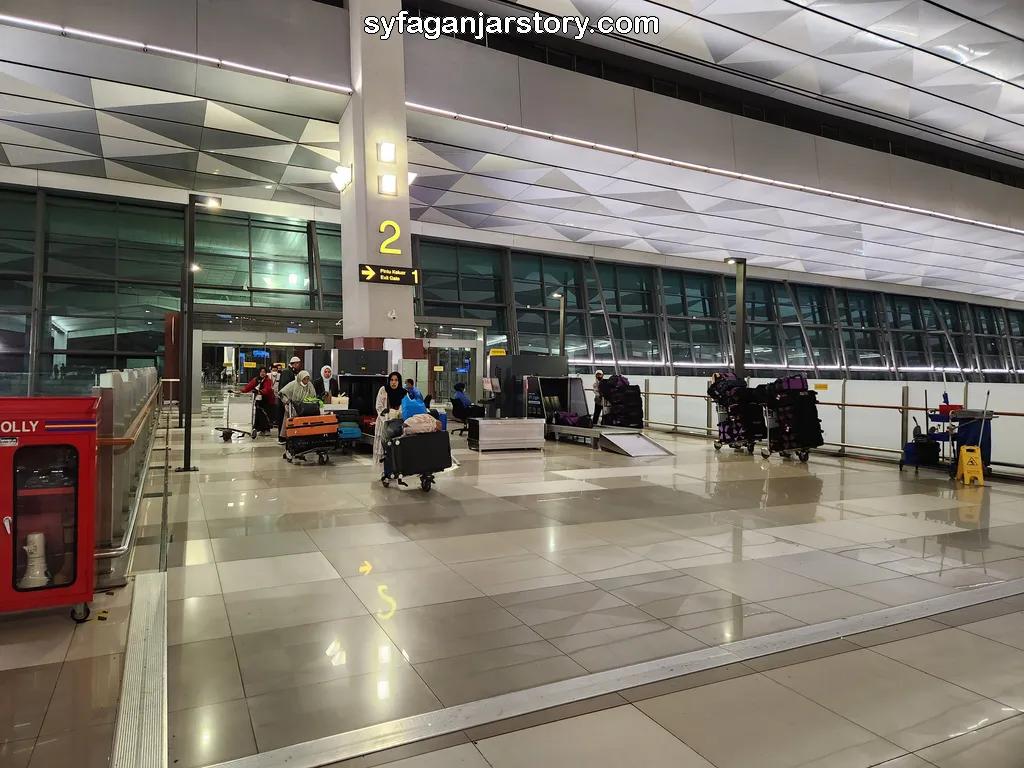
Upon reaching the correct terminal, you can promptly enter. At some airports, officials might request you to show your tickets and identification documents. This system is common at smaller airports to ensure only prospective passengers enter the premises.
Some airports also conduct a preliminary security check at the entrance, although it isn't as thorough as the one undertaken before entering the boarding lounge.

Once inside, in most airports, you will typically find yourself directly in the check-in counter area. However, in certain airports like KLIA 2 in Malaysia, you might need to navigate through the shopping area first.
To expedite your check-in, make use of the numerous information screens shown within the terminal. These screens provide details about the check-in counter for your flight and updates about your flight's status.
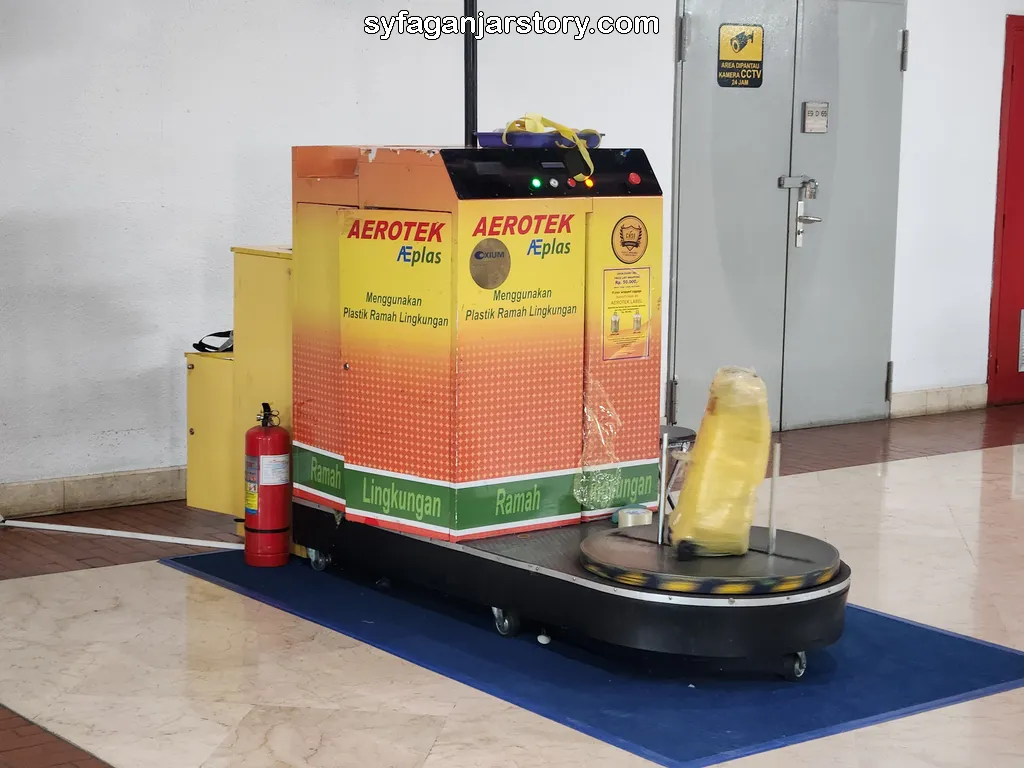
As previously mentioned, luggage placed in the hold is often handled roughly and is susceptible to damage. As such, it would be advisable to secure your luggage that is destined for checked baggage by having it wrapped.
Luggage wrapping services can be easily found near the check-in counter area. The cost will vary based on the size of your suitcase, usually starting from USD 3.29. This service is not exclusive to suitcases; other items such as bags and boxes can also be wrapped here.
Besides safeguarding your luggage from potential damage, wrapping can also offer added security for your belongings. For instance, it can deter opportunistic personnel from unlawfully opening and pilfering items from your suitcase.
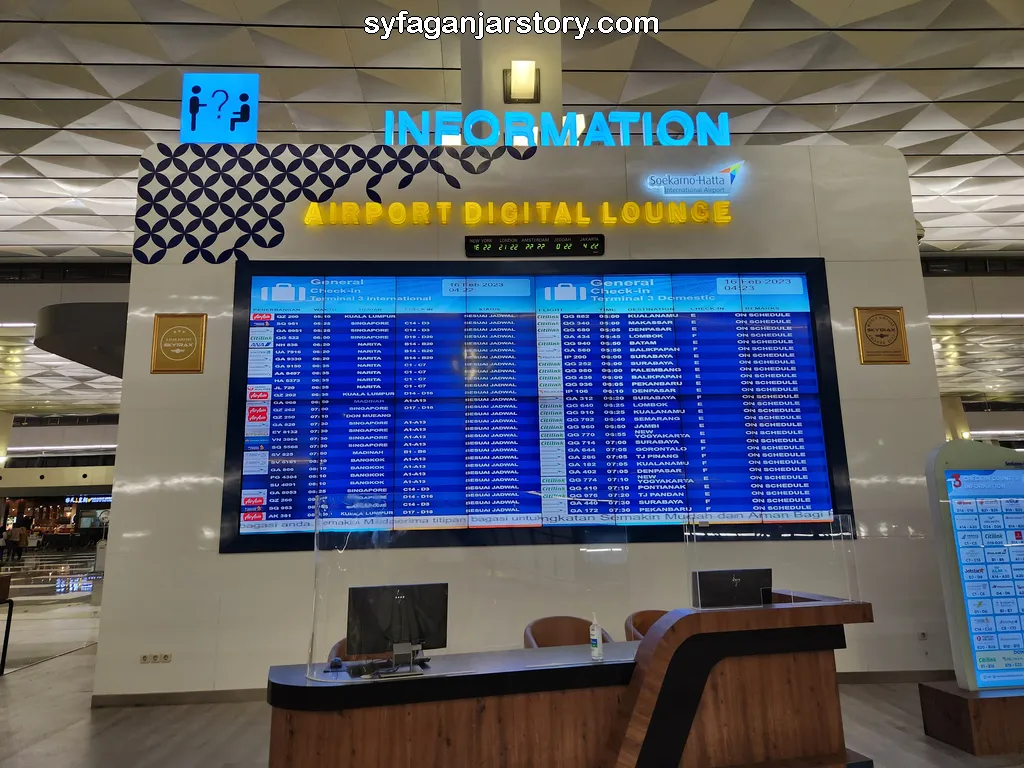
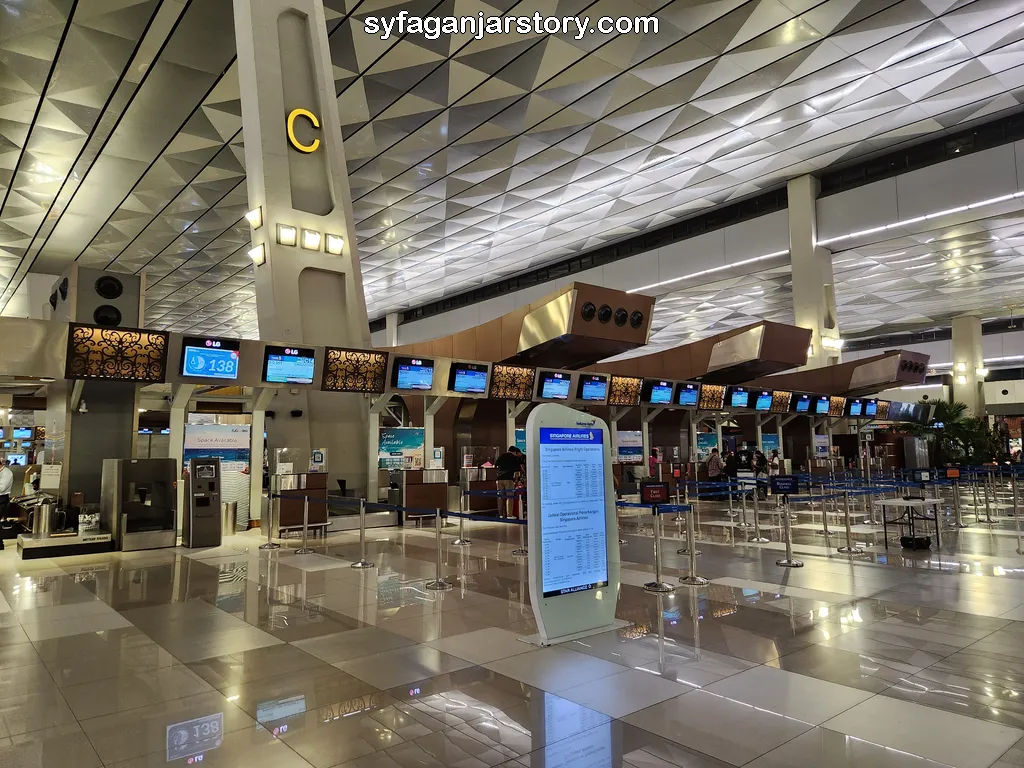
Firstly, we'll proceed with check-in. If you've already completed online check-in and don't need to check in any baggage, you can bypass this step and head directly to the security screening area.
On the other hand, if you haven't checked in yet, or if you've done online check-in but need to check in your luggage, this stage is necessary. Before proceeding, see the information screen to check the correct counter for your check-in.
The specifics of the check-in process can vary depending on the airport. For guidance on how to check in using different methods, please refer to the following article:
Once check-in is complete, the officer will provide you with a boarding pass. This pass includes crucial information such as your seat number, boarding time, and departure gate. If you find any of this information confusing, please refer to the article about understanding your boarding pass.
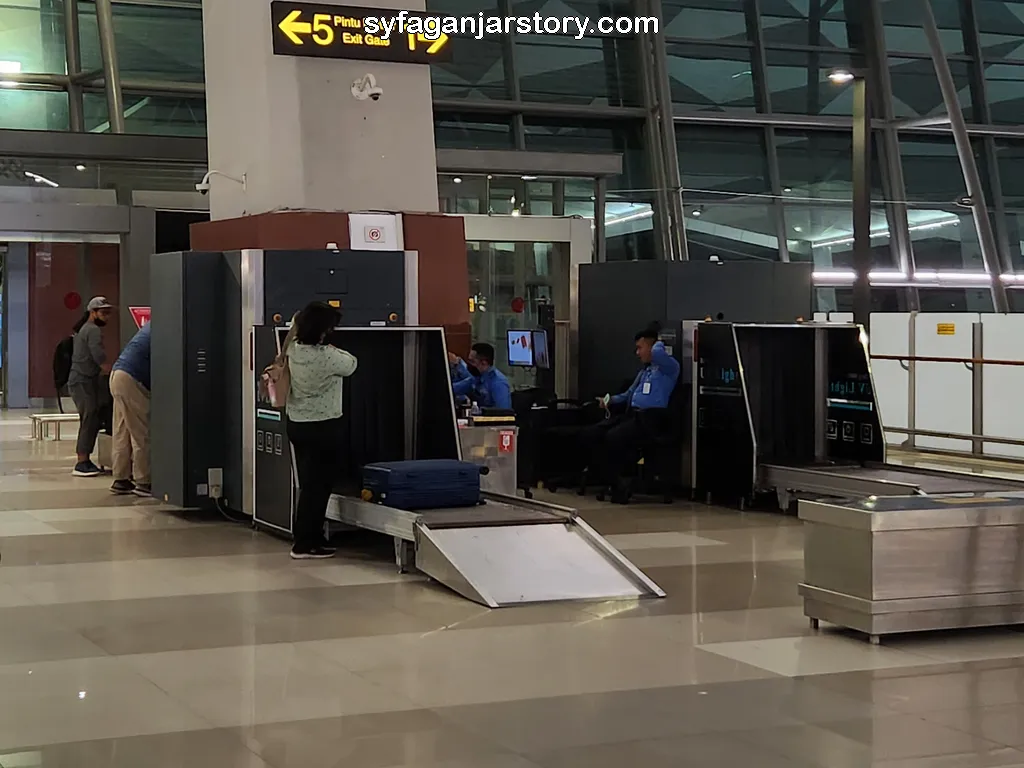
Upon completing the check-in process, all passengers—domestic or international—need to proceed to the security checkpoint area. For international flights, this follows the immigration procedure where your passport is stamped.
In the security checkpoint area, a thorough inspection of your luggage is performed by trained personnel to ensure that no prohibited items are in your possession. Please refer to the list of items that are restricted from carry-on luggage, which I've discussed in a previous section, for more details.
This area is typically bustling with passengers arranging their belongings for the inspection process. To ease your way through this, you might consider following the step-by-step procedure that I personally use:
If all goes smoothly, you'll be able to proceed directly to the boarding lounge. However, if the body scanner signals a concern, you may be asked to step back and undergo a second scan. If any items in your bag raise suspicion, you'll be escorted to an inspection area where the questionable items will be examined in your presence.
Frequently, the main culprit is a water bottle left inadvertently in the bag. I recall being inspected at Changi Airport Singapore for an oversized tube of toothpaste. As it exceeded the allowable 100 ml limit, it raised a red flag.
On a lighter note, I recall an amusing incident at Incheon Airport in Korea. The security officer grew suspicious of my bag because it contained an unusually high quantity of metal objects—I had, in fact, accidentally brought along more than 50 coins from Indonesia!
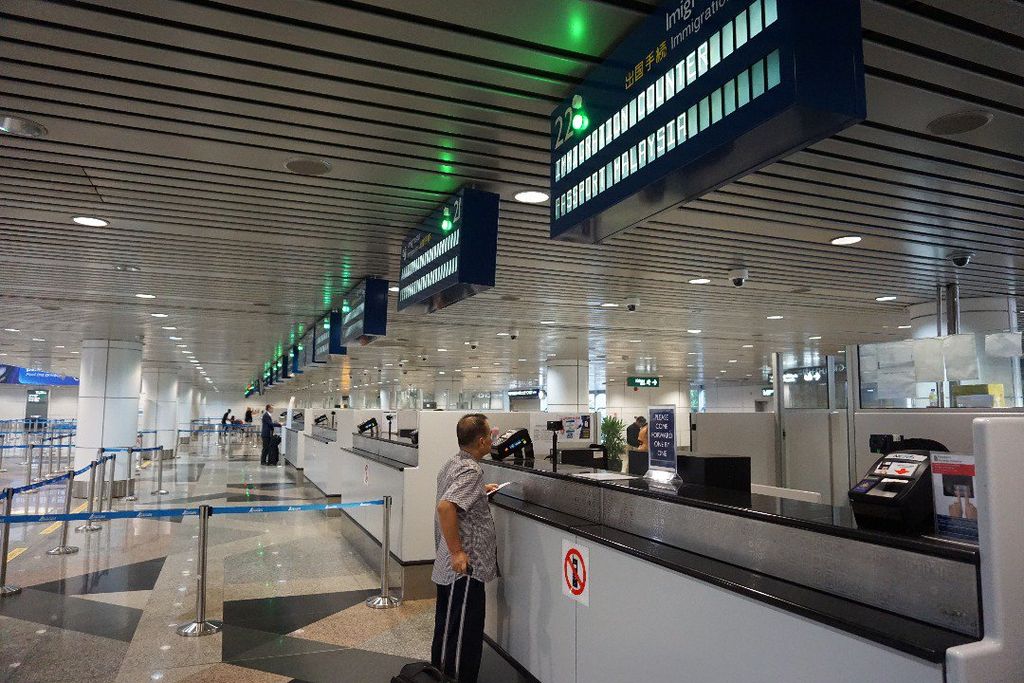
Flying internationally comes with its own set of unique challenges, including going through the immigration process. After you've checked in for your flight, your next step is to head to the immigration area. This is where an immigration officer stamps your passport as a permission to leave the country.
Before approving your departure, the officer will verify the details on your passport and boarding pass. They'll sometimes ask a series of questions to confirm your travel plans. My experiences have included a range of questions such as:
"Where are you headed?"
"How long will you stay?"
"What is your trip's purpose?"
"Who is traveling with you?"
"Are you going to watch MotoGP?" (This question arose during a trip to Malaysia for the MotoGP event)
"So, it's going to be a honeymoon?" (This question popped up during a trip to Singapore with my wife shortly after our wedding)
These questions can range from serious to lighthearted, but it's crucial to answer all of them confidently and honestly. Don't let nervousness or fear influence your responses; it could raise suspicion and lead to further questioning.
Remember to express your gratitude to the officer if they clear you without issue. Generally, exiting your home country's immigration is less stressful than entering another one since inspections tend to be stricter upon arrival.
Many airports are modernizing their immigration processes with automated systems. For example, at Changi Airport in Singapore, travelers can simply scan their passport, boarding pass, and face at an immigration machine, speeding up the process.
Soekarno Hatta Airport in Jakarta also offers this facility but only to Indonesian citizens with electronic passports. Regular passport holders must still proceed through manual immigration.
The time required for the immigration process can vary significantly depending on the queue's length. If there's no line, you could be through in a matter of minutes. However, a long queue could see you waiting up to an hour.
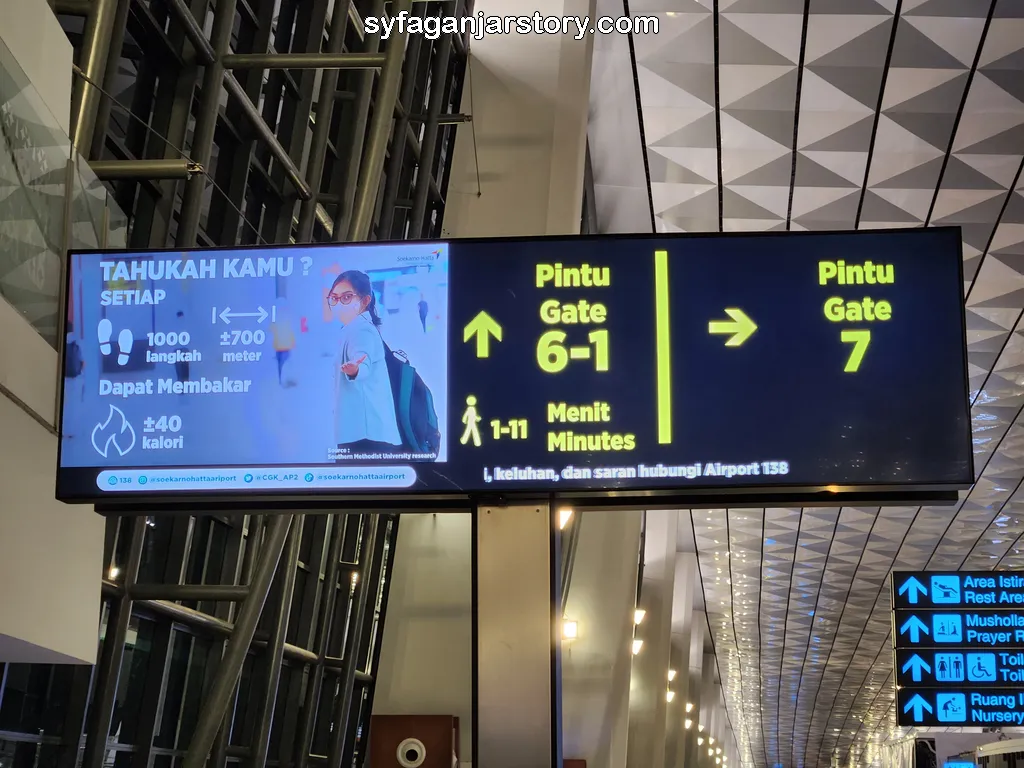

Once you have cleared the security check, you can proceed to the boarding gate. To find out which gate you'll be boarding from, please refer to your boarding pass. Follow the directions provided to reach the specified gate.
Most airports offer comfortable lounges near the boarding gates, outfitted with ample seating for passengers waiting to board their flights.
These areas often house a range of vendors selling food and various souvenirs. Known as the "Duty Free" area, all items sold here are exempt from taxes.
When it's time to board, the airport will make an announcement over the loudspeaker. Proceed to your assigned gate and follow the instructions of the gate agent.
Passengers are usually called to board based on their seating row to prevent overcrowding and to ensure an orderly boarding process.
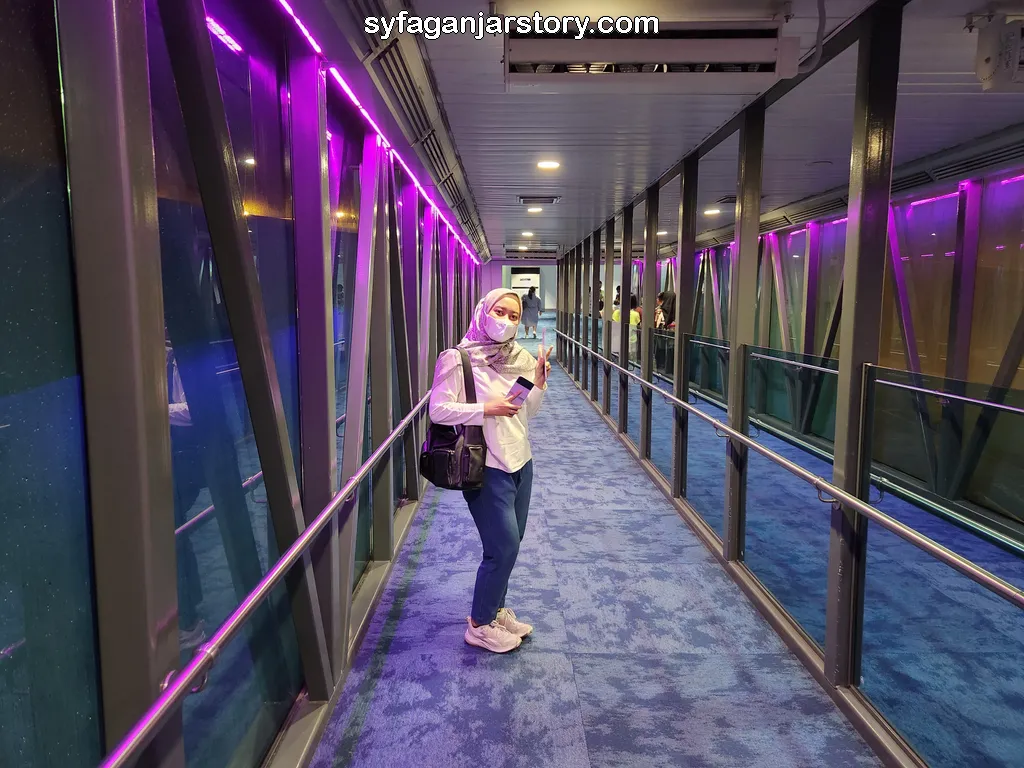
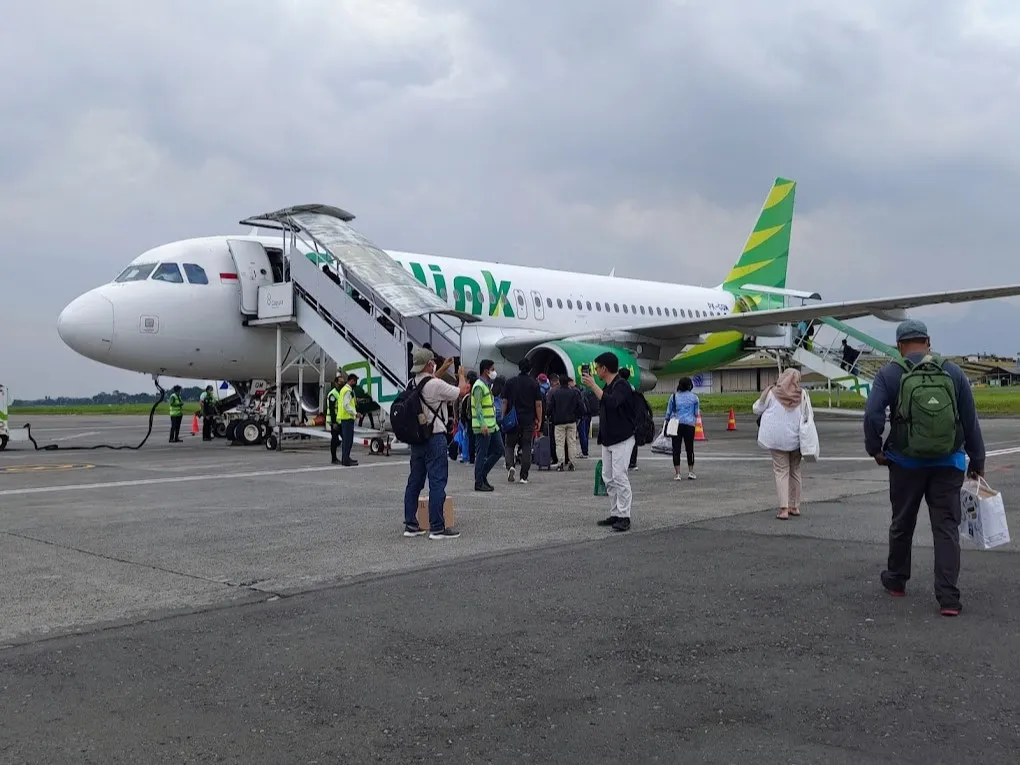
Before you're allowed to board the plane, an officer will generally verify your boarding pass and identity card one more time. At many airports, you'll directly board the aircraft via an aerobridge, which serves as a covered bridge linking the terminal and the airplane.
If the airplane is parked at a distance from the terminal, you'll be transported there by a shuttle bus. Alternatively, if you're at a smaller airport like Husein Sastranegara in Bandung, you'll usually walk from the terminal to the aircraft's parking spot.
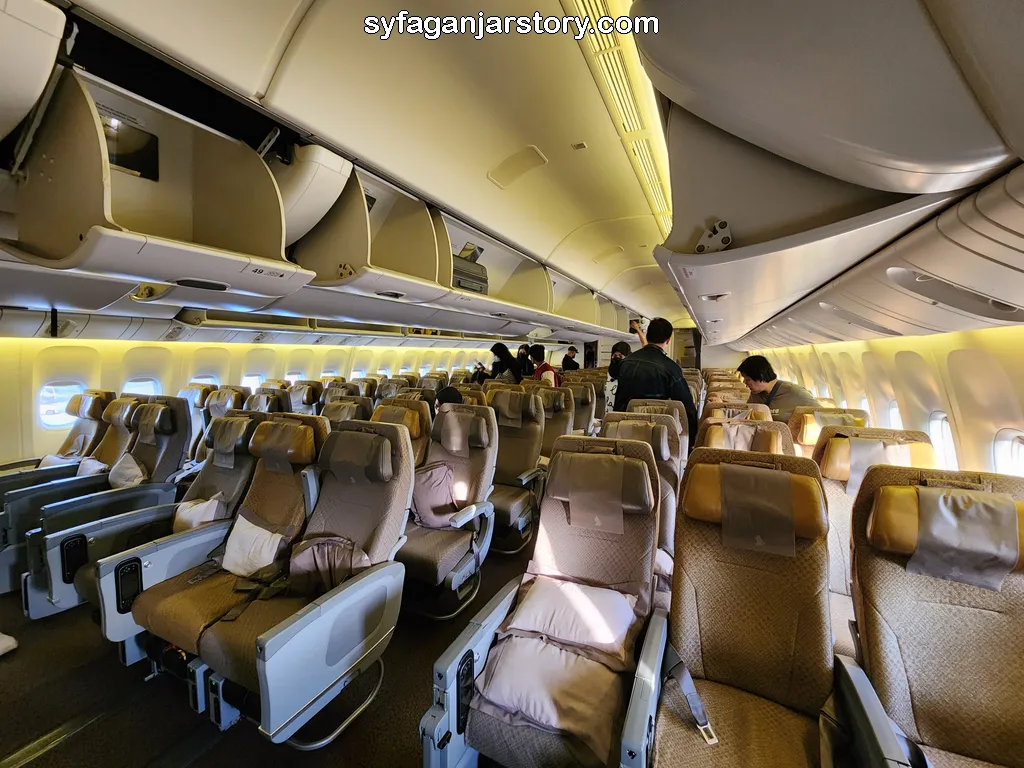
Once you reach the aircraft's door, you'll generally be greeted by flight attendants or stewards who'll check your boarding pass and guide you to your seat.
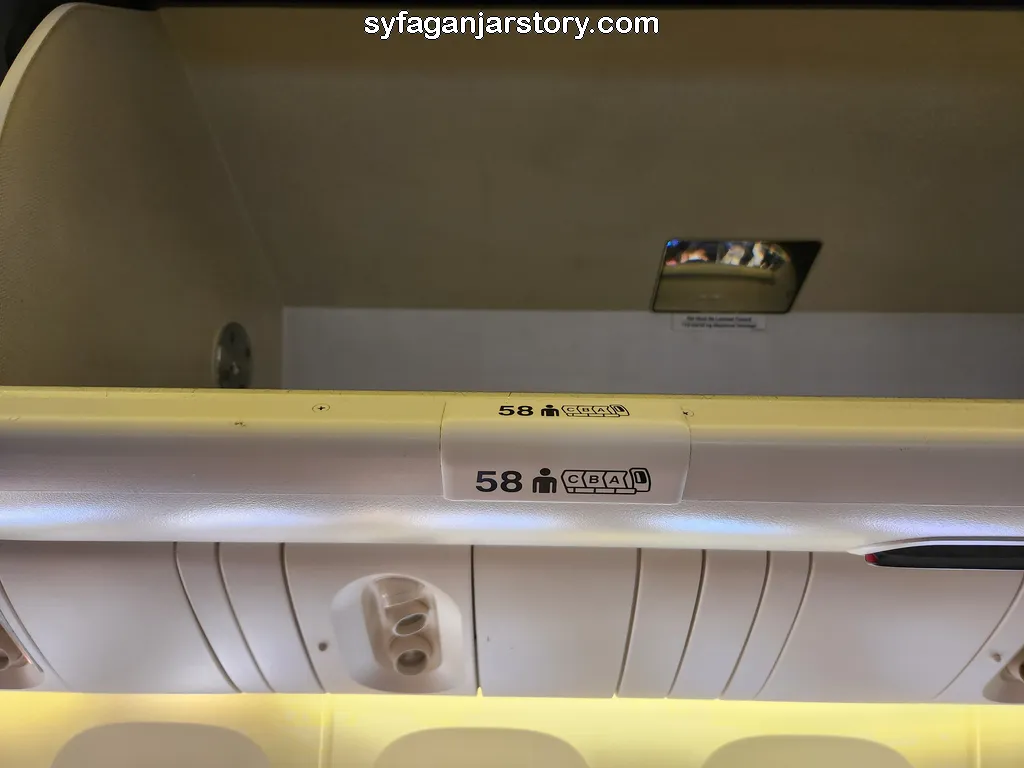
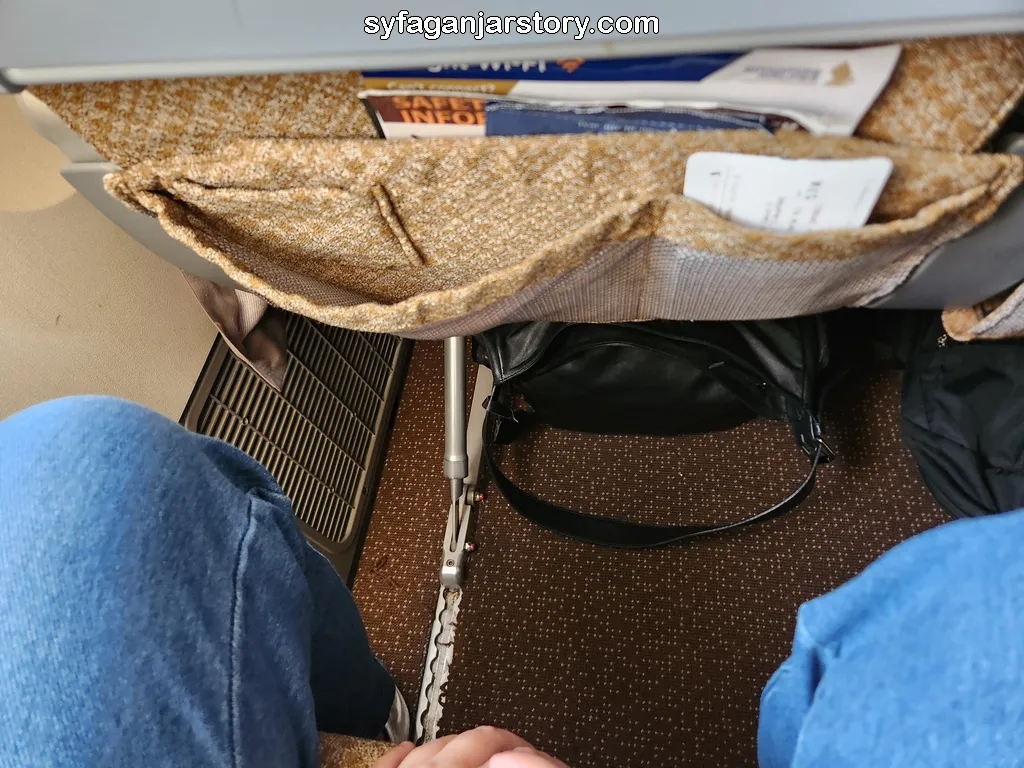
Proceed to the seat mentioned on your boarding pass. You'll find the seat number written on the overhead compartment. On locating your seat, place your bags and larger items in the overhead compartment and smaller items can go under the seat in front of you.
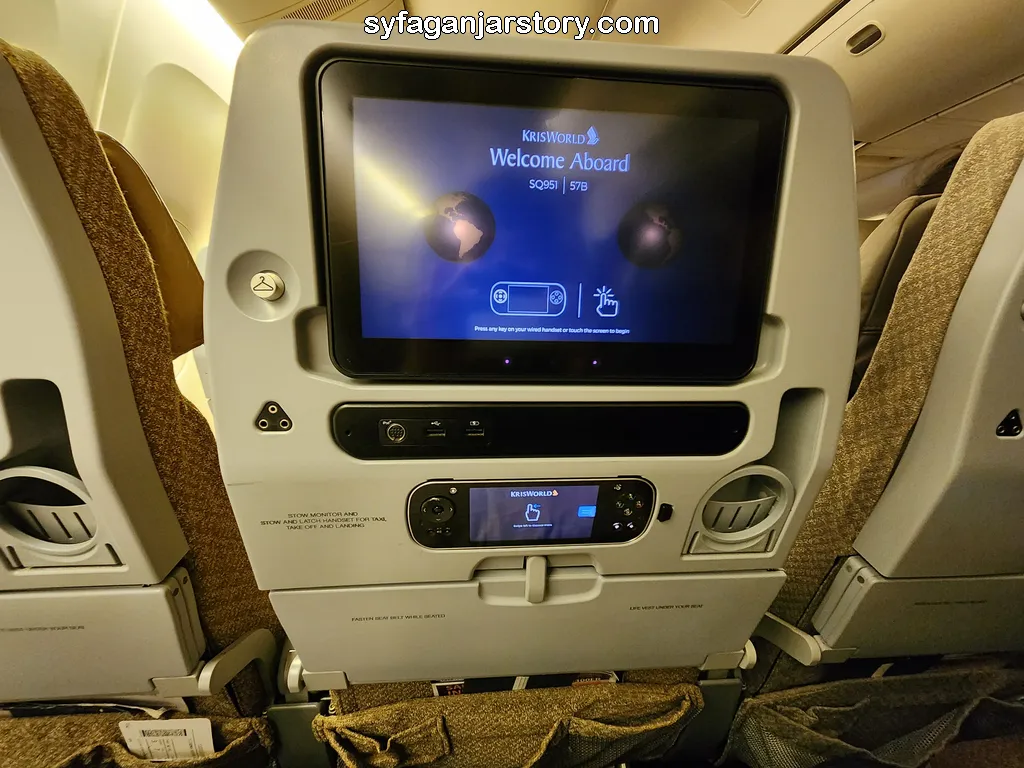
The amenities you receive onboard vary based on your ticket class and airline type. For low-cost carriers such as Air Asia and Lion Air, the basic offering typically includes only a reclining seat.
In contrast, higher-end airlines offer a range of amenities including in-flight entertainment systems, headphones, blankets, charger outlets, eye masks, and more. Once settled in your seat, fasten your seatbelt and await the completion of the boarding process.
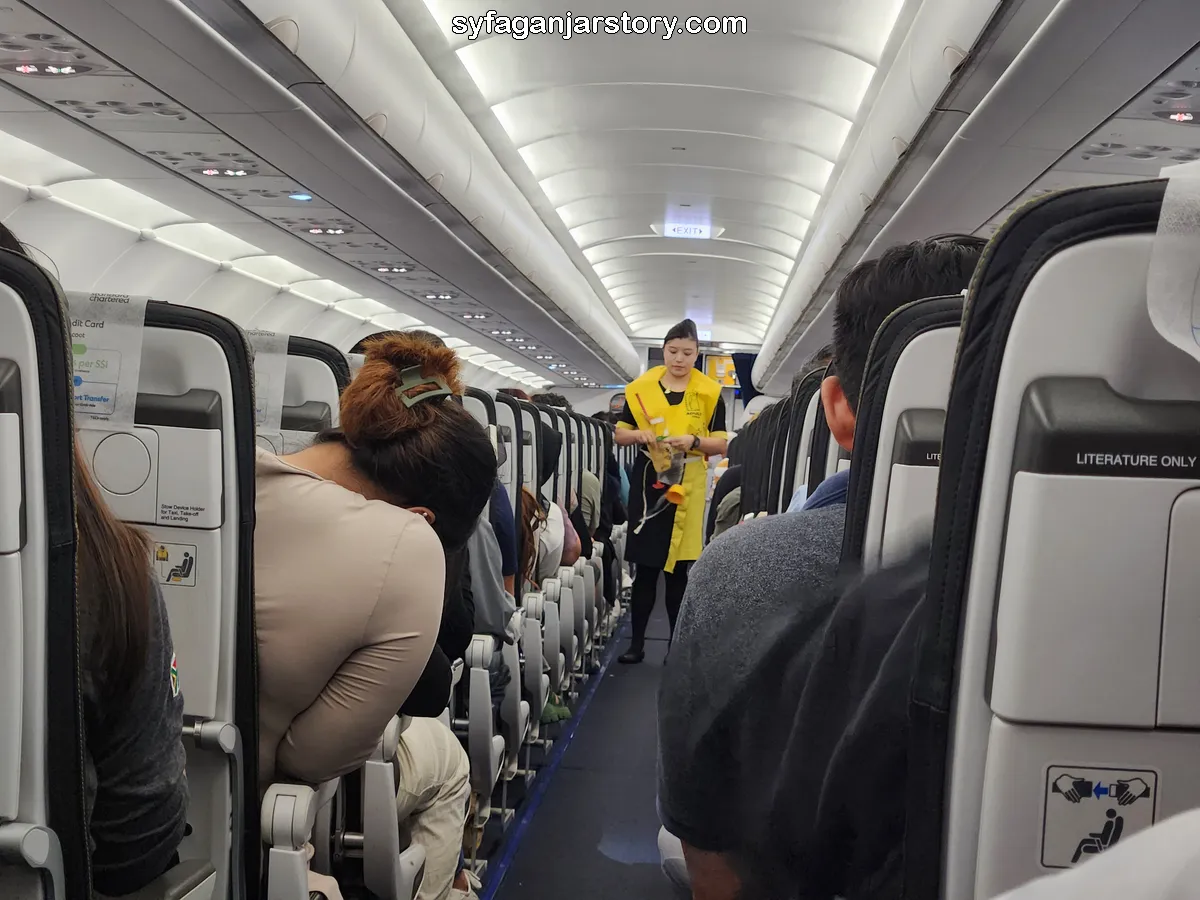
Once all passengers are on board, flight attendants will demonstrate the safety guidelines for the flight. This includes instructions on fastening seatbelts, using life jackets, and the evacuation process in case of an emergency.
Especially if you're a first-time flyer, pay close attention to this demonstration. For easy reference, a printout of the safety guidelines is also available in the seat pocket in front of you.
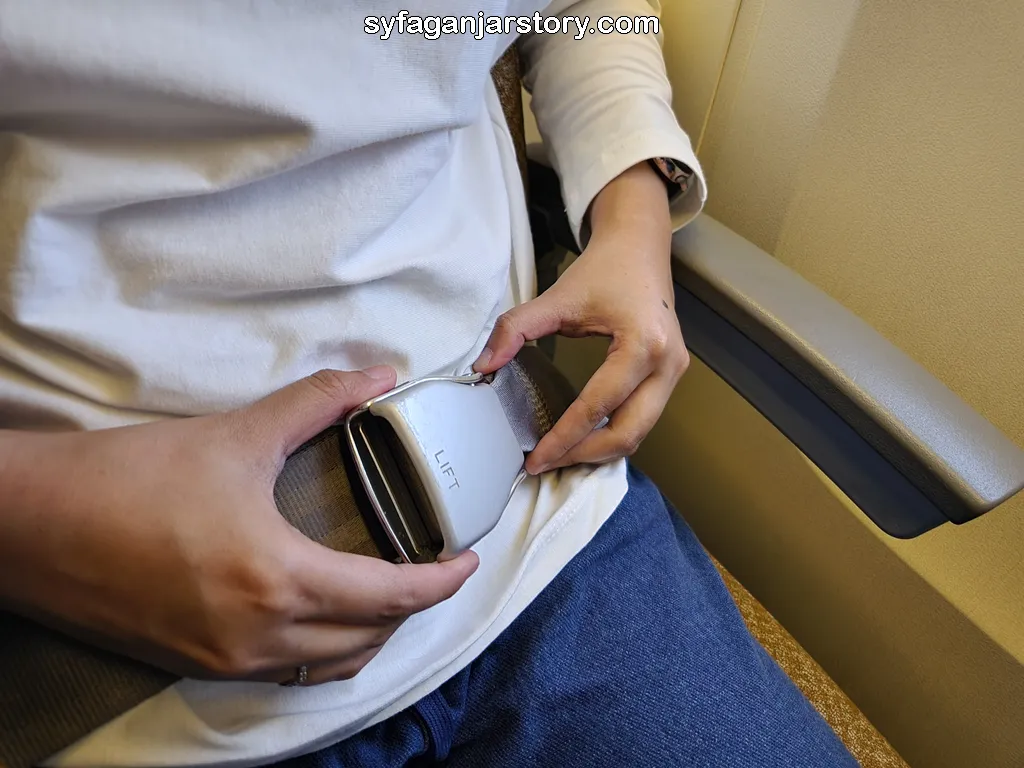
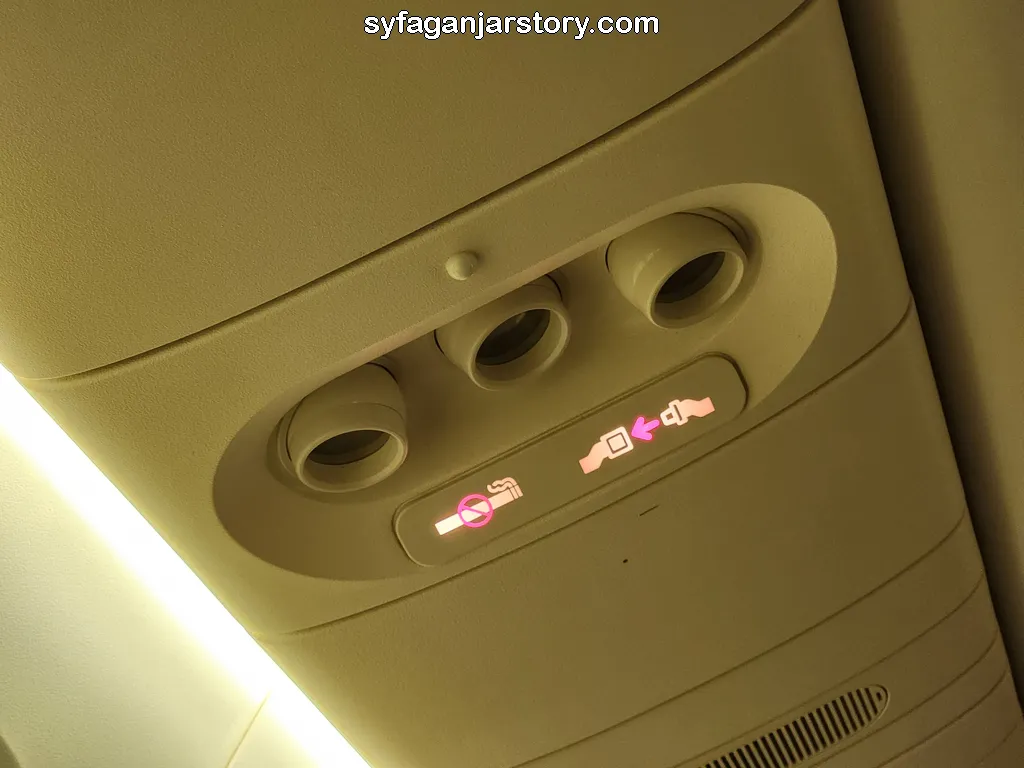
Post the safety demonstration, the plane will start prepping for take-off. There are several things you need to do before take-off: fasten your seatbelt, switch off your phone or put it on airplane mode, adjust your seat back to the upright position, stow your tray table, and raise the window blinds.
During take-off, the 'fasten seatbelt' sign will light up. While this sign is illuminated, remain seated with your seatbelt fastened. It's also important not to use the restroom during this time.
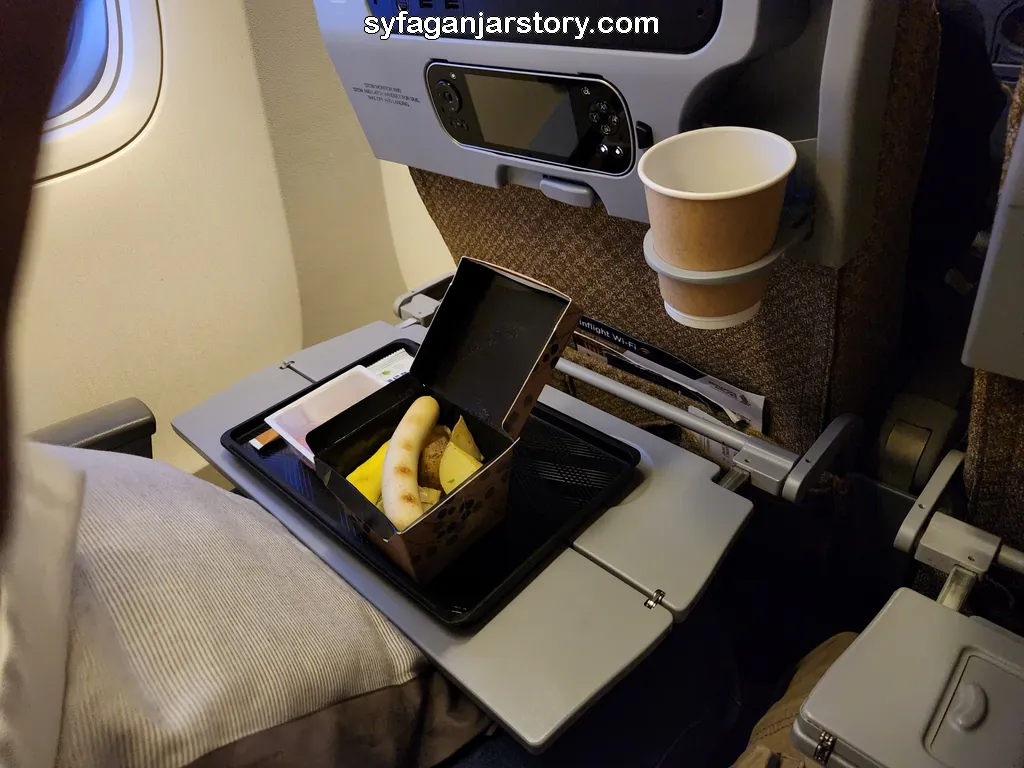
A few minutes into the flight, the airplane reaches cruising altitude. At this point, the plane flies more steadily, and the seatbelt sign will usually be turned off. You can now unbuckle your seatbelt or use the restroom if needed.
This is also when flight attendants begin to serve meals to passengers who have meal plans included or have pre-ordered food. If you haven't pre-ordered, you can purchase food, snacks, or drinks from the flight attendant.
Should you require any assistance, press the call button located overhead to alert a flight attendant. Nearby, you'll find a button to switch on the reading light and another to adjust the air conditioning.
And yes, you can turn on your mobile phone, as long as it's in airplane mode. Feel free to listen to music, read ebooks, take pictures, and more. Some airlines also offer Wi-Fi packages for onboard internet access, although they may be priced rather steeply.
If the flight encounters turbulence, the seatbelt sign will usually light up again. In such instances, remain seated with your seatbelt fastened, and follow the instructions provided by the pilot or flight attendant until conditions normalize.
As landing time approaches, the pilot will usually make an announcement. This includes details about landing time, weather conditions at the destination airport, and other relevant information. To conclude the flight, the pilot typically thanks passengers for choosing the airline's services.
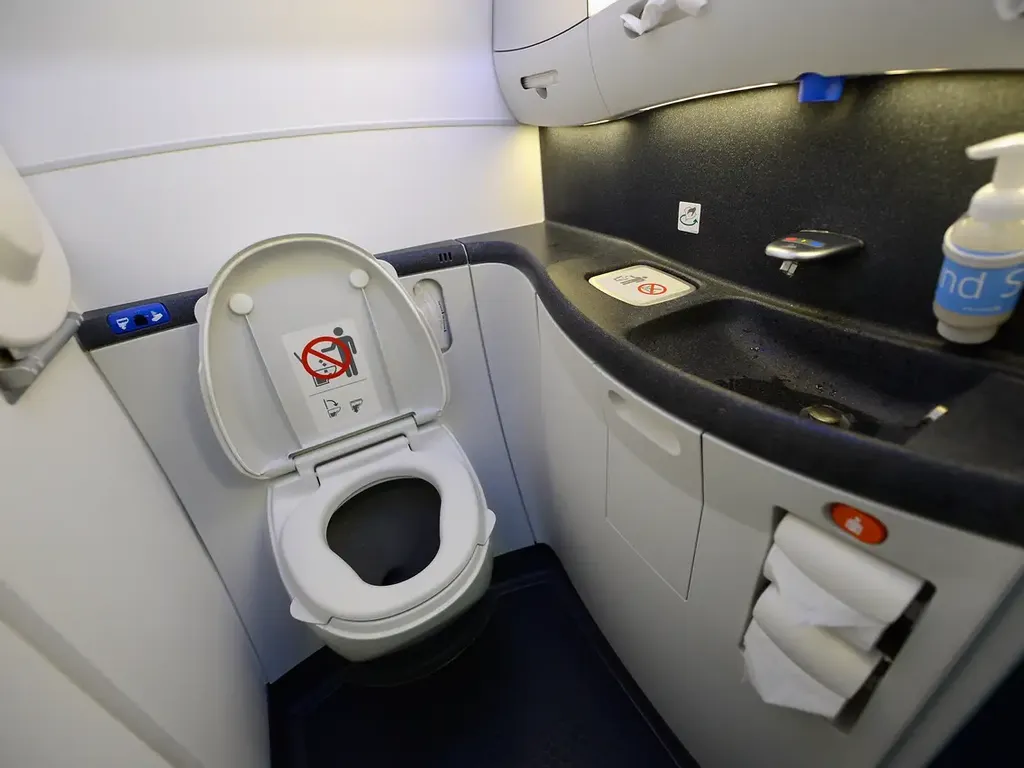
An airplane typically houses several restrooms that passengers can use, located either at the front, middle, or back of the aircraft, contingent on its design. To use the restroom during the flight, simply make your way to one of these facilities.
Before opening the door, it's crucial to check the occupancy sign on the door. If the restroom is unoccupied, the sign will indicate a green color or wording to that effect. Should the restroom be in use, the sign will be red.
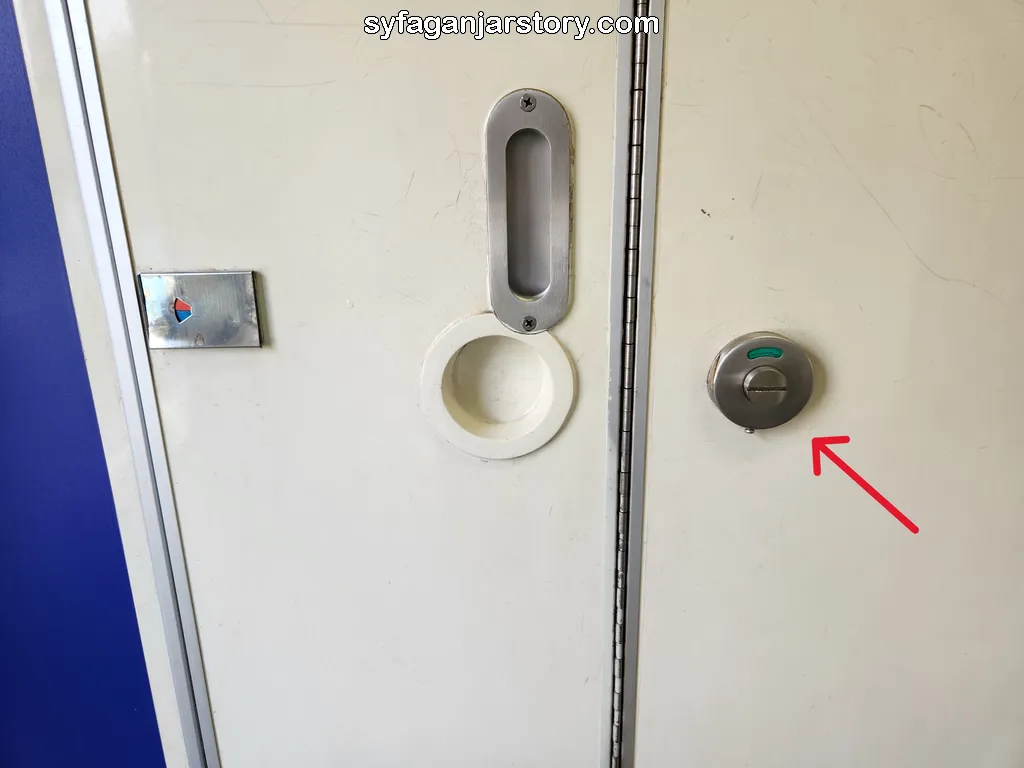
Airplane restrooms commonly employ folding doors which you can push open. Once inside, remember to lock the door so the outside indicator switches to red, signifying occupancy. Furthermore, the restroom light generally activates only once the door is locked.
Inside a typical airplane restroom, you'll find a toilet, a sink, a diaper changing station, soap, tissues, and a trash can. Using these facilities is not dissimilar to using a standard toilet, with the difference being the flush is powerfully assisted by air pressure, causing a 'whoosh' sound.
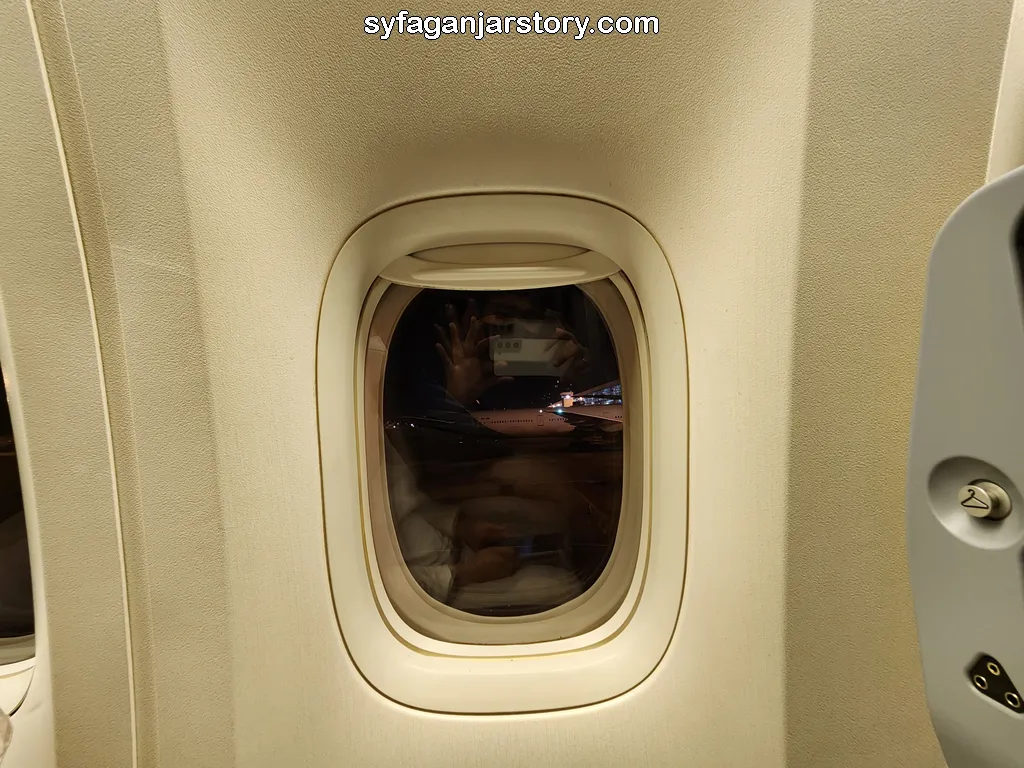
As landing approaches, flight attendants will prompt passengers to fasten their seat belts, adjust seat backs to an upright position, and stow their tray tables. Additionally, passengers are no longer permitted to use the restroom.
The landing process lasts a few minutes. Once the plane touches down, refrain from hastily switching on your mobile device. Instead, stay seated and calmly await the plane to come to a complete halt.
Once the aircraft has fully stopped, resist the urge to abruptly stand and retrieve items from the overhead compartment.
Stay in your seat and heed the flight attendants' instructions to maintain order. Passengers are generally allowed to disembark in sequence, usually by row.
Ensure you've collected all your belongings so you don't leave anything on the plane. Before you disembark, it's courteous to thank the flight attendants for their assistance throughout your journey.
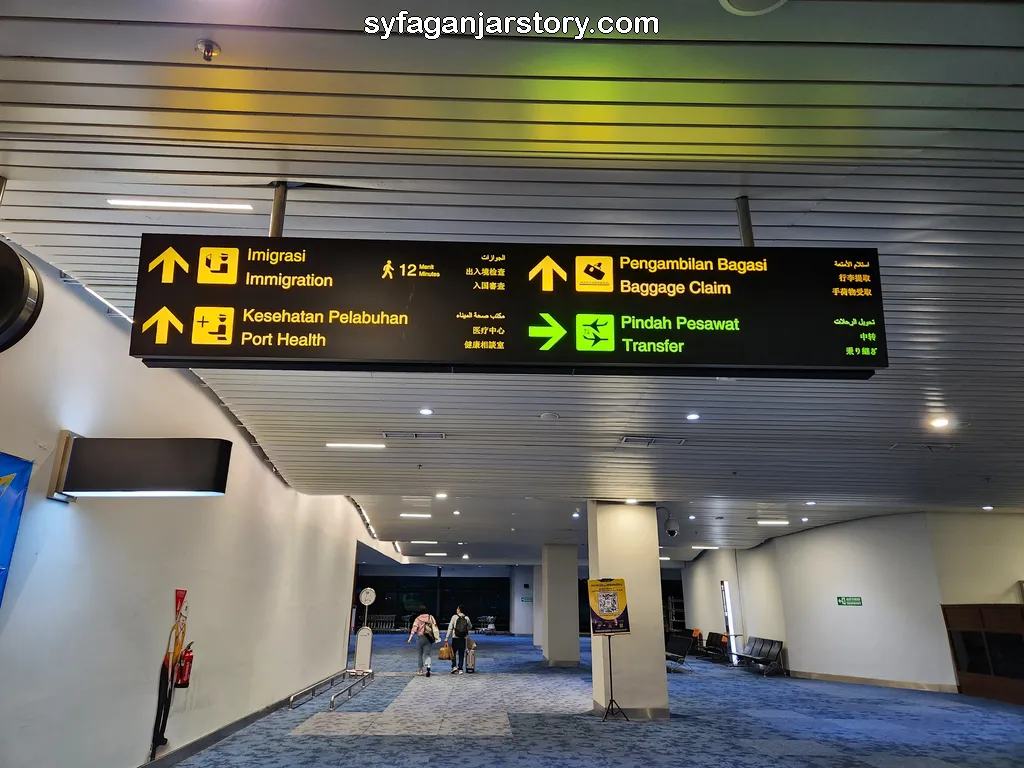
The process of exiting the plane and entering the terminal mirrors that of boarding the plane. Depending on the airport setup, you might enter through an aerobridge, be transported by a shuttle bus, or even need to walk to the terminal.
Upon entering the terminal, adhere to the directional signage. If you're in transit or need to catch a connecting flight, proceed to the transit area. If this is your final destination, head straight to immigration (for international flights) or baggage claim (for domestic flights).
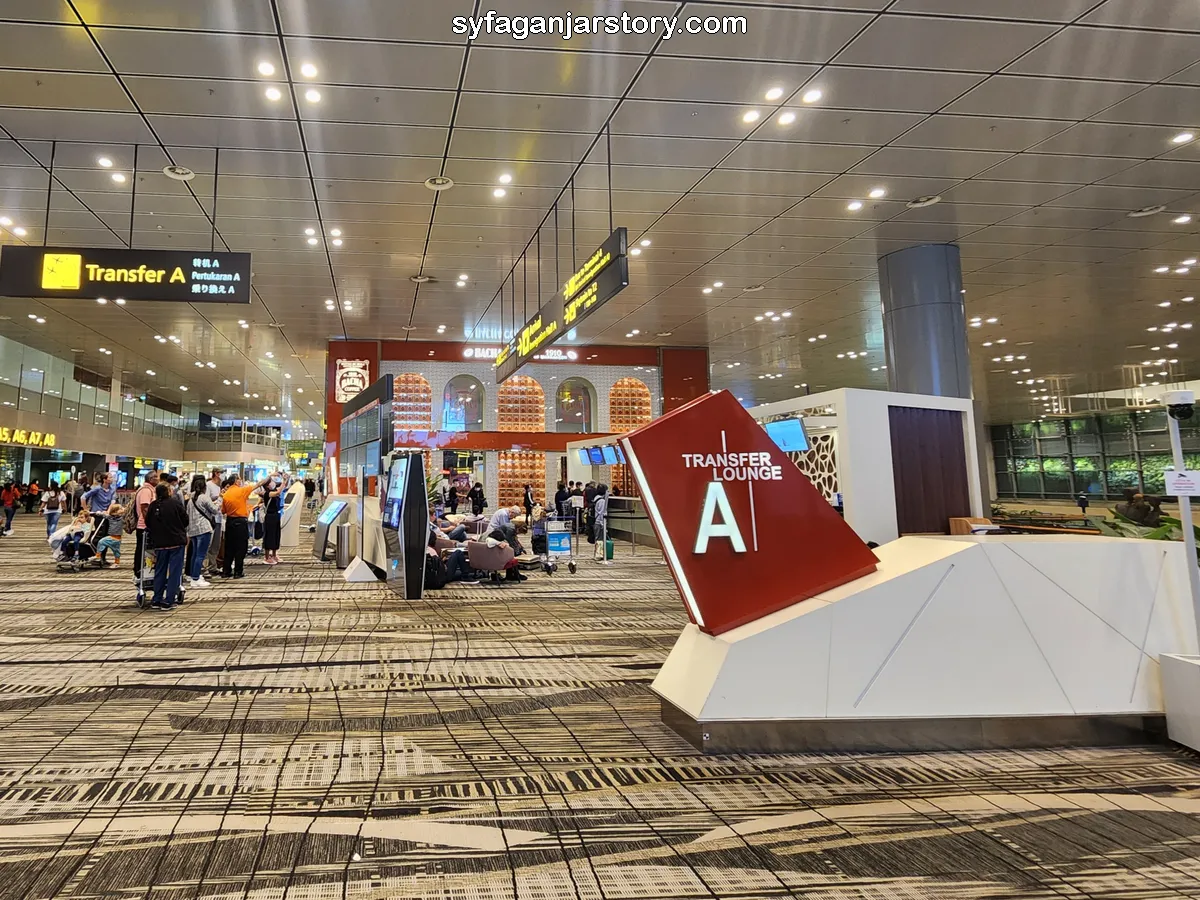
For those in transit or catching a connecting flight, visit the transit counter where an officer will provide you with a new boarding pass for your subsequent flight. You can then proceed to the boarding lounge to await your next departure.
Wondering if you can leave the airport before your next flight? Yes, you can, provided your layover is longer than six hours. If the layover duration is less, it's recommended to stay in the airport due to the constrained timeline.
If you decide to leave the airport, don't go to the transit area; instead, proceed straight to immigration and baggage claim like other arriving passengers. If you need more information, see the article below:
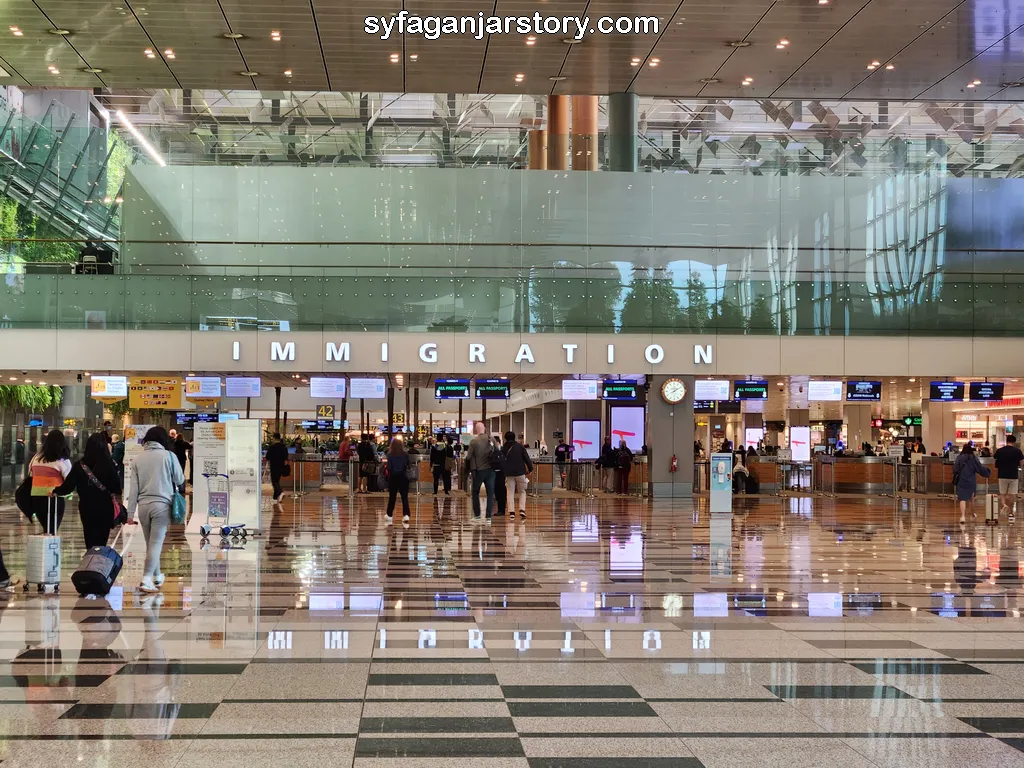
Upon the conclusion of an international flight, passengers must proceed to the immigration area. Here, make sure to have your passport and boarding pass ready for presentation to the immigration officer.
It's worth noting that several countries necessitate the completion of immigration and customs forms, either paper-based or digital. Therefore, promptly filling out these forms facilitates a smoother progression through the immigration process.
Once you've reached the immigration area, join the line corresponding to the relevant immigration counter. Typically, counters are categorized by the type of passport - local, international, diplomatic, business, etc.
The immigration process mirrors the one you experience before departure, but be aware that entry into a country is typically more stringent and can potentially induce more stress than exit immigration. It's not uncommon for passengers to be denied entry and deported back to their originating country.
For a more detailed guide to navigating immigration smoothly and without issues, I've written an article discussing various tips and tricks passing through immigration process. Check the article for a more comprehensive understanding. Once the immigration process is complete, your next stop will be the baggage claim area.
In several countries, it's common to complete certain immigration and customs forms before entering the immigration area. For example, in Singapore, travelers are required to fill out the SG Arrival Card prior to proceeding through immigration.
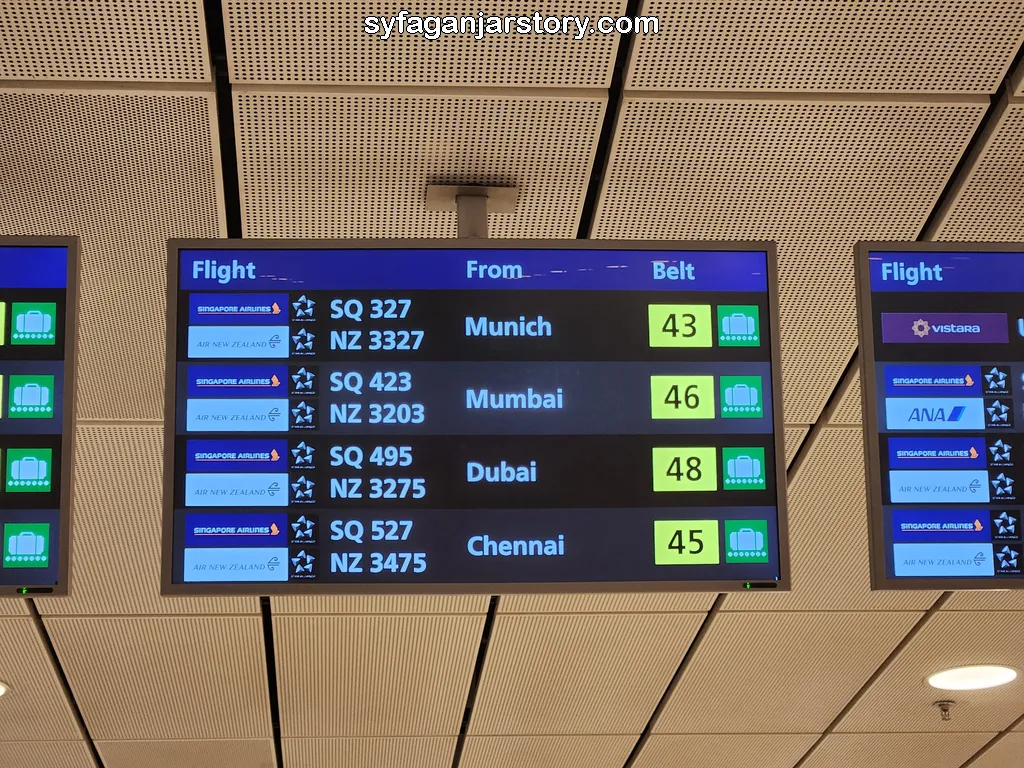
If you don't have any checked baggage, you can bypass this area and proceed to the subsequent area. However, if you've checked in luggage, this is where you'll retrieve it.
Start by looking at the information display in the baggage claim area. This screen typically provides the flight number and the baggage claim conveyor belt's location. Once you've ascertained your specific conveyor belt, make your way towards it.
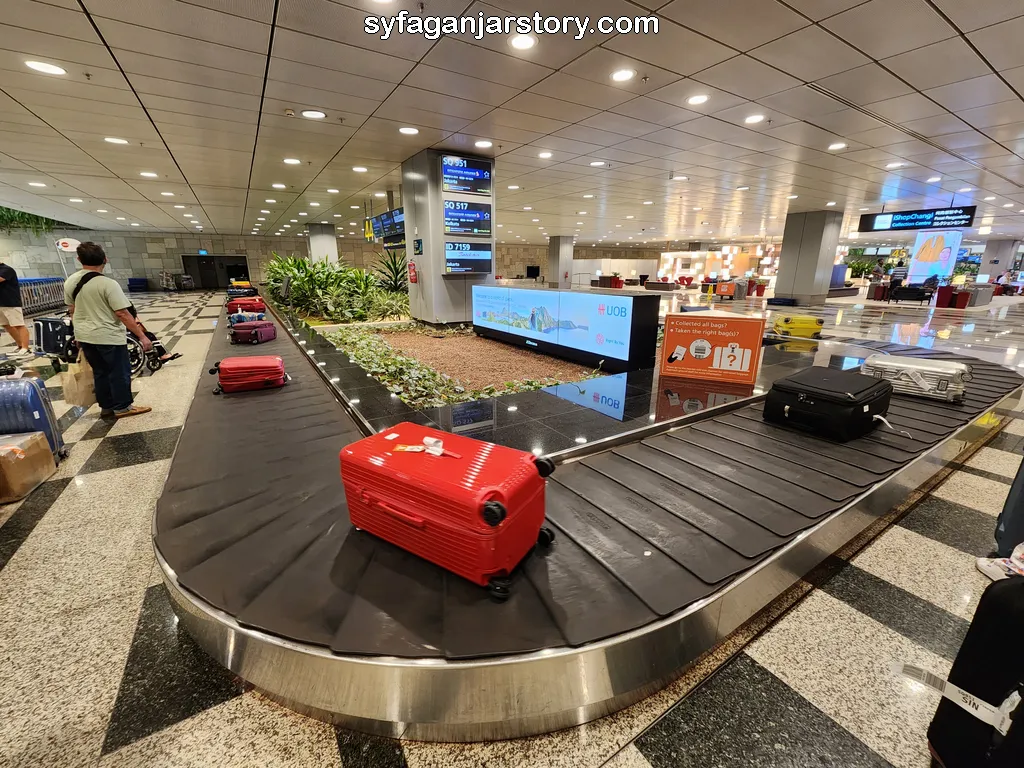
Luggage and other items are gradually placed on the conveyor belt, so exercise patience if your luggage doesn't appear immediately. Should you miss it on the first pass, there's no need to panic as the belt will cycle your luggage back towards you.
When collecting your luggage and other belongings, ensure you double-check the baggage number on the luggage tag against the number on the receipt attached to your boarding pass. Make sure that these numbers match to prevent any mix-up with luggage belonging to other passengers.
After you have collected your luggage and belongings, airline officials may sometimes check your boarding pass and the tags on your luggage. This check is conducted to ensure that passengers only take their own belongings.
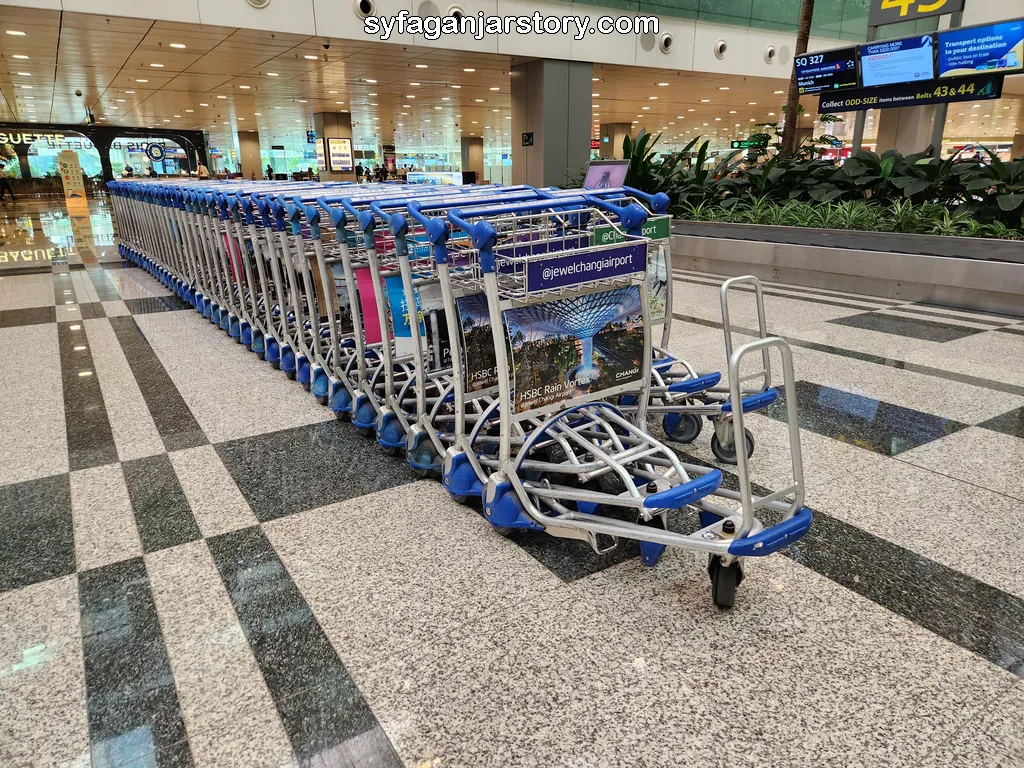
If you find yourself burdened with copious amounts of luggage, baggage claim areas usually provide trolleys for complimentary use. Should you require additional assistance, porters are available for hire to help carry your luggage.
Post luggage retrieval, passengers on international flights must pass through security checks and customs before exiting. However, passengers on domestic flights can exit the airport immediately after collecting their luggage.
International flights require passengers to undergo a secondary security check after claiming their luggage. Note that this process isn't universal to all airports. From my experience, airports in Indonesia and Malaysia are among those implementing this protocol.
In this security check area, you're not required to remove jackets, watches, or similar items. Your responsibility here is to place your luggage and items from your checked baggage onto the scanner conveyor belt.
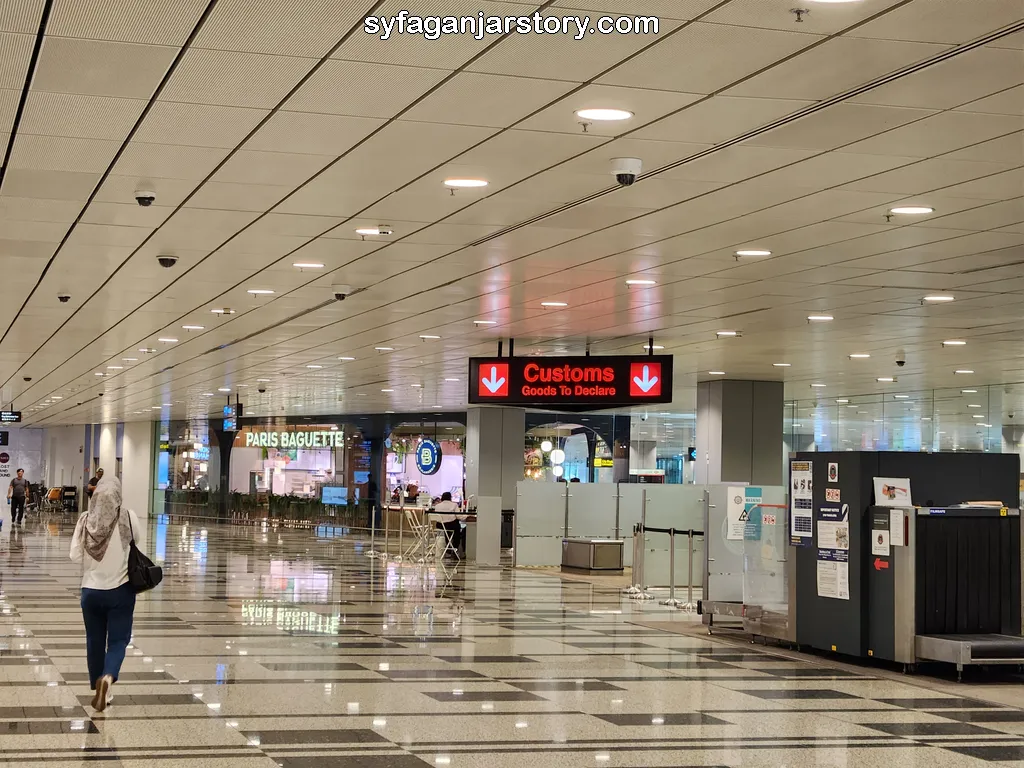
If you're bringing in items that need declaration from overseas, they must be reported at customs. Should your items be subject to taxation, the requisite payment can also be made at customs.
Regulations concerning items that need to be declared to customs differ by country. It's thus crucial to familiarize yourself with the customs regulations of your destination country prior to your flight.
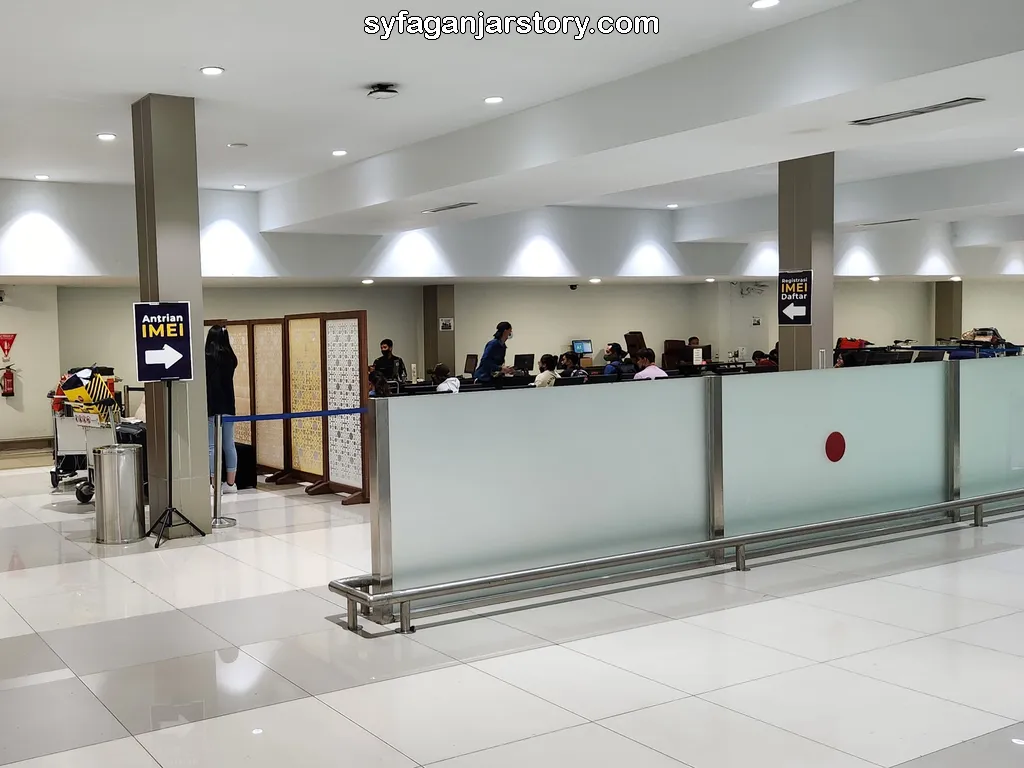
In countries like Indonesia, one of the items that must be declared at customs is cellphones purchased from abroad. It's necessary to register the phone's IMEI and pay the applicable tax at customs to enable its use within Indonesia. Without this, the phone will be unable to connect to any network signals.
To clear customs at Indonesian airports, passengers are required to complete the customs ECD form online. Once filled out, you will receive a QR Code, which needs to be scanned by customs officers as you pass through.
Having passed all these checks, you're then free to exit the airport terminal. Congratulations on your successful first flight experience! Exciting, isn't it? Undoubtedly, this initial experience will remain a cherished memory.
In this article, I've shared steps to guide you when boarding an airplane. I hope this can help those embarking on their first flight. If you have any questions, please leave them in the comment section.
