Narita Airport is among Japan's major international airports. It provides several transportation methods for passengers traveling to central Tokyo, including buses, taxis, and trains. Out of these, Skyliner and Narita Express trains stand out as top choices for many travelers.
In this article, I will focus on the Skyliner, a high-speed train operated by Keisei Electric Railway. It's an ideal choice for those looking to reach central Tokyo swiftly and efficiently.
Skyliner can take passengers at speeds of up to 160 kilometers per hour, covering the distance to Tokyo in just 40 minutes. This is considerably faster than the airport bus or even the Narita Express. Here's a step-by-step guide on how to use the Skyliner:
To ride the train, you'll first need a ticket. There are three methods to buy one:

Tickets can be purchased directly at the Keisei Ticket Counter. Locations include Narita Airport Terminals 1, 2, and 3, Nippori Station, and Keisei Ueno Station. Detailed information on the counter's locations and hours is available on their official webpage.
When at the counter, simply inform the clerk of your intent to buy a Skyliner ticket to Tokyo, provide the necessary details, and make your payment.
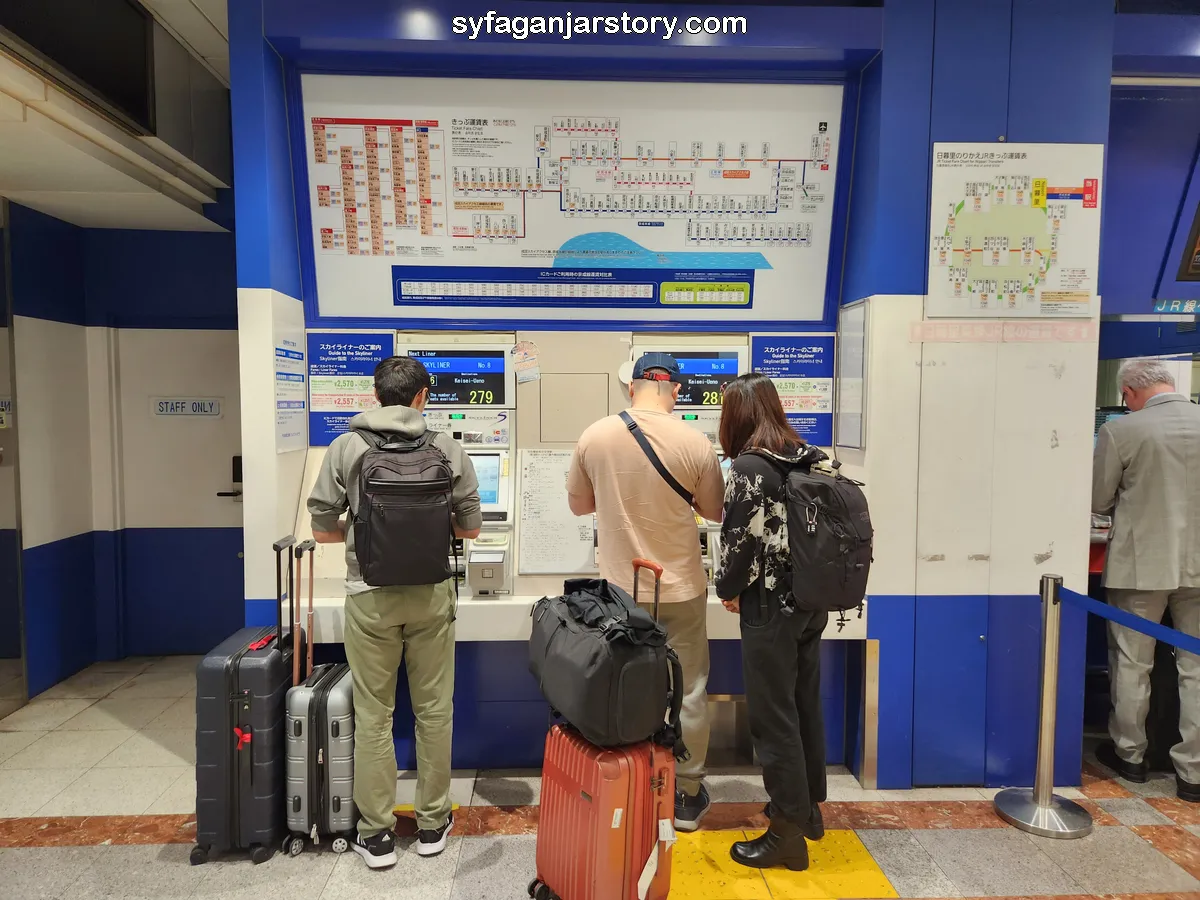
Located close to the Keisei ticket counter, these machines allow passengers to purchase tickets themselves. The process is easy. Just follow the prompts, select your preferences, insert the money, and collect your ticket.
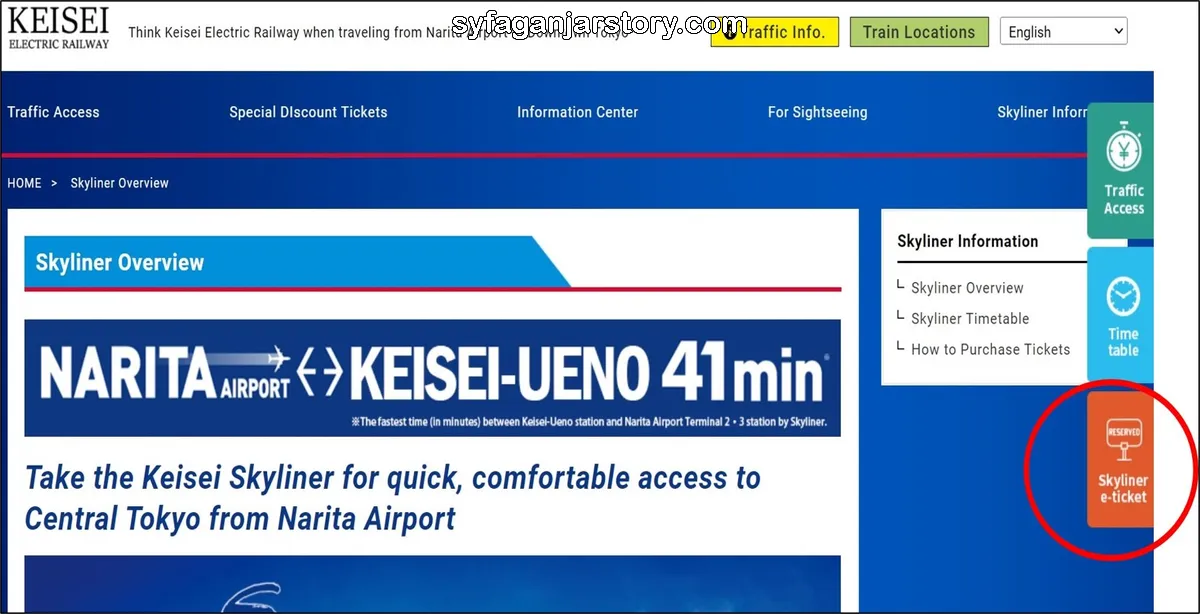
Lastly, tickets can be bought online via the Keisei Electric Railway's official website. Purchasing online might also offer some discounts.
My husband and I also bought this via the official website. If you want to do the same, please check this article below:
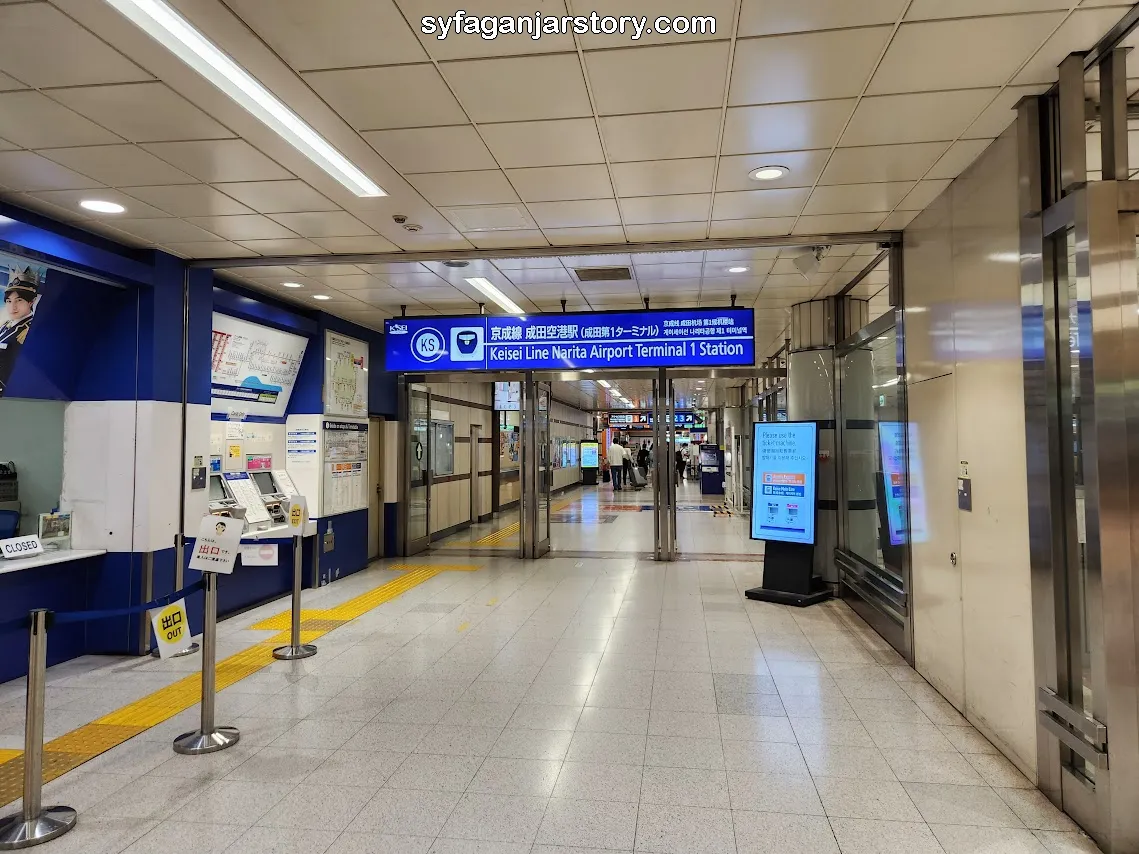
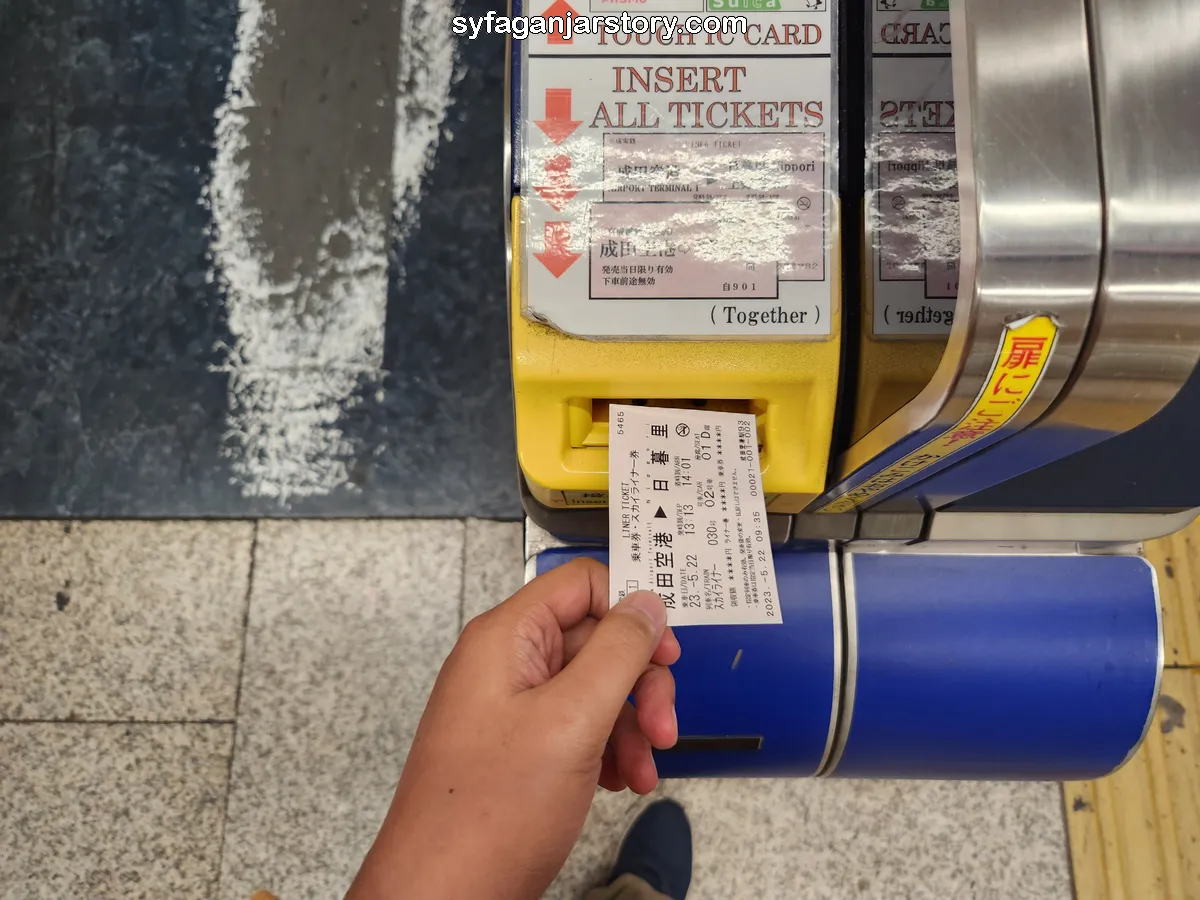
With your ticket and the train departure time in your hand, proceed to the Keisei Line gate. For those in Terminal 1, the gate is conveniently located near the ticketing counter.
To enter, insert your Skyliner ticket into the slot at the gate. The gate will momentarily retain your ticket and then return it at the opposite end. Ensure you retrieve it, as you'll need it upon reaching your destination.
Next, refer to the signboard showing the train departure schedule and platform details. Match your ticket's schedule with the information on the board to locate the correct platform.
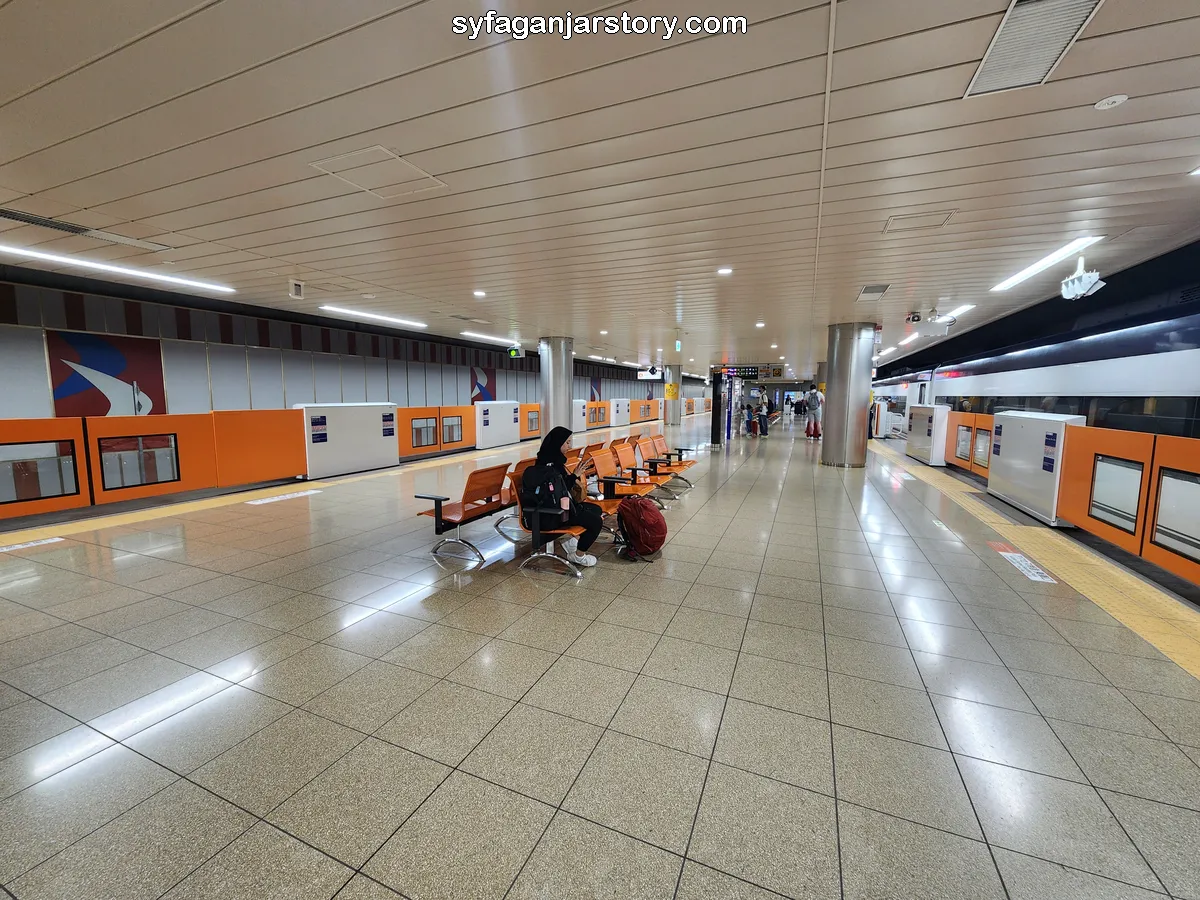
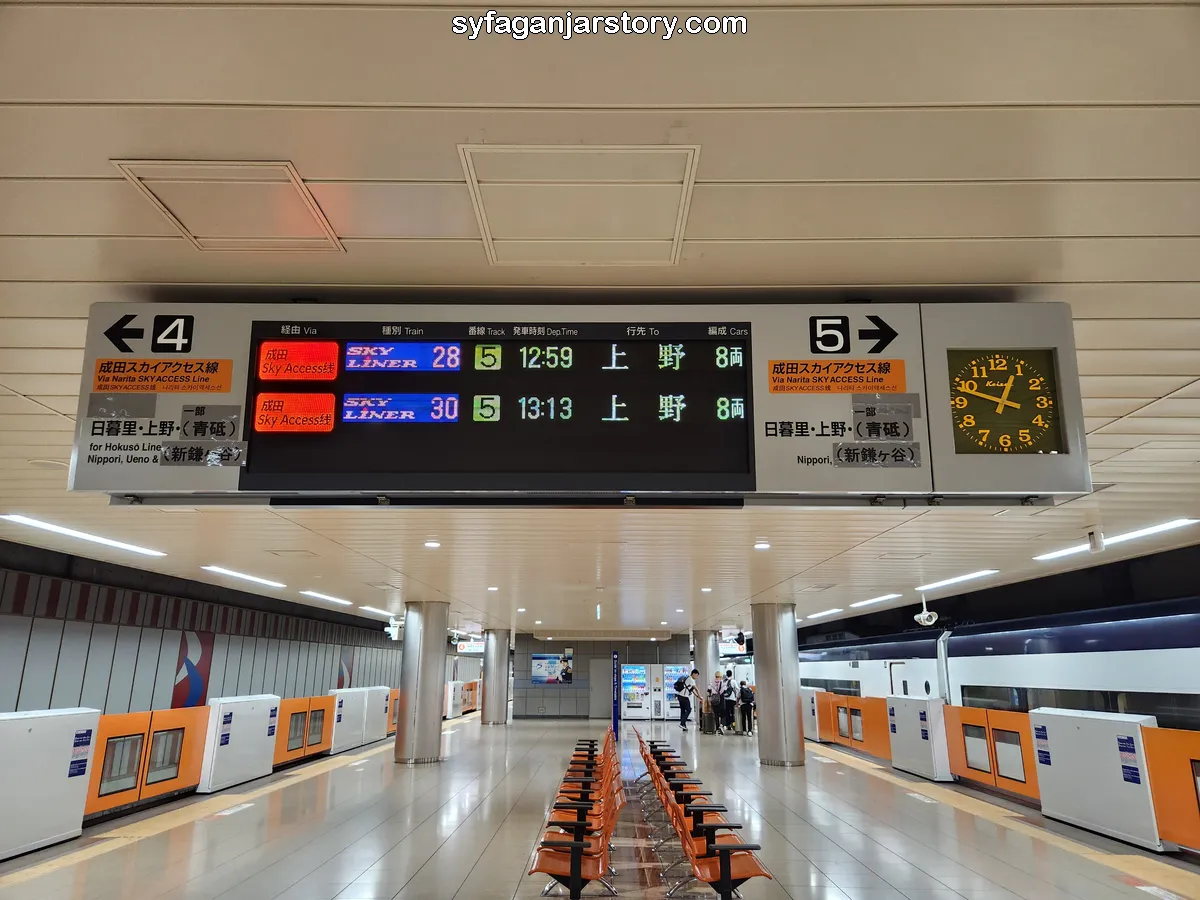
Upon reaching the platform, take a moment to relax. There's a vending machine available for refreshments.
Keep an eye on the signboard which displays the train's name, departure time, destination, and train number. Double-check it against the information on your ticket to avoid boarding the wrong train.
For ease of boarding, I recommend you to wait near the carriage number corresponding to the one printed on your ticket. This number can also be found marked on the platform's guardrail.
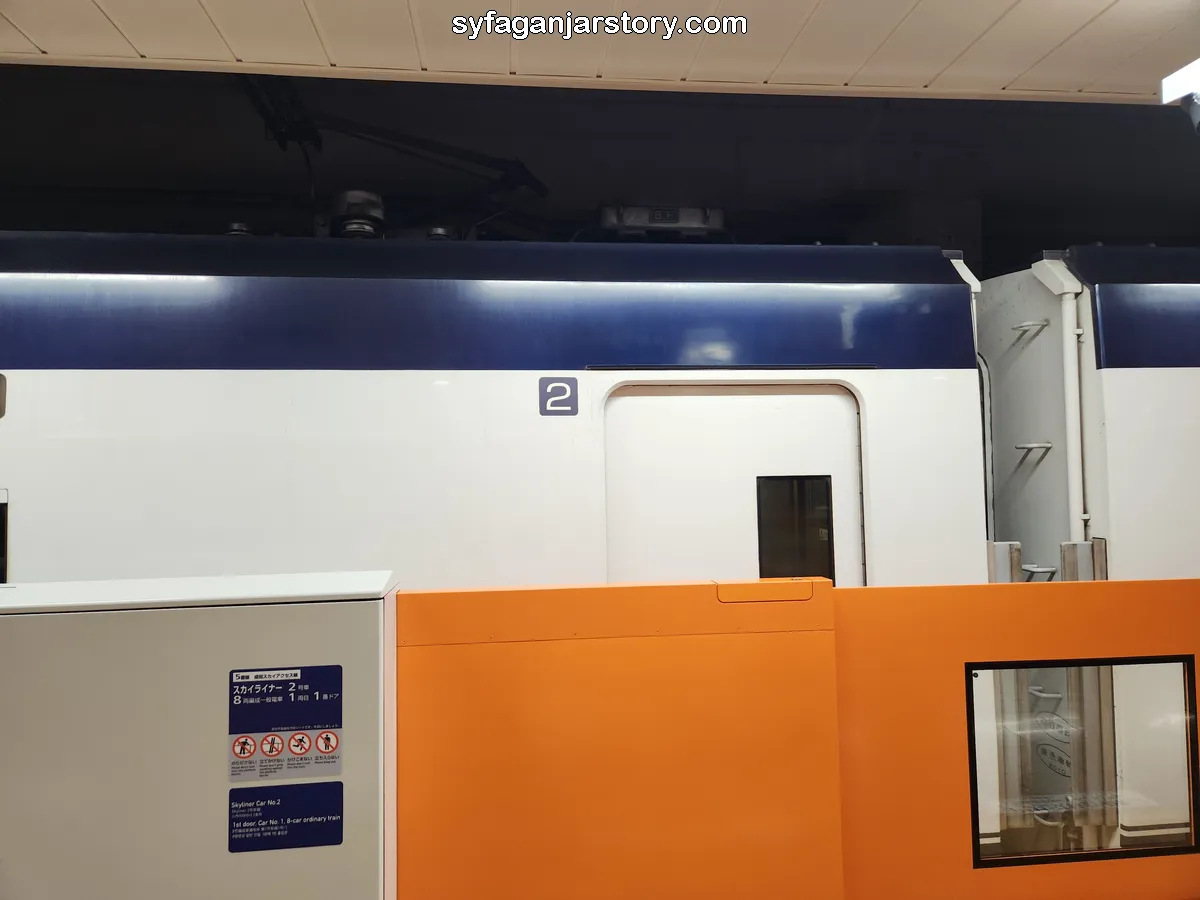

When the train arrives, refrain from immediately boarding. Cleaning staff and other personnel first ensure that the train is tidy and check for any items left behind by previous passengers.
Once the doors open, board the train and locate your seat. As mentioned before, seating options are available, so make sure to find the seat number that matches the one on your ticket. The seat number is displayed near the overhead luggage compartments.
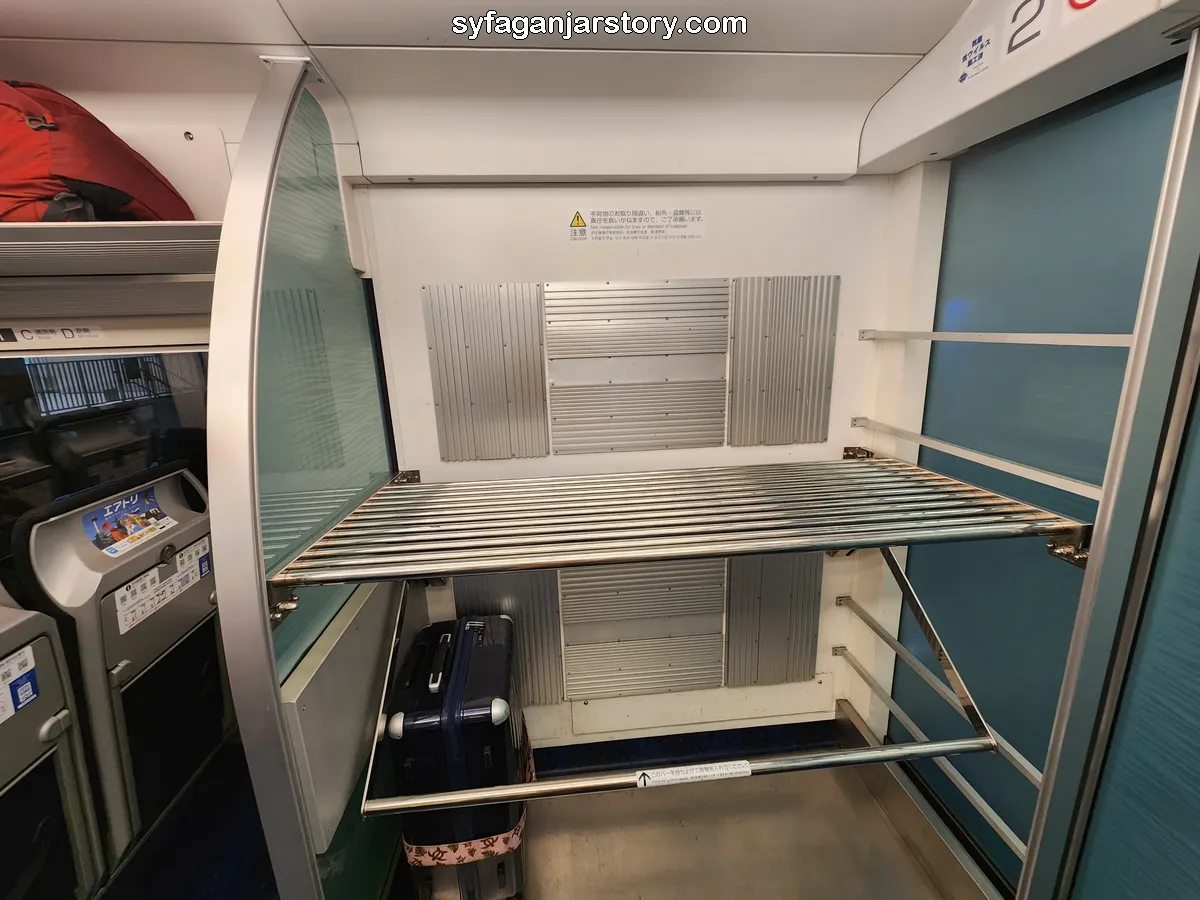
Onboard the Skyliner train, passengers are treated to several convenient facilities. One of these is the luggage storage located at the end of every carriage, designed to accommodate suitcases and other sizable baggage.
Above the seats, there's an overhead compartment suitable for items that aren't overly large. This space is just right for a cabin-sized suitcase or a backpack.
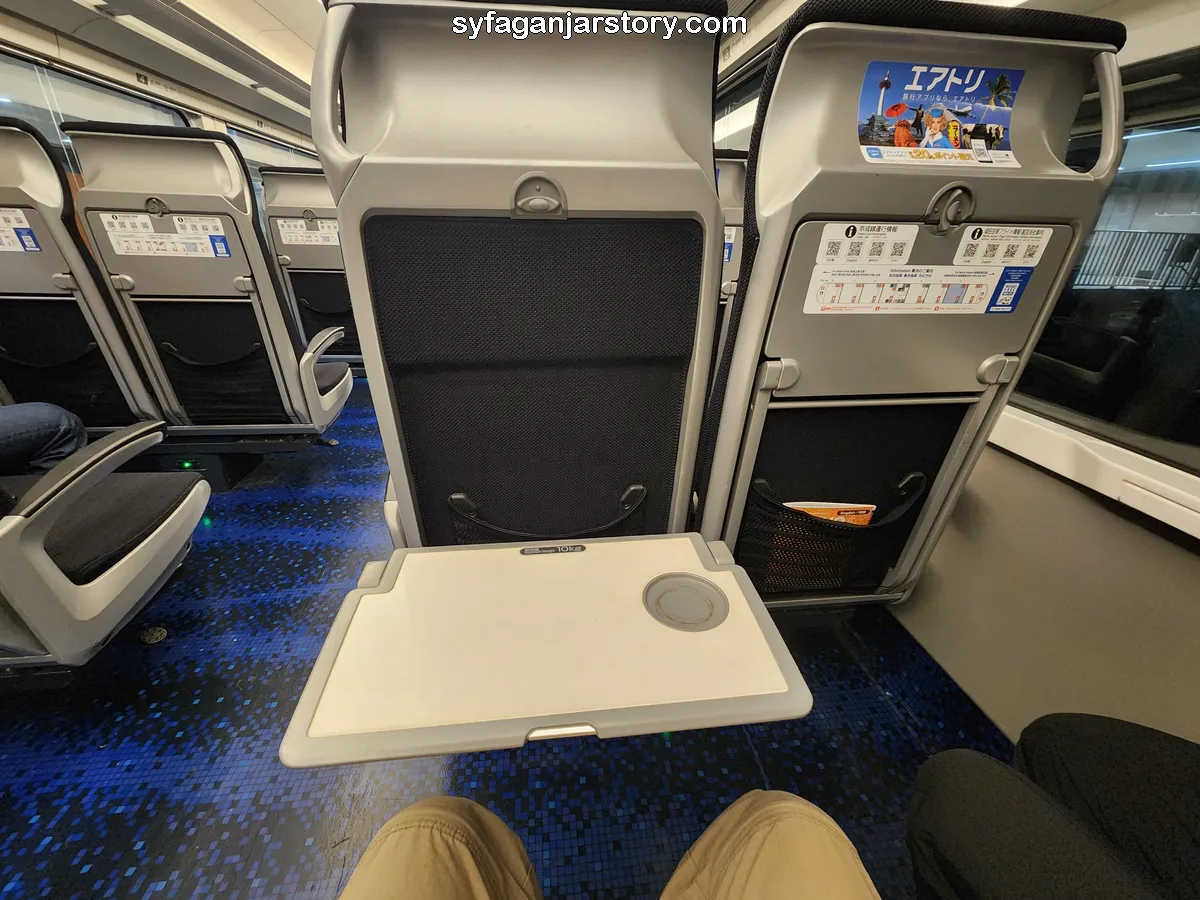
When it comes to comfort, the seats are comfortable and can be tilted back for relaxation. Attached to the seat in front of you, you'll find a foldable dining table, useful for those looking to have a meal or snack during the ride. Just below this table, there's a little compartment to store beverages or similar items.
For me, the Skyliner train is both comfortable and clean. It has generous legroom, ensuring passengers don’t experience discomfort during their journey. And, for added convenience, there are restroom facilities situated at the rear of the train. The train promises and delivers a cozy trip!
As the train nears each station, announcements are made to alert passengers about the upcoming stop. It's vital to listen to these so you don't overshoot your desired station.
If you're approaching your stop, it's time to prepare to disembark. Make sure to straighten up your seat and move toward the doors since the train typically doesn’t linger long at stations.
Once the train stops, its doors will open on their own, and you can step out. From there, head straight to the station’s exit gates. You'll need to insert your ticket into the gate, much like you did when you first boarded the train at Narita Airport.
If the exit gate happens to be open, simply walk through. Remember, upon exiting, the gate will retain your ticket, so it won't be returned to you as it was when you initially entered.
And that wraps up the guide on using the Skyliner train service from Narita to various Tokyo stations. Once in Tokyo, you have a multitude of transit options at your disposal, be it other trains, buses, or different transportation methods, to continue your journey. Safe travels!

