Before jetting off to Japan, my husband and I ensured we had enough cash to last us approximately 12 days. While a number of transactions in Japan can be done electronically, it's always safe to have a cash reserve on hand.
We meticulously budgeted for all possible expenses, including hotels, transportation, meals, and those irresistible souvenirs. Yet, by day 10, our cash pile had gone—go figure!
Thus, when we were exploring Nagoya city, we decided to withdraw our yen at an ATM in Nagoya Station. If you are interested about withdrawing money from ATMs in Japan, this article is for you. To my surprise, the process was eerily similar to the one back home in Indonesia. Here's how to do it:
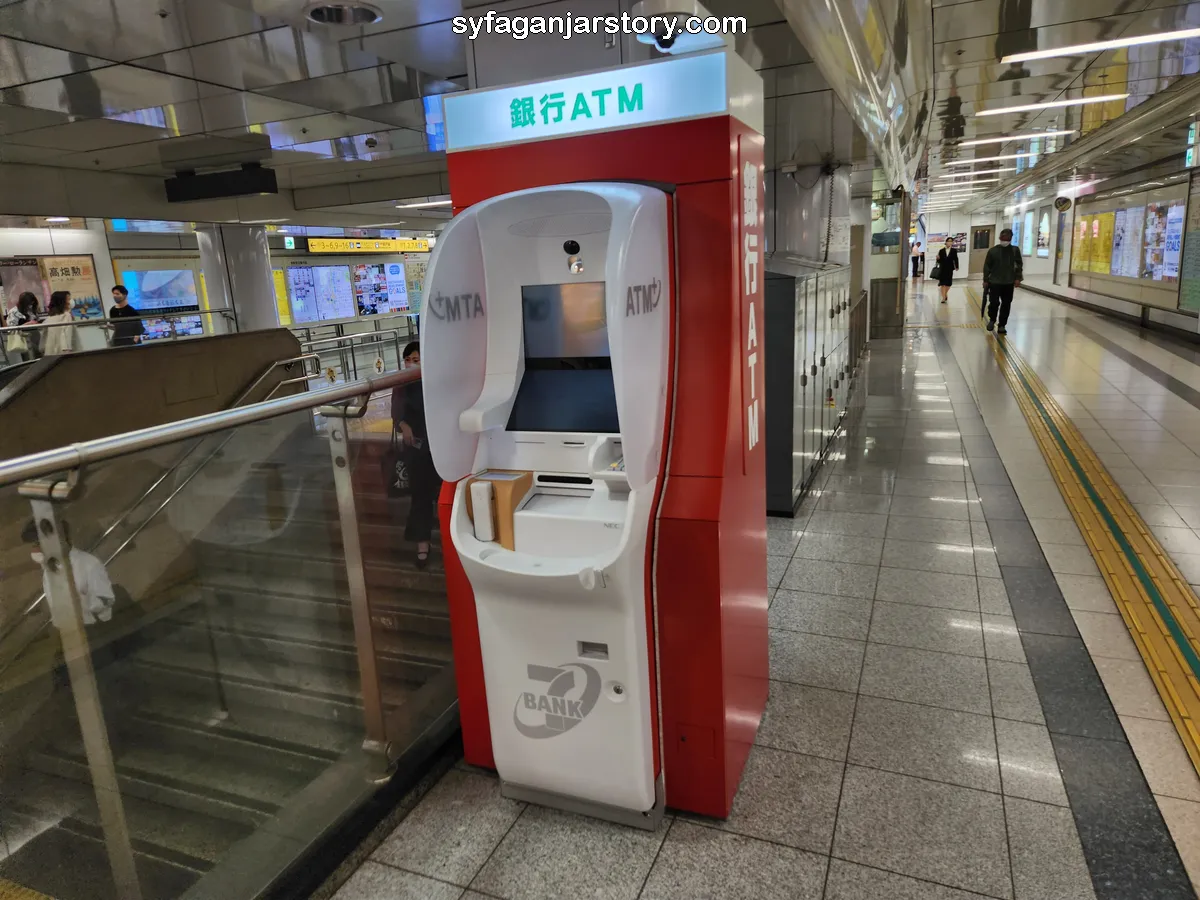
You're spoilt for choice when hunting for ATMs in Japan; they're conveniently located at train stations, airports, malls, and even your average convenience store. An ATM that frequently crossed our path belonged to Seven Bank.
If the name rings a bell, yes, it's associated with the 7-Eleven convenience store. For simplicity's sake, I'll detail our experience using Seven Bank's ATM.


Pop your ATM card in and hang tight while it processes. Subsequently, pick a language. I opted for English, mostly because I was oblivious to the presence of an Indonesian option. While I can't vouch for other ATMs, if you're not at ease with unfamiliar languages, Seven Bank has got your back.

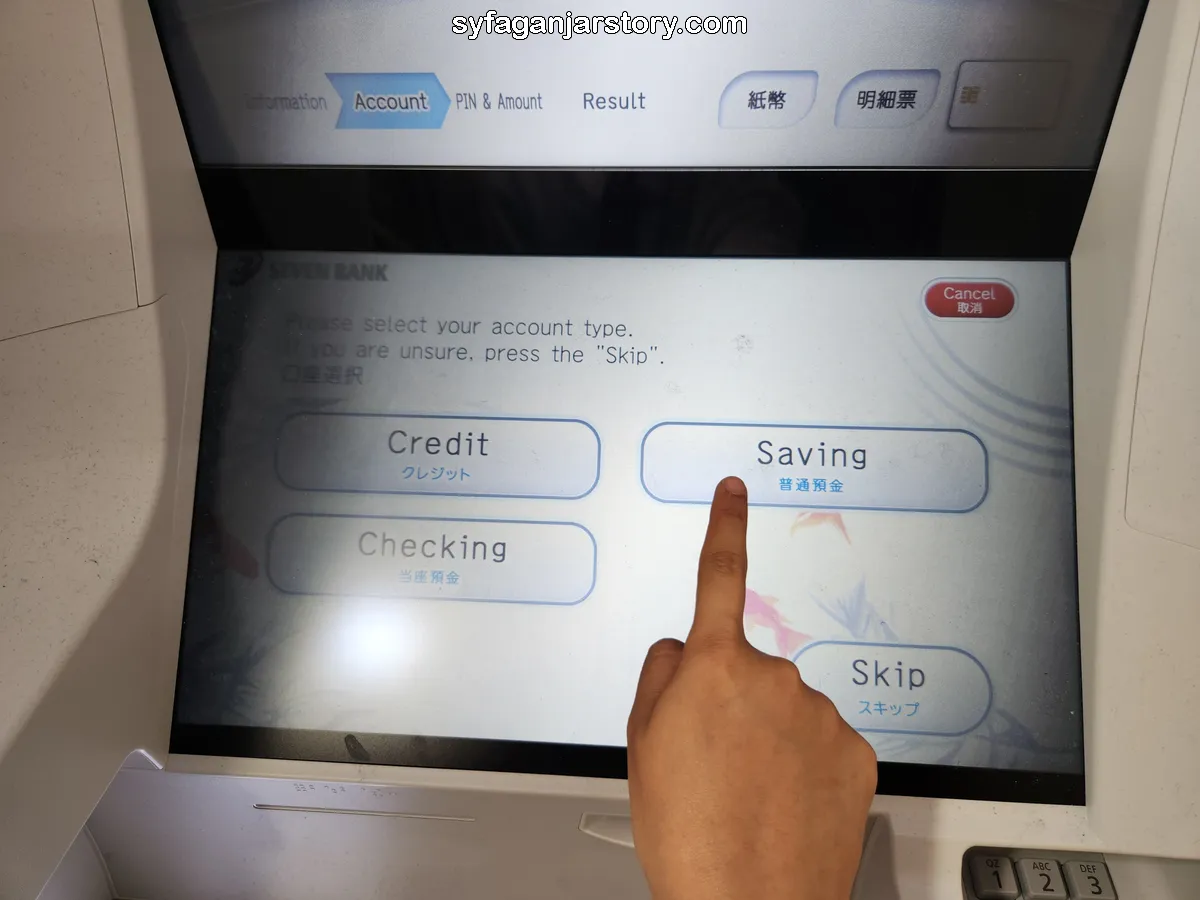
Upon setting your language preference, you'll choose the kind of transaction and your fund's origin. I was after a cash withdrawal from our savings account. If you're eyeing another source, like checks or credit, tweak this step accordingly!
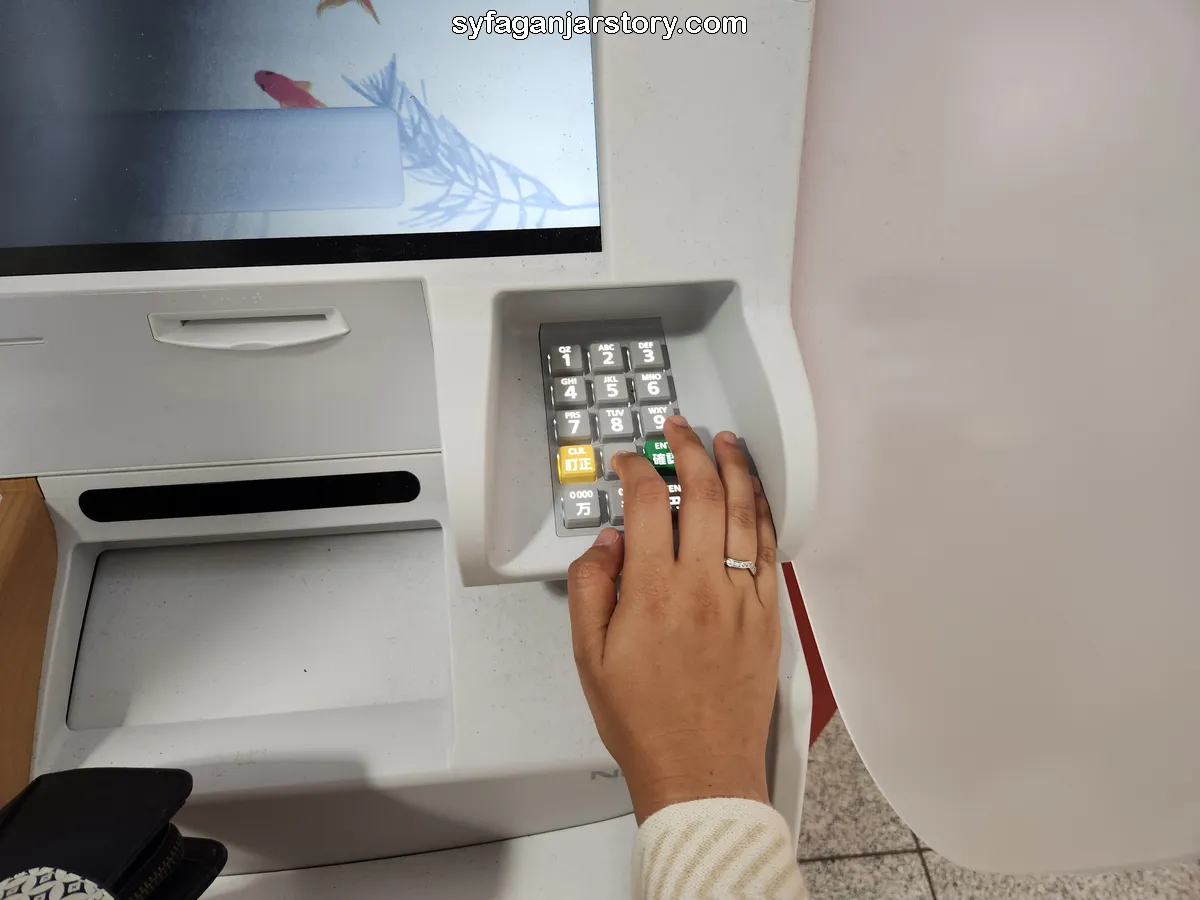
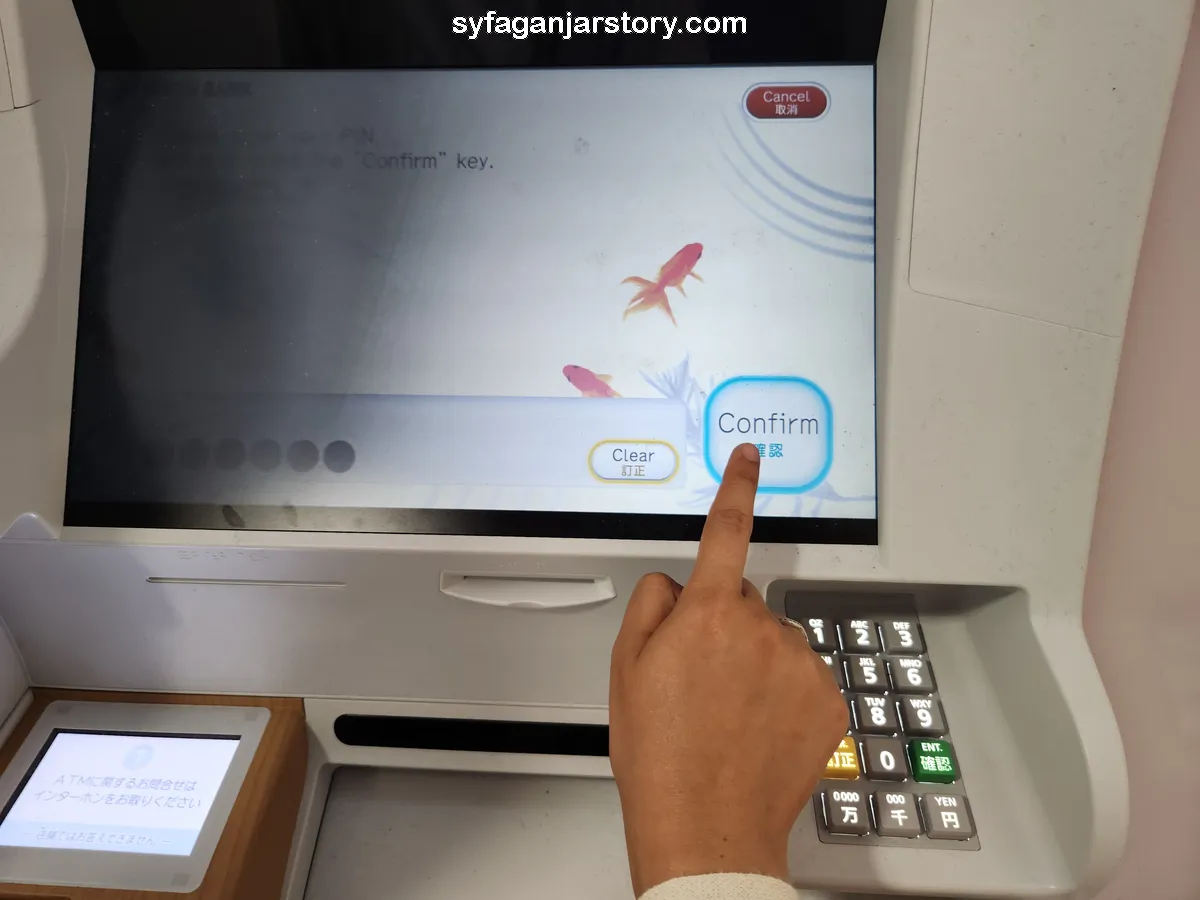
Here's where it differs slightly from Indonesia. Instead of punching in your PIN immediately after card insertion, Japanese ATMs request it a tad later.
Once you've clarified your transaction type and funds source, you're prompted to enter your PIN. Do so, and then tap on "Confirm."
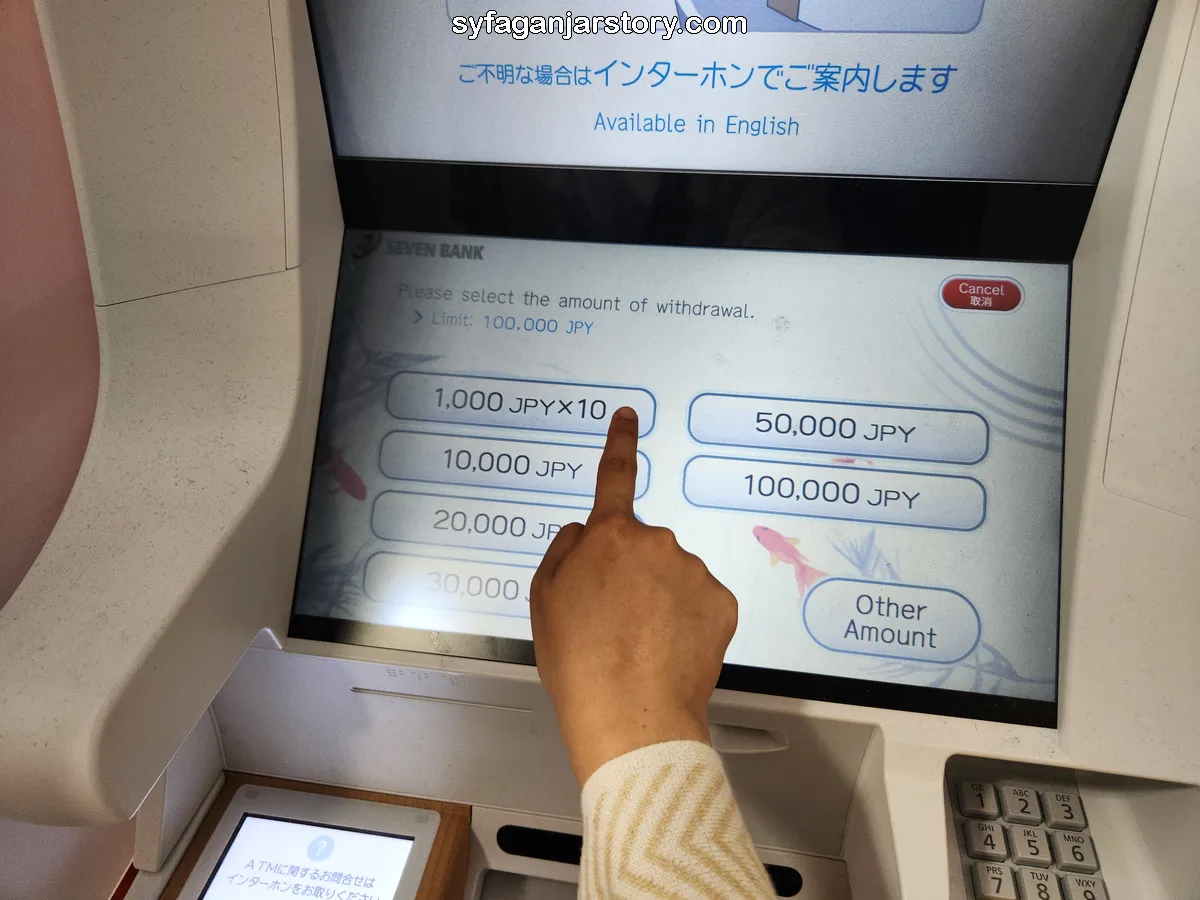
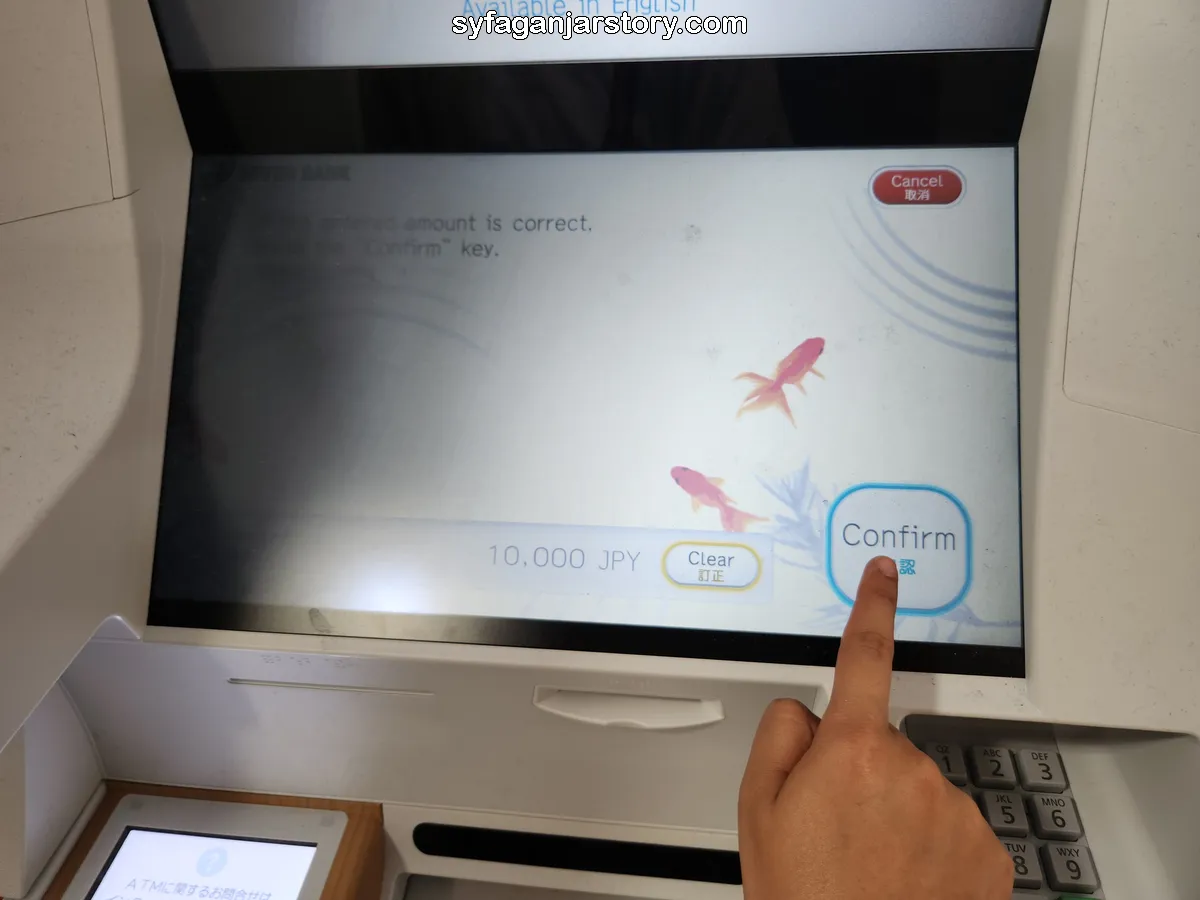
Now, this is intriguing. The ATM permits cash withdrawals in denominations of 1,000 yen (around 105 thousand). My husband and I wanted just 10,000 yen, so we gleefully picked the 1,000 yen denomination. Confirm your amount, and you're golden!
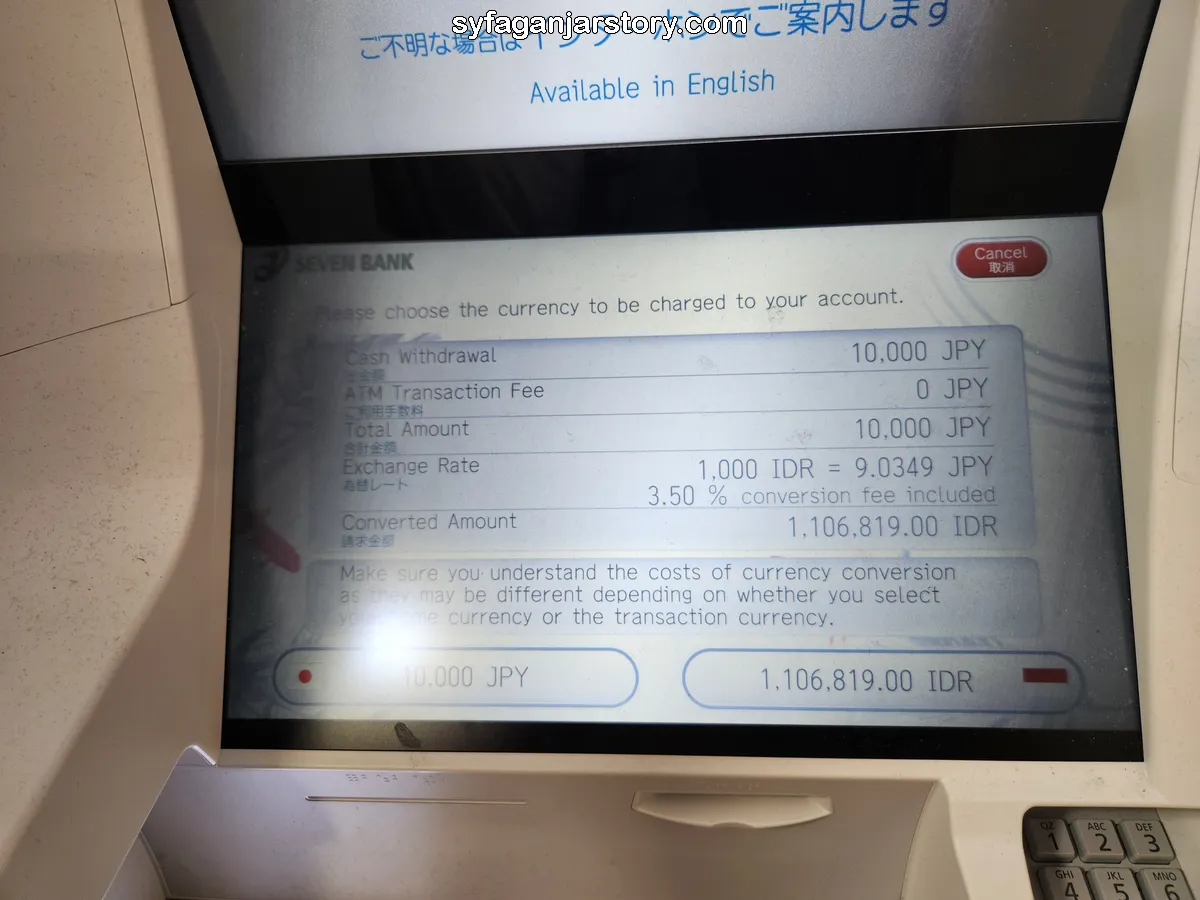
Using a foreign card at an ATM might present you with the Dynamic Currency Conversion (DCC) option. Essentially, you can wrap up the transaction in the local currency or the currency from where your card hails (Yen and Rupiah in my case).
For instance, if you proceed in Yen, your home bank handles the conversion to Rupiah at the prevailing exchange rate, possibly tacking on a conversion fee
On the flip side, if you prefer the Rupiah route, the Japanese ATM or local bank uses its own conversion rate. It's a gamble; the conversion might be a steal or a tad pricey, as it hinges on fluctuating exchange rates.
More often than not, sticking with the local currency (Yen, in this scenario) might be more economical, bypassing potentially hefty fees or skewed rates levied by foreign ATMs. But as always, different strokes for different folks! I personally chose the Rupiah rate and incurred a modest admin fee of 25 thousand rupiah for the privilege.
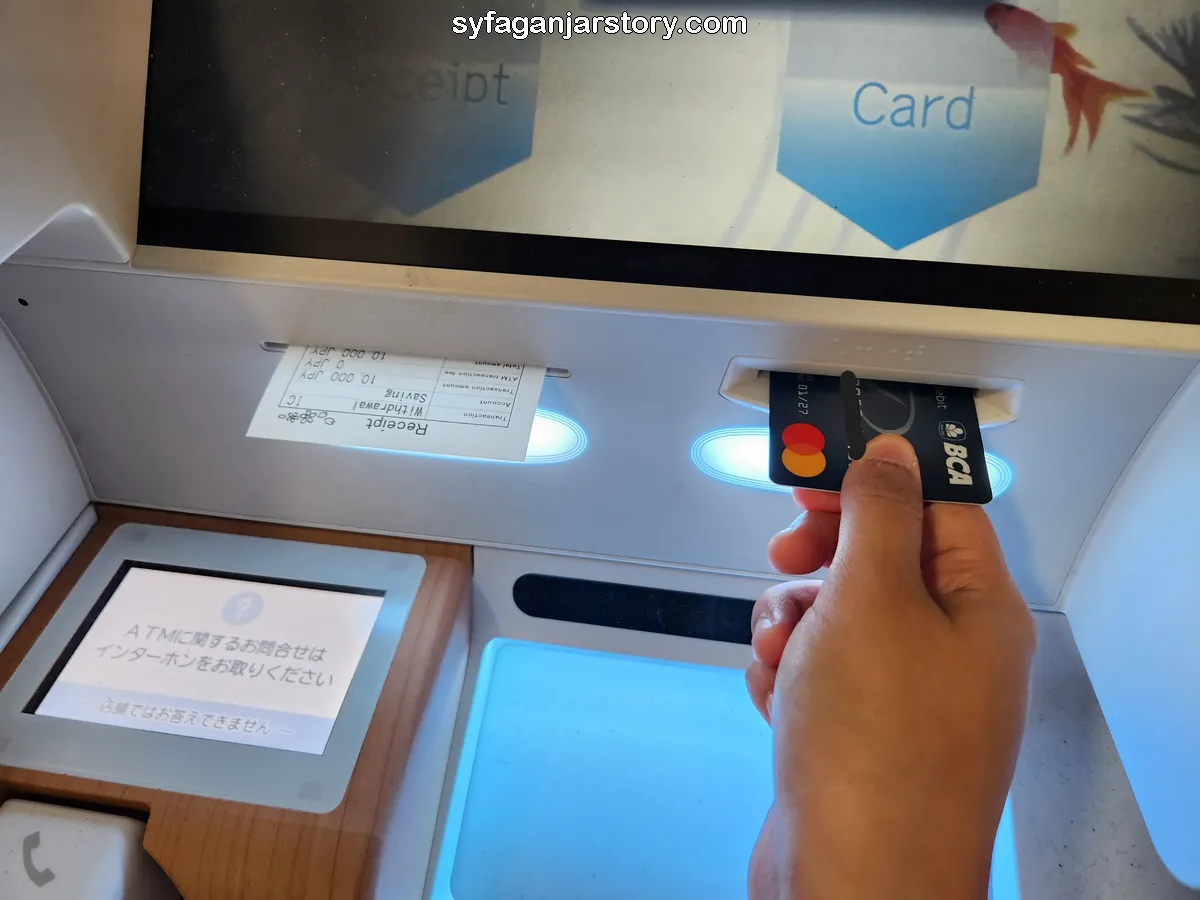
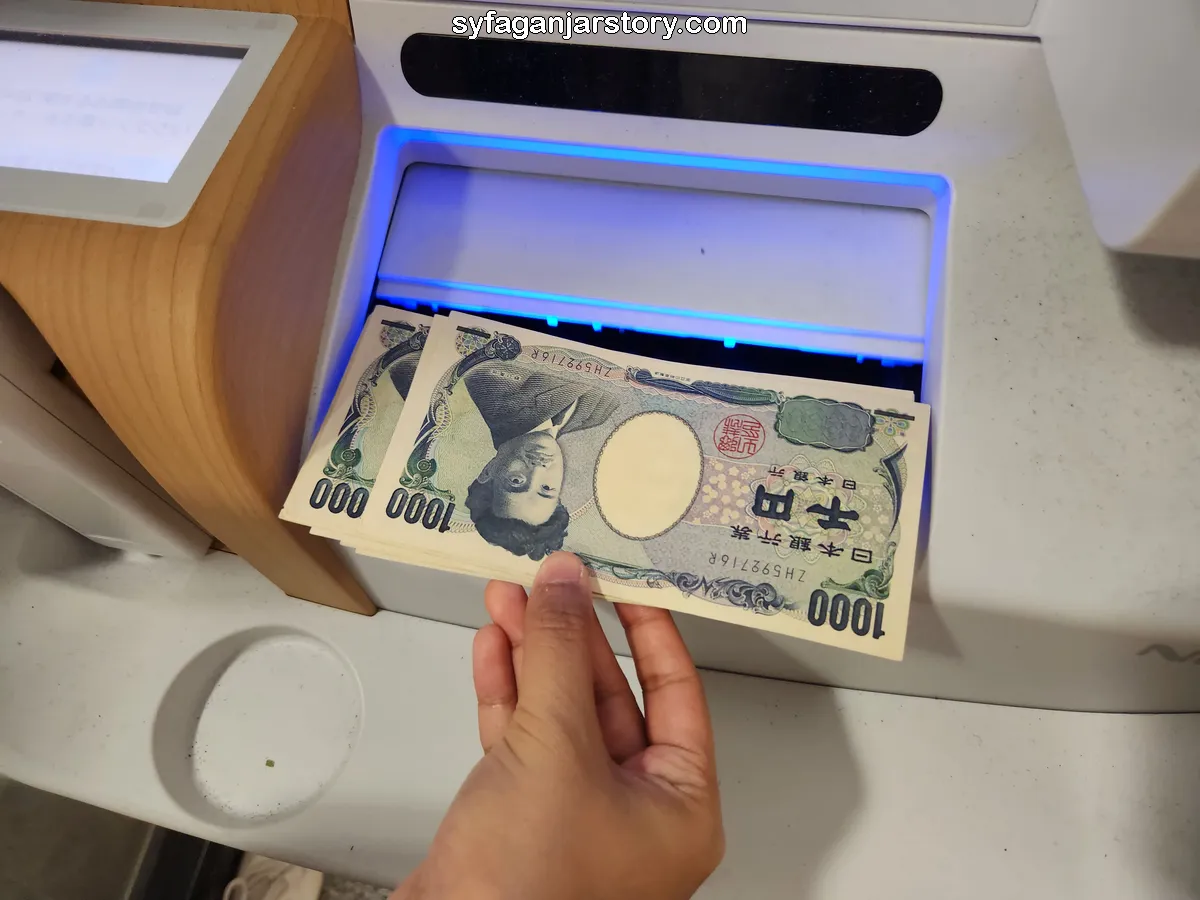
Decided on your preferred exchange rate? Awesome! Click either Rupiah or Yen, finalize your transaction, and snatch up your card, cash, and receipt. Simple, wasn't it?
That's my quick guide on maneuvering Japanese ATMs. Hopefully, you find it handy. A quick aside: Syfaganjarstory has penned down a similar guide on Singaporean ATMs; don't forget to give it a glance! Until the next story!
