
Changi Airport... Just hearing the name brings to mind images of luxury and sophistication. Almost every aspect of this airport amazes me because it's rarely found in other airports.
One of the latest technologies at Changi Airport is the self-check-in and baggage drop system. You can check in, print your boarding pass, and drop your luggage using a machine. Everything is done independently and automatically.
While self-check-in kiosks are common and can be found at many airports, the independent baggage drop is something we haven't seen yet in some airports.
So, for those planning to visit Changi Airport or maybe taking a flight for the first time, don't worry about using these devices. Here’s some info on how to check in and drop off your luggage on your own.
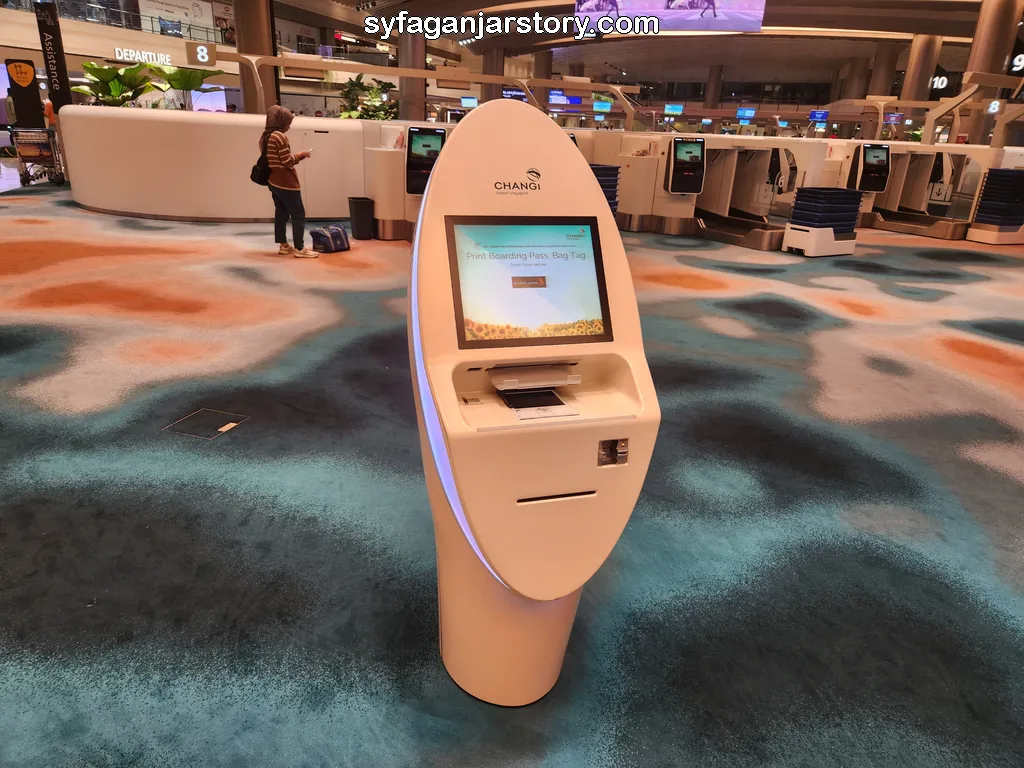
Your journey begins with checking-in and printing your boarding pass. Start by identifying your check-in zone on the information screen at the airport.
Proceed to the self-check-in kiosk in the appropriate area designated for your specific airline or flight. Keep in mind that each area is uniquely allocated to specific airlines, so ensure you're at the correct spot. Follow the steps below once you're at the check-in kiosk:
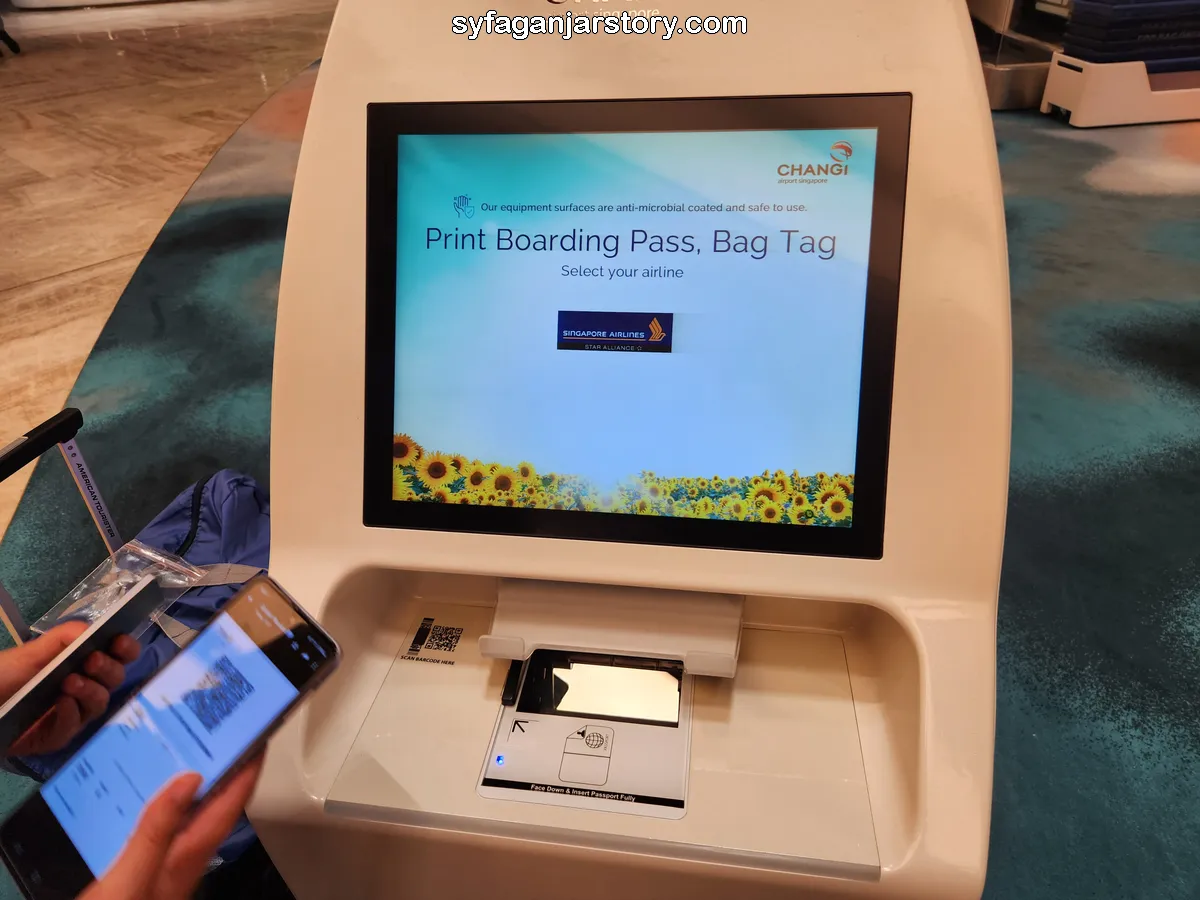
Start by choosing the airline with which you're flying. Some kiosks serve multiple airlines, while others are exclusive to a particular one. For instance, my wife and I selected Singapore Airlines because that's our carrier.
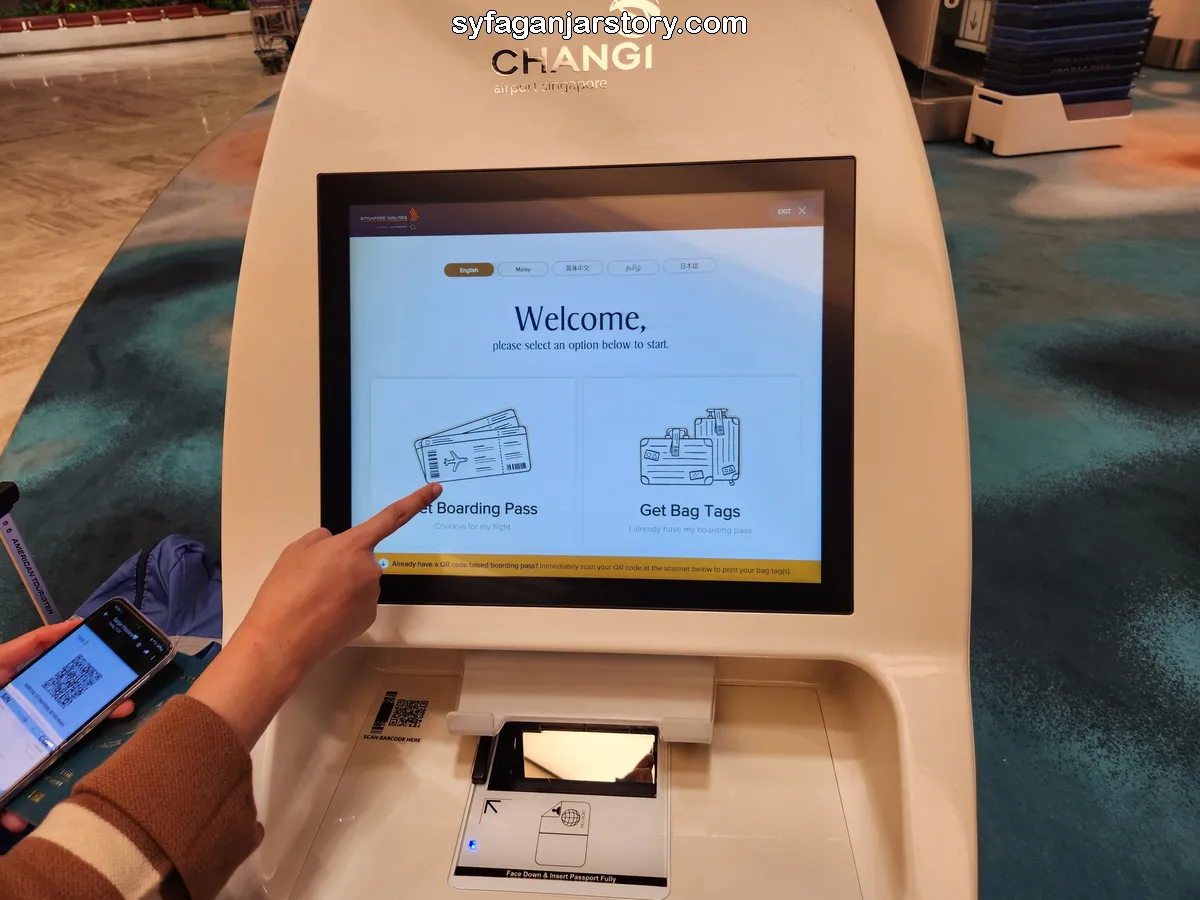
The subsequent page presents an option to "Get Boarding Pass", which allows you to check-in and print your boarding pass. You can also choose your preferred language from options like English, Malay, Chinese, Japanese, or Indian at this stage.
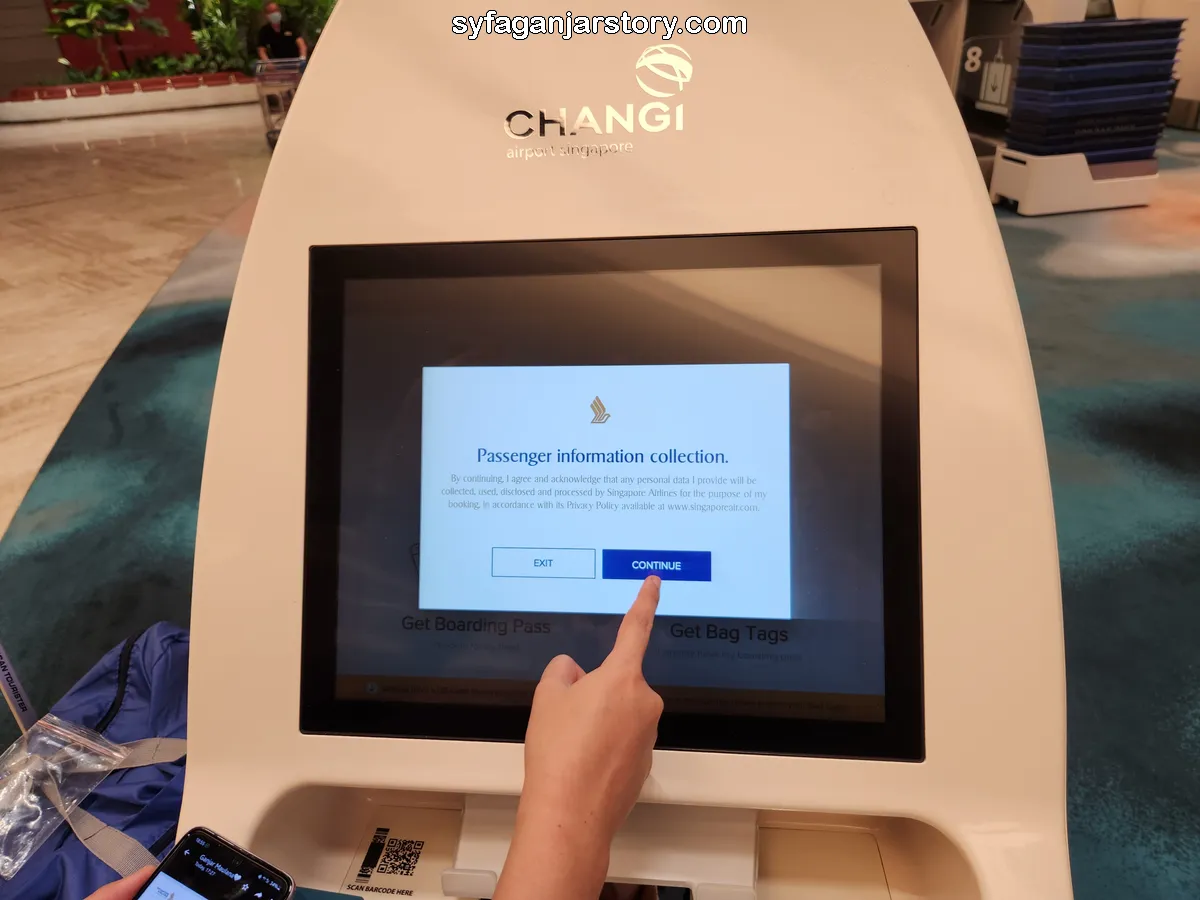
Upon confirming the language, you will see a page detailing passenger data capture. Click "Continue" to proceed further.
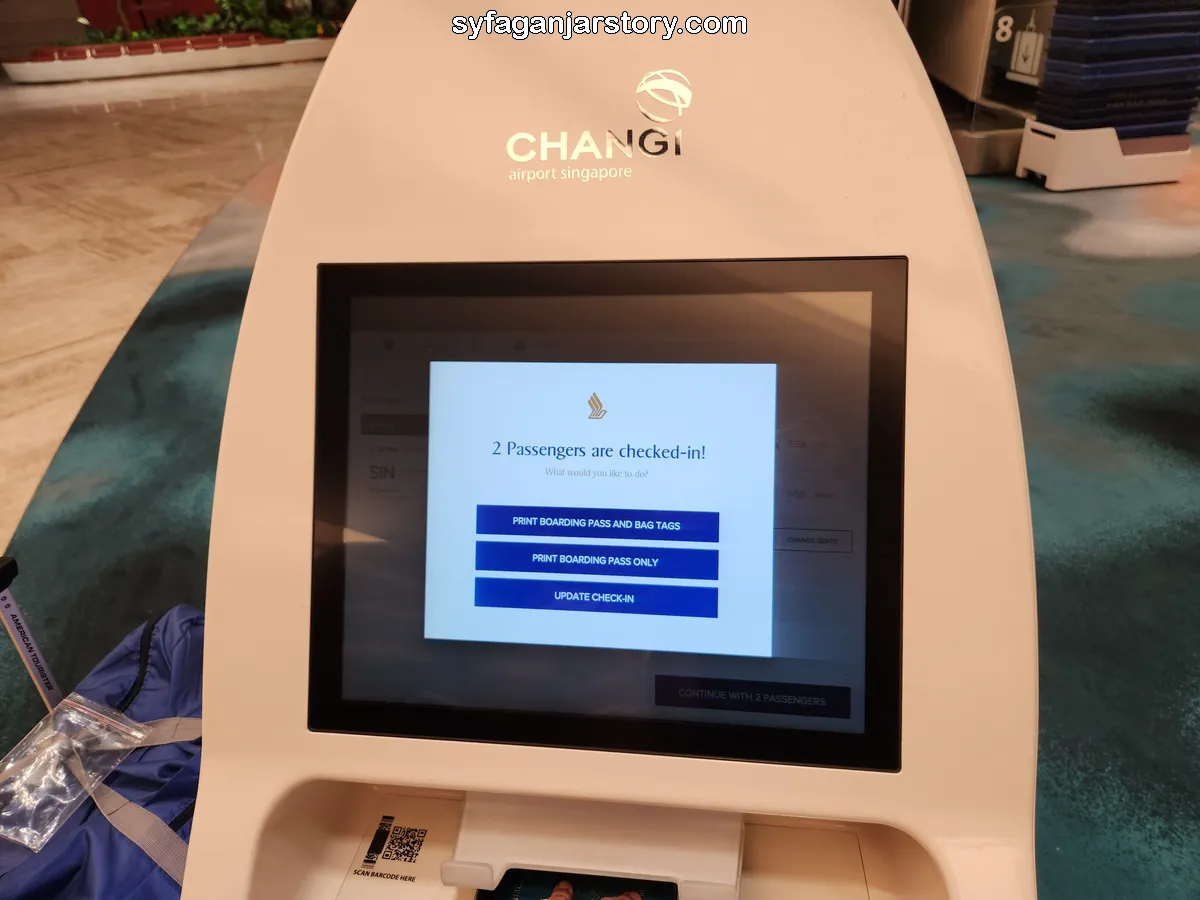
The next screen allows you to modify your check-in data, including seat selection. If you have multiple passengers under the same booking number, their details will appear simultaneously, eliminating the need for individual check-ins.
Should you need to amend the passenger data, select the "Update Check In" button. If you're traveling without baggage, opt for "Print Boarding Pass Only". However, if you have baggage to check in, click on "Print Boarding Pass and Bag Tags".
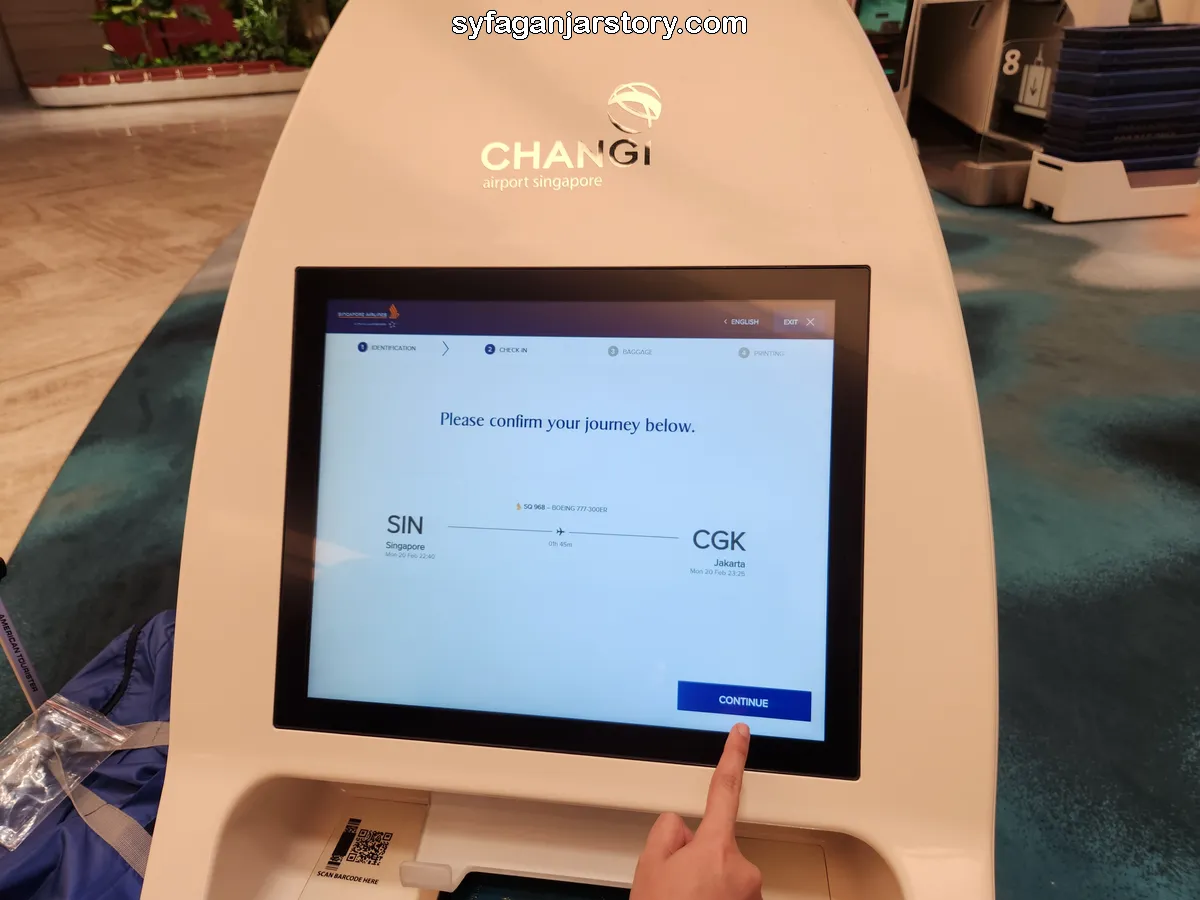
After choosing your preferred option, you will need to confirm your travel destination. For instance, we chose our journey from Singapore (SIN) to Jakarta (CGK). After confirming your details, click "Continue".
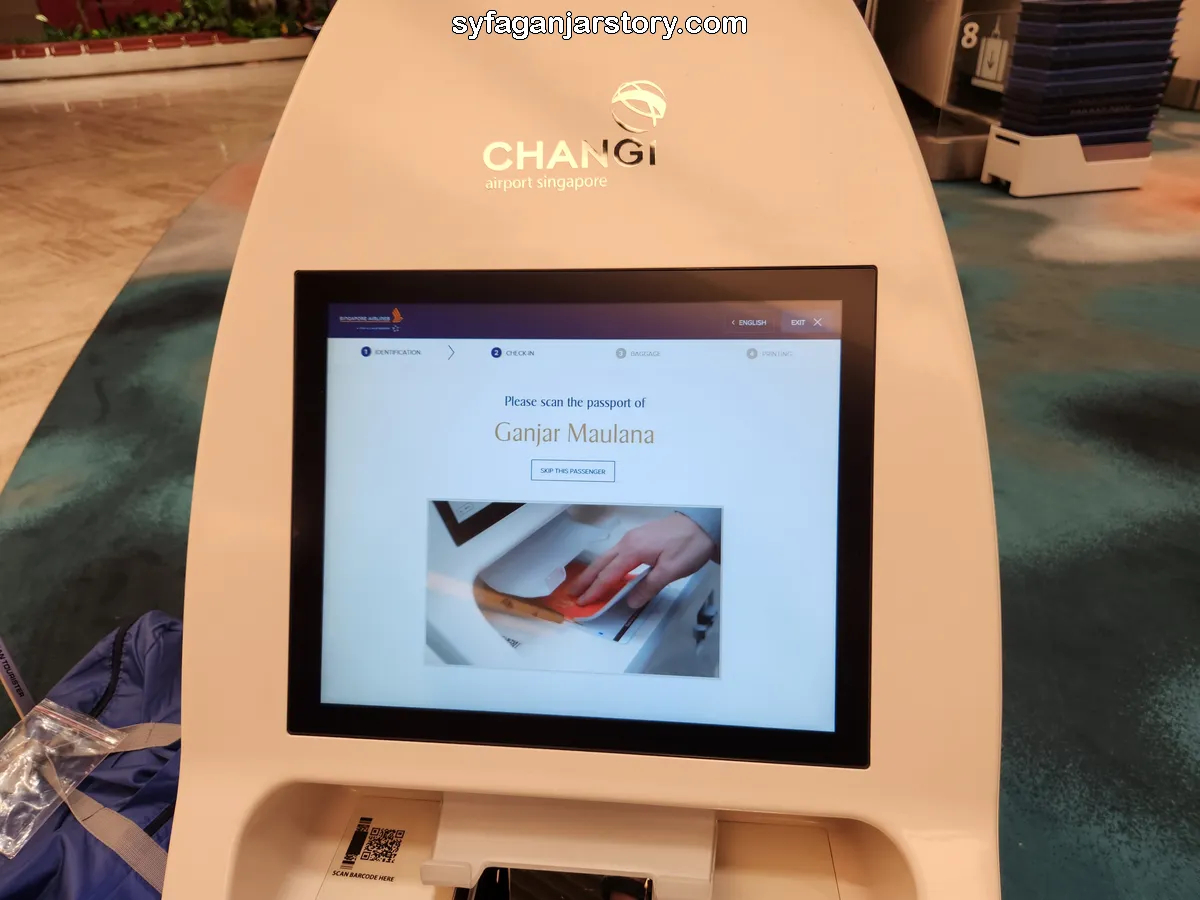
If your booking includes multiple passengers, you'll need to scan the passports of the other travelers. If you're traveling alone, you can skip this step.
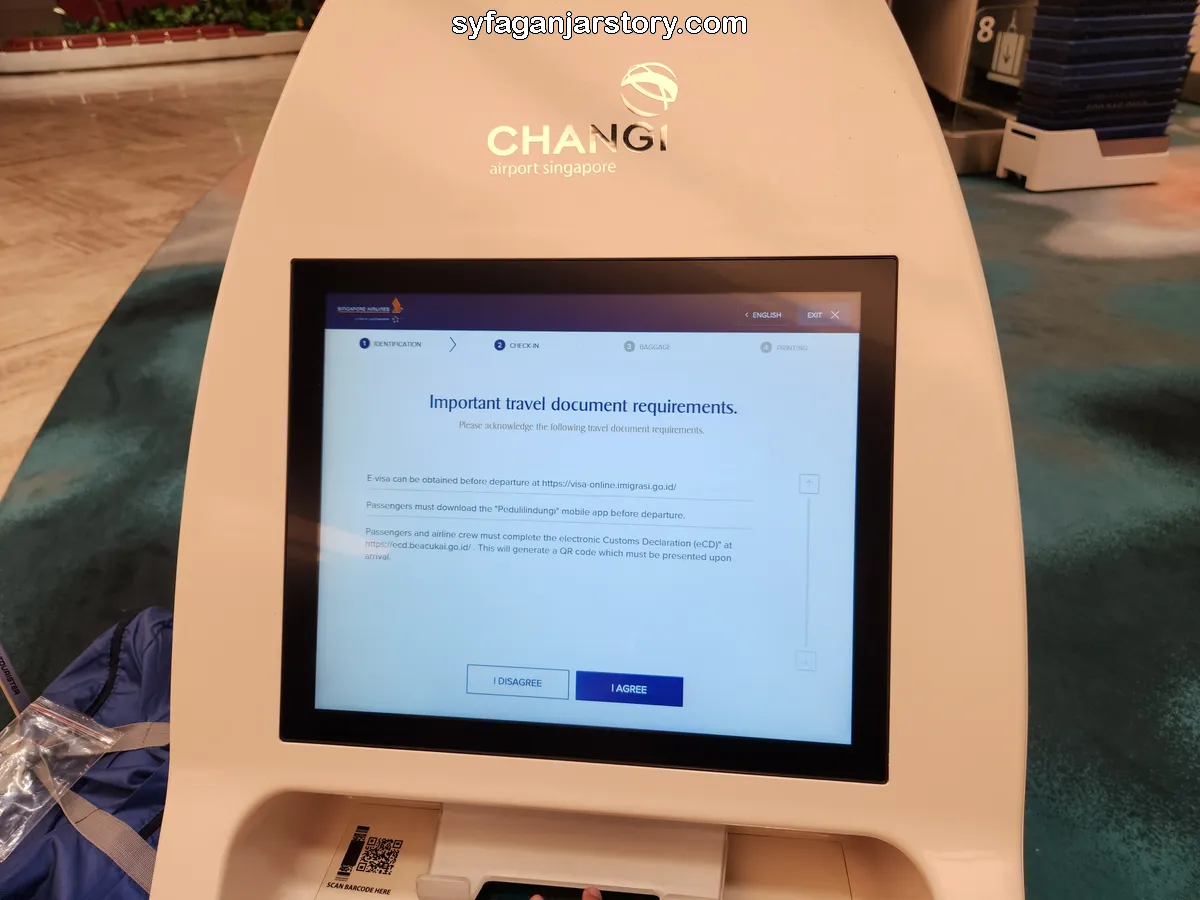
The next page details the documents required to enter your destination country. For instance, to enter Indonesia, you're required to have the Peduli Lindungi application and complete the eCD document for customs clearance.
Scroll through this page to ensure you're familiar with all policies and requirements. Once you've understood all the information, click "I Agree".
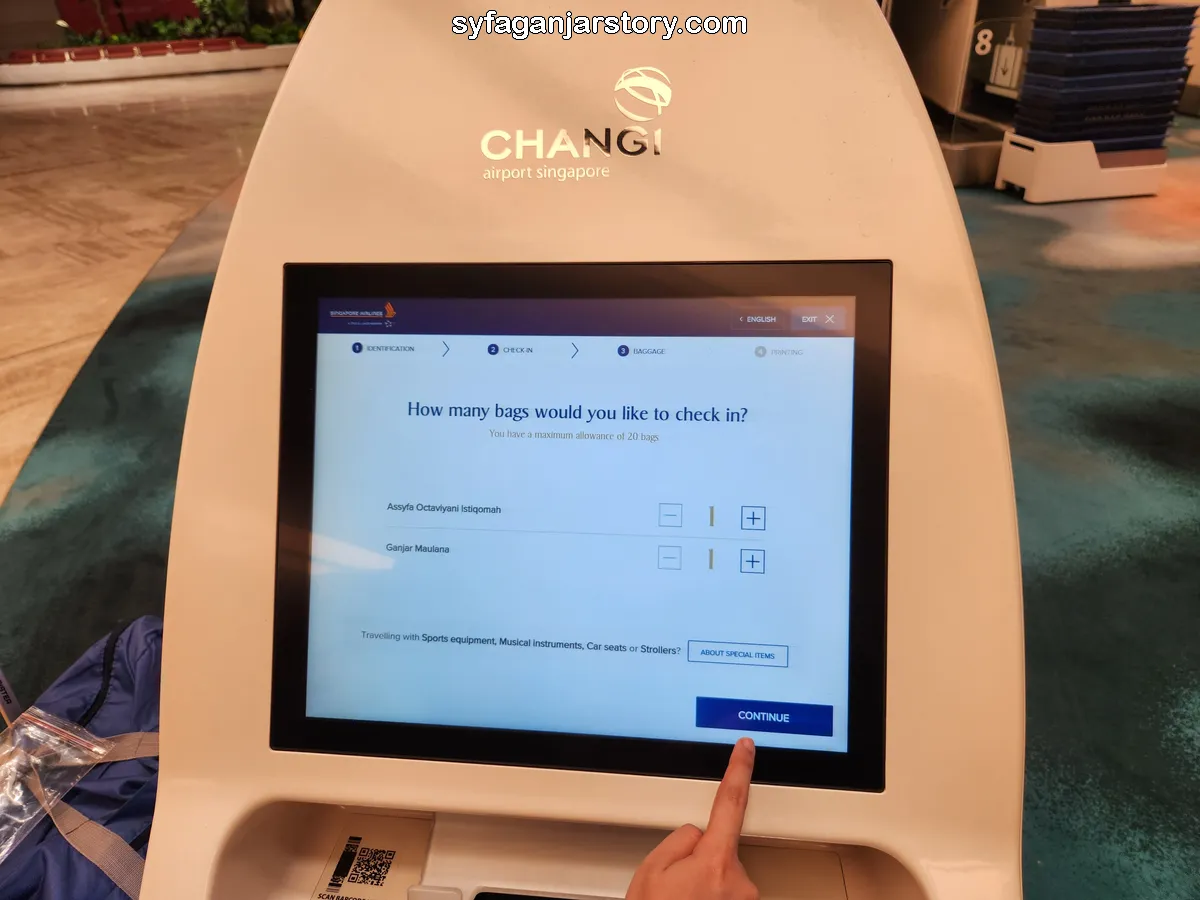
If you have baggage to check-in, enter the total number of pieces. Typically, the maximum number of bags or suitcases that can be checked in is 20. After specifying your baggage amount, click "Continue".
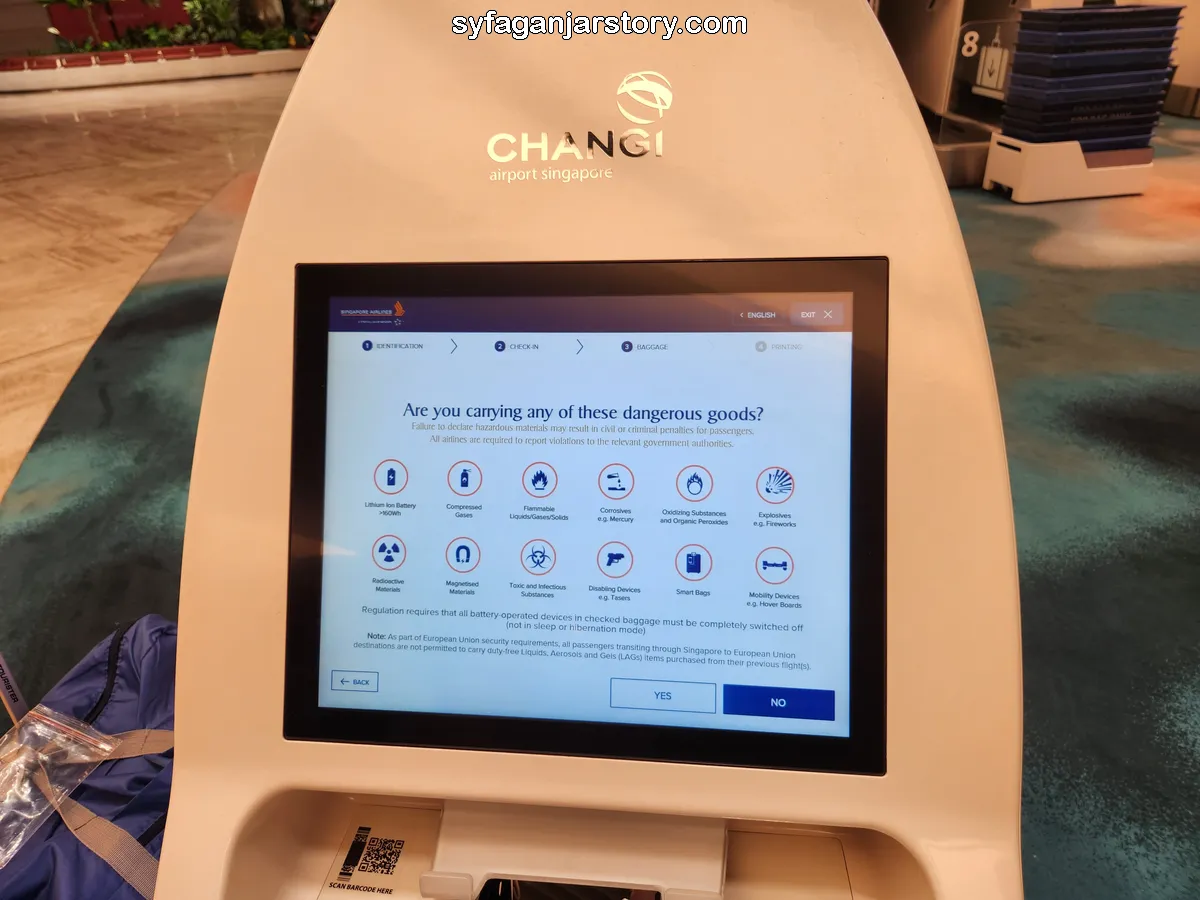
You'll then see a page listing various items that aren't permitted in both cabin and checked-in baggage. To familiarize yourself with these items, refer to these two articles that we've written before:
Review this information carefully to ensure that none of these restricted items are present in your bags or suitcases. Once you've done this, select the "No" button to proceed.
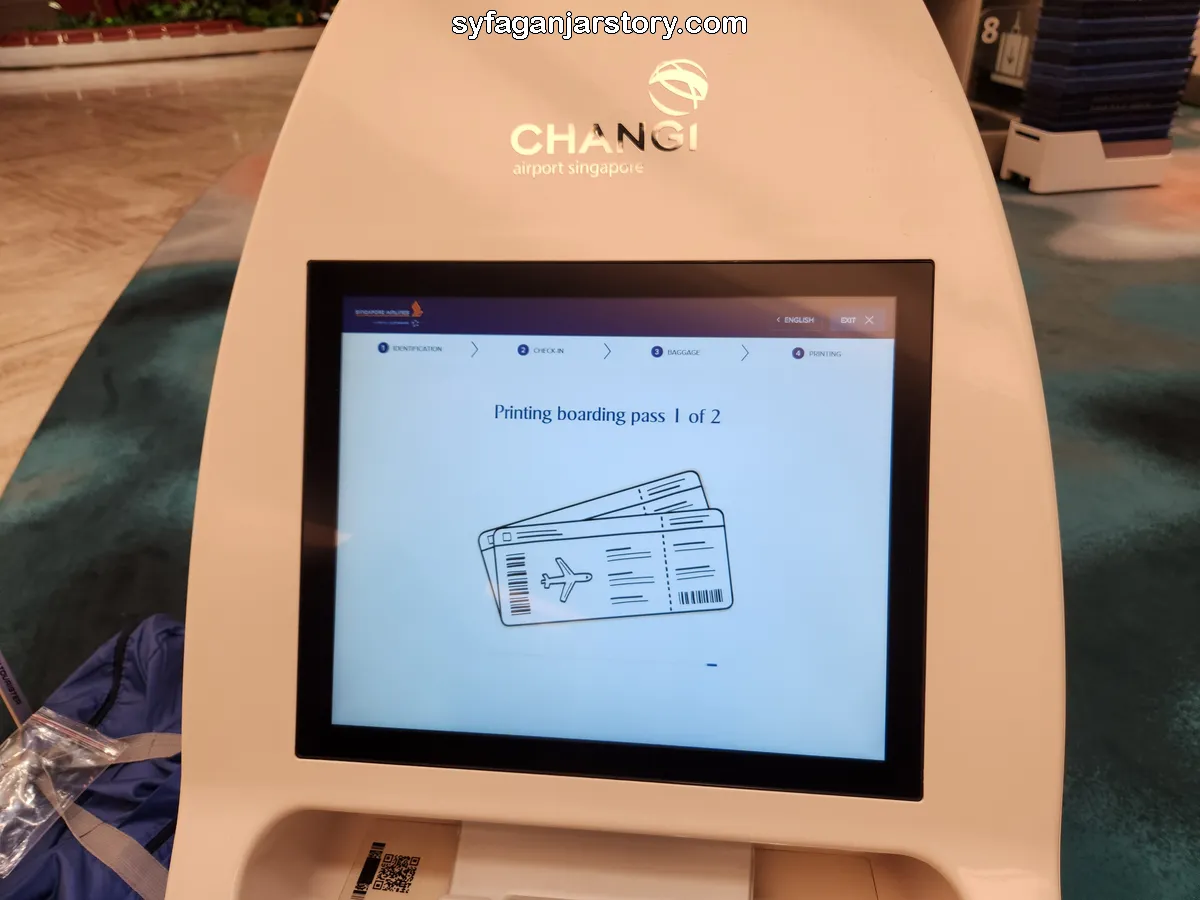
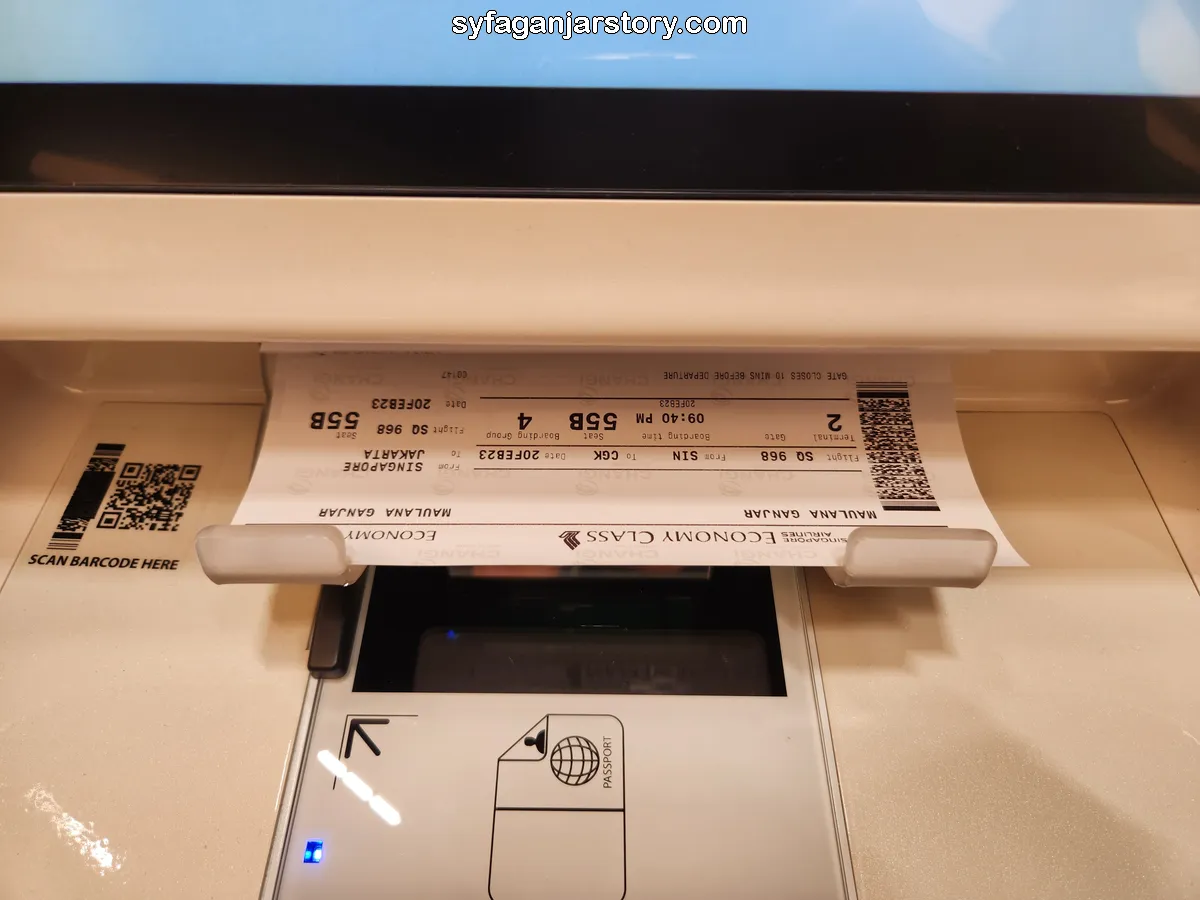
Finally, the kiosk will print your boarding passes and bag tags according to the number you specified earlier. These are printed separately for each passenger. Collect your printed boarding pass and bag tags once they're dispensed.
If you've only printed your boarding pass, your next step is to head straight to the immigration area. However, if you've also printed bag tags, follow the steps below to affix your tags and drop off your luggage.
Once you've received your bag tags, the next step is to securely attach them to the suitcase or bag that you'll be checking in. Let's walk through these steps:
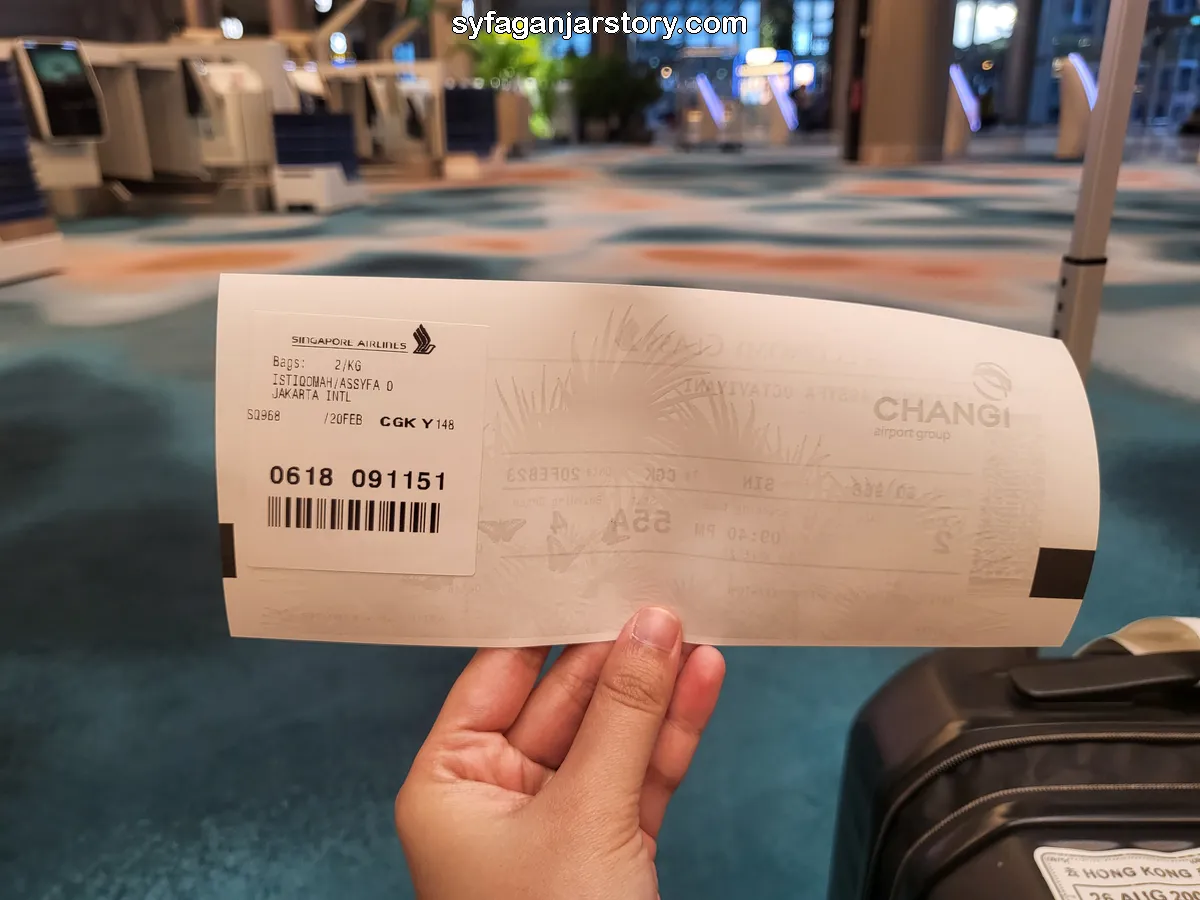
Begin by detaching the receipt labeled "Keep As Receipt" and adhere it to your boarding pass. This receipt provides essential details, such as your baggage number, which may prove valuable in instances of loss, damage, theft, or similar situations.
While you could technically store this receipt anywhere, it's recommended to attach it to your boarding pass for convenience and easy accessibility.
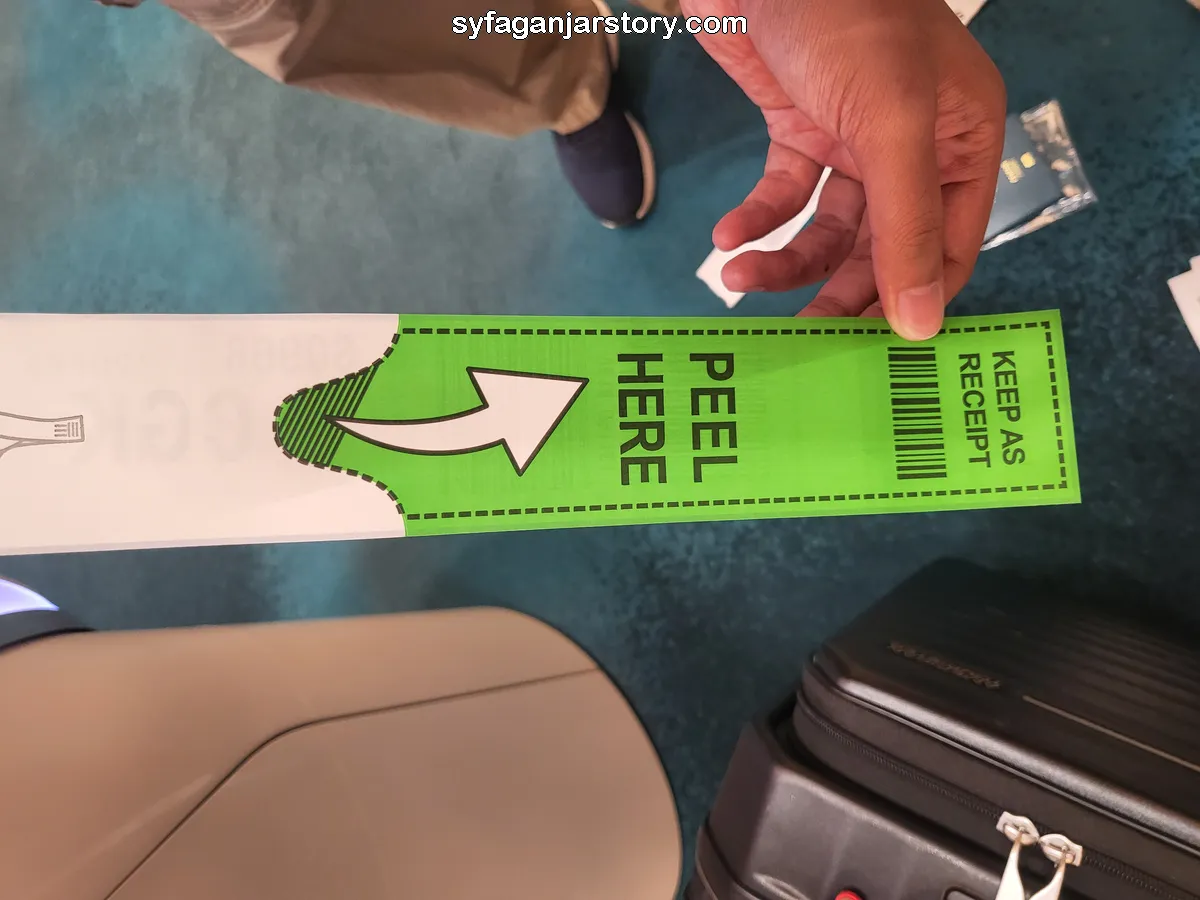
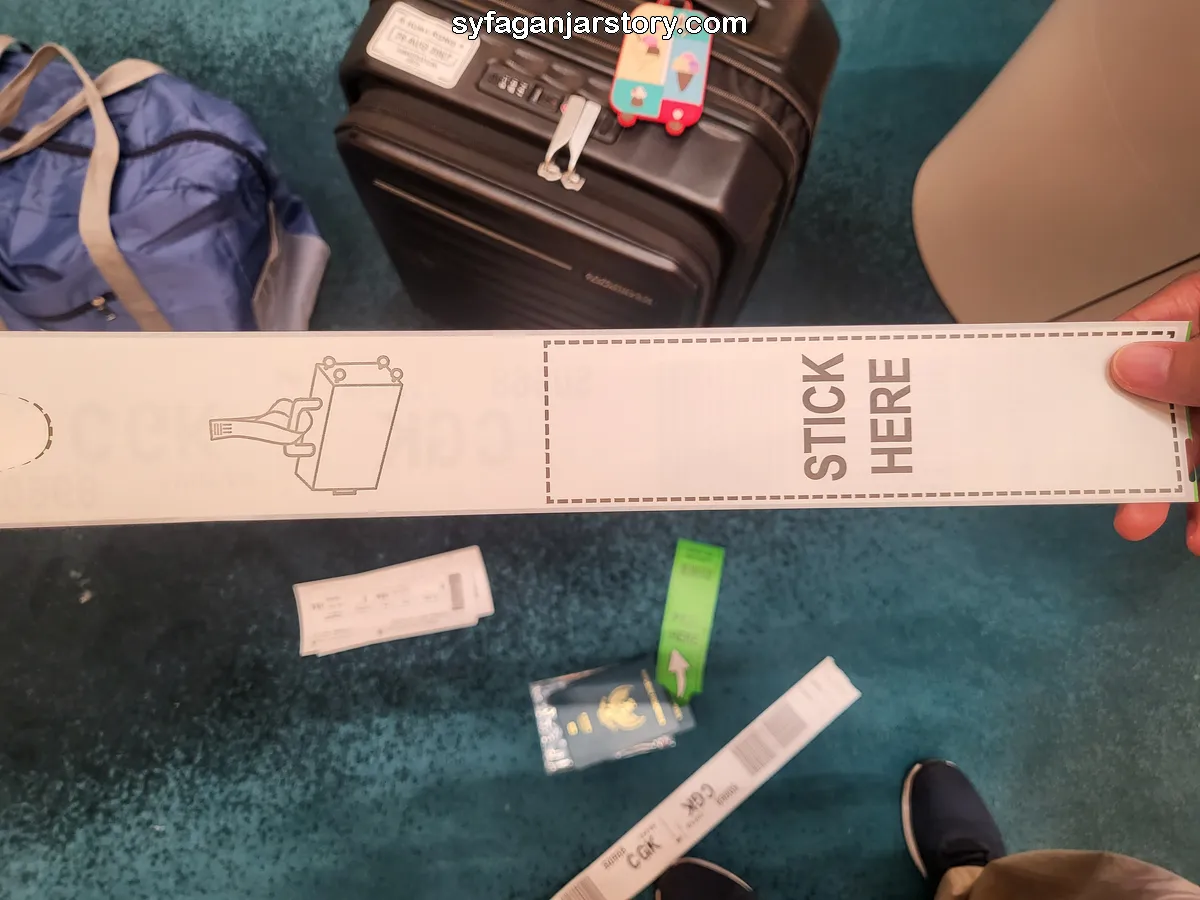
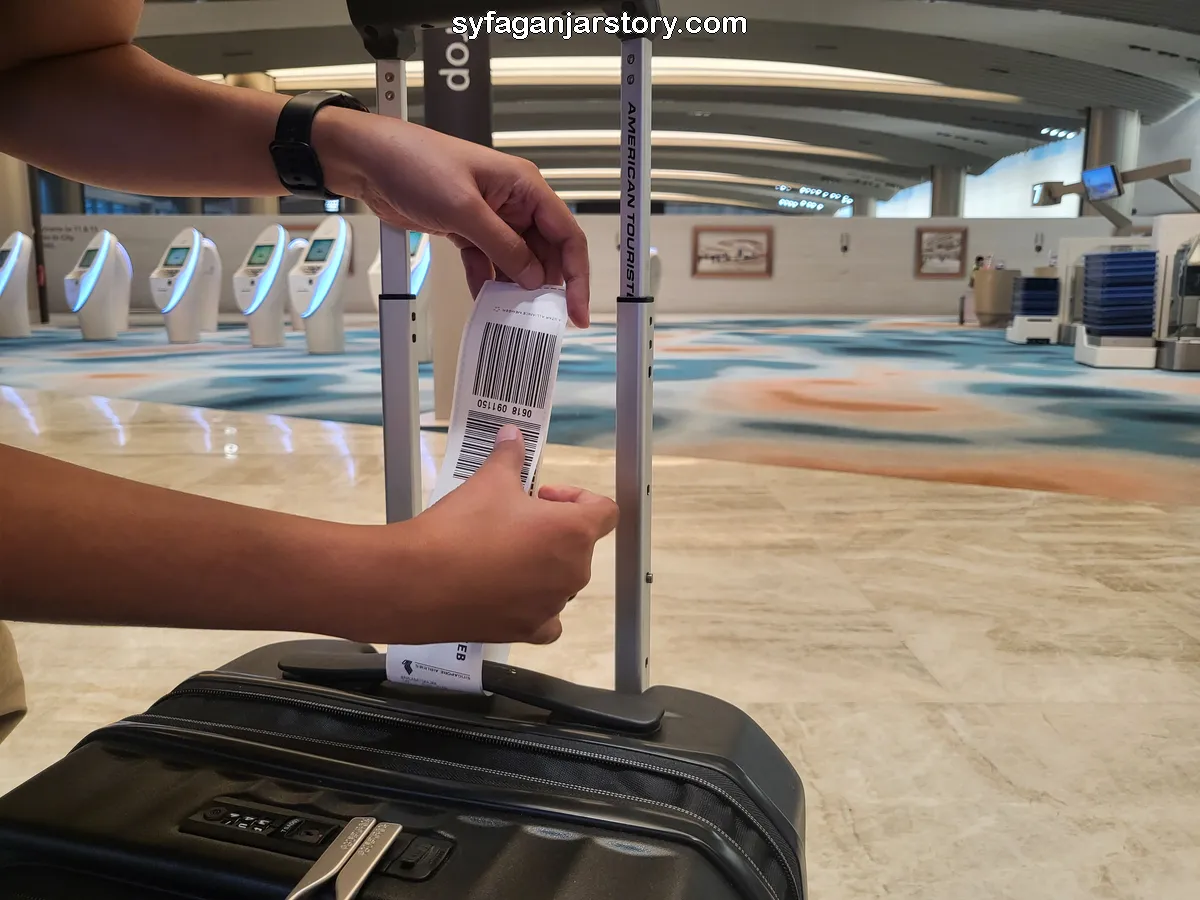
Proceed by placing the bag tags on the handle of your suitcase or carry-on strap. Locate the sticker with the instruction "Peel Here", remove the protective layer, and apply it to the area indicating "Stick Here". Make sure you execute this process carefully to ensure the sticker is attached properly.
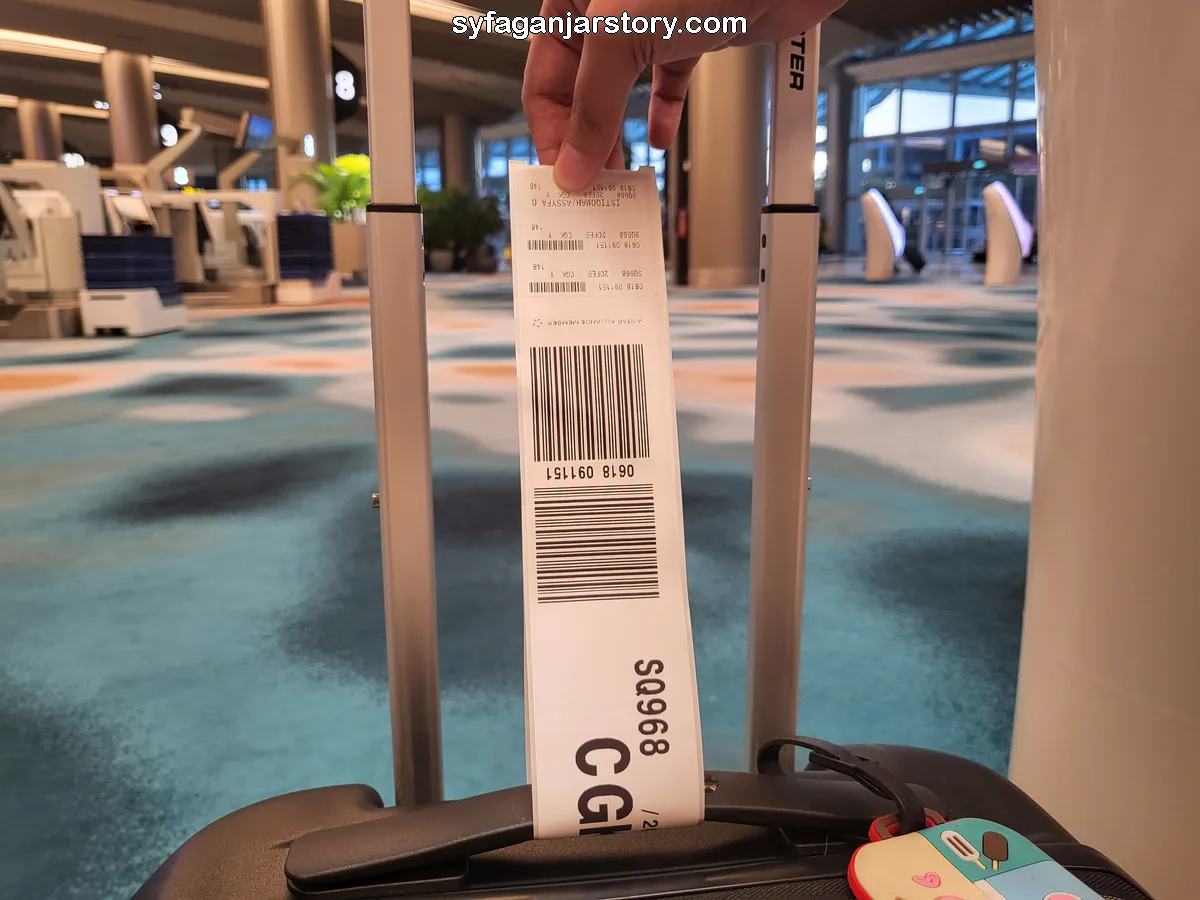
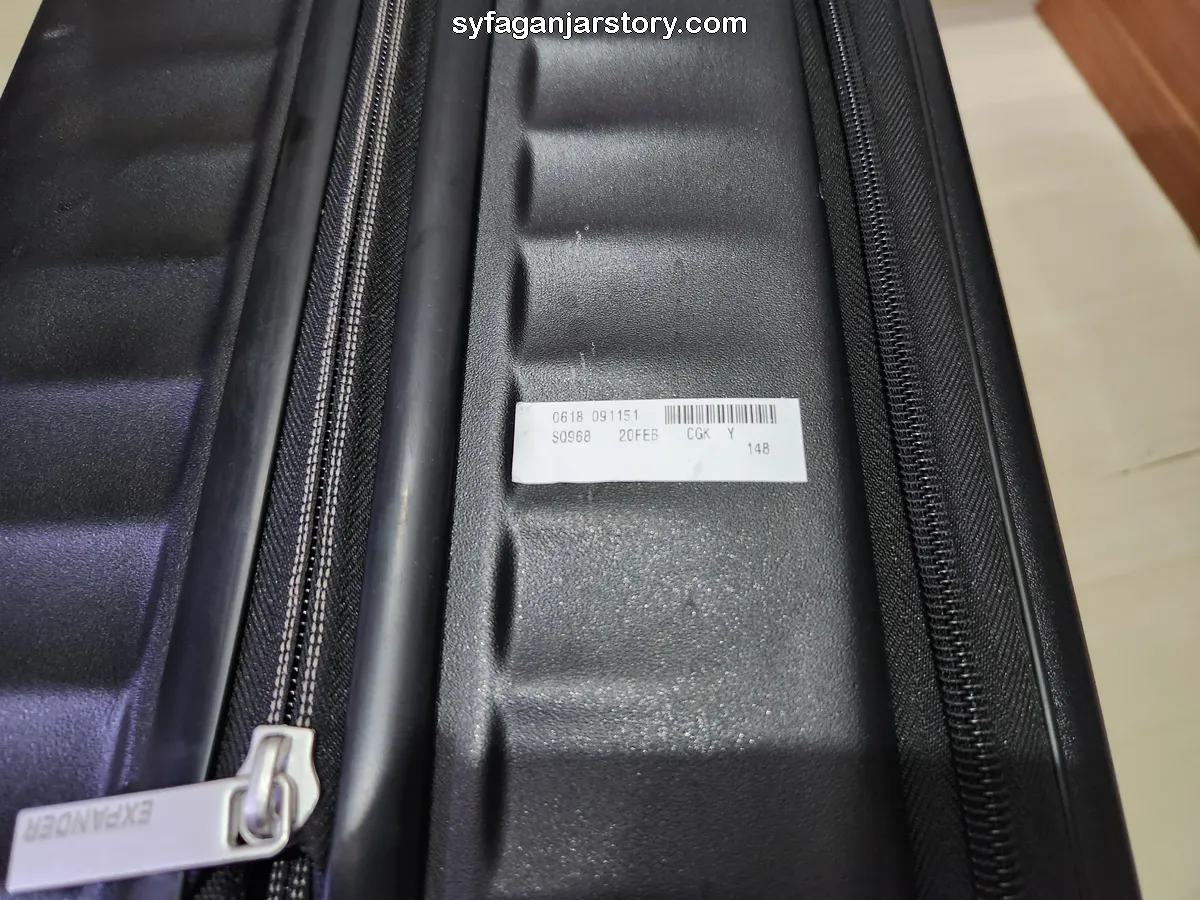
Located at the end of your bag tags, you'll find small stickers carrying your barcode and flight code. Remove these stickers and apply them onto various parts of your suitcase or bag.
The purpose of these smaller stickers is to assist in identifying your baggage if the main bag tags were to get damaged, detached, or become unreadable.
Once you've fixed bag tags on all your suitcases and bags, you're ready to proceed to the bag drop machine. Each passport holder must individually execute this process due to a facial scan required when scanning the passport.
This fact dawned on me when my wife tried to load my luggage. As it happens, the machine rejected the attempt due to a mismatch between the face on the passport and the person being scanned. So, each passenger must personally carry out this process as representation isn't permitted. So, let's proceed with the steps:
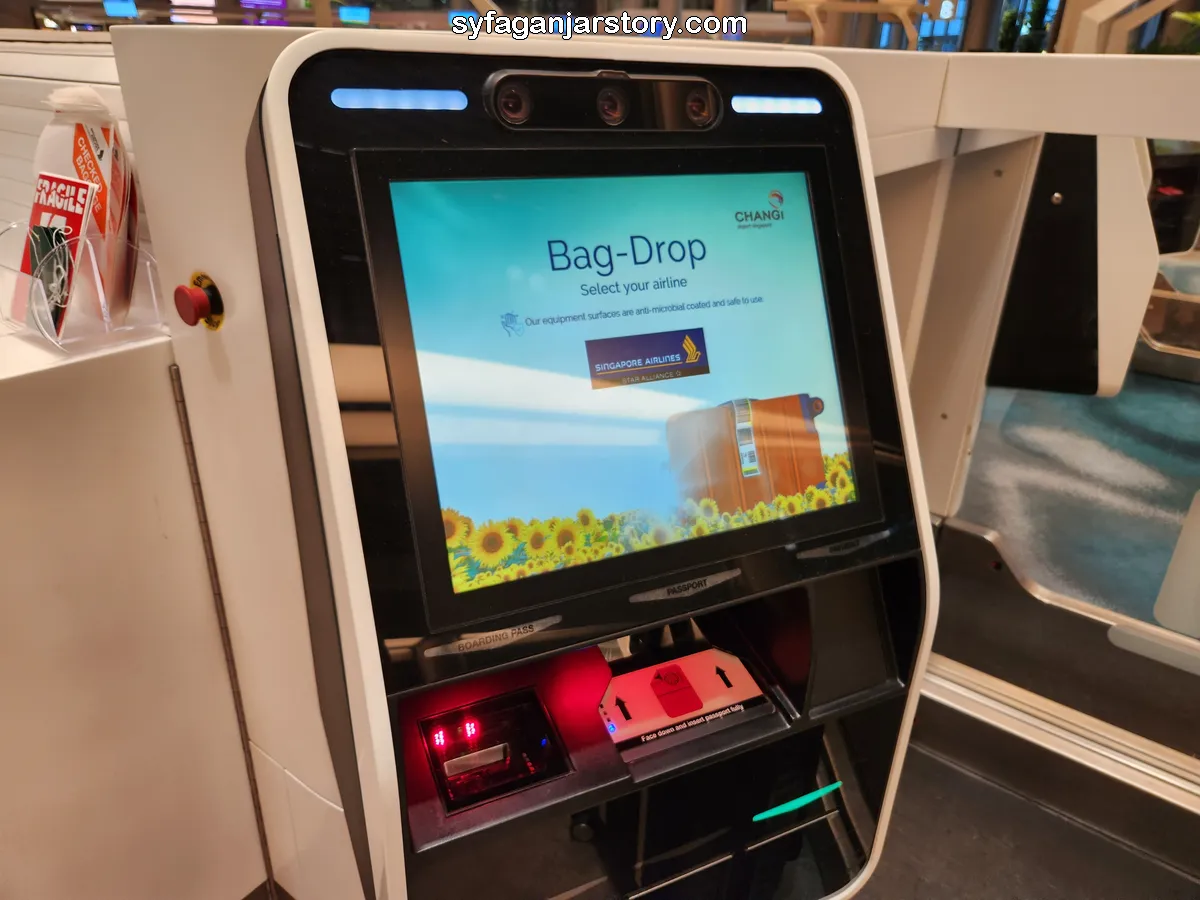
To start with, select your airline. Next, choose your preferred language. The language options are the same as those on the check-in device.
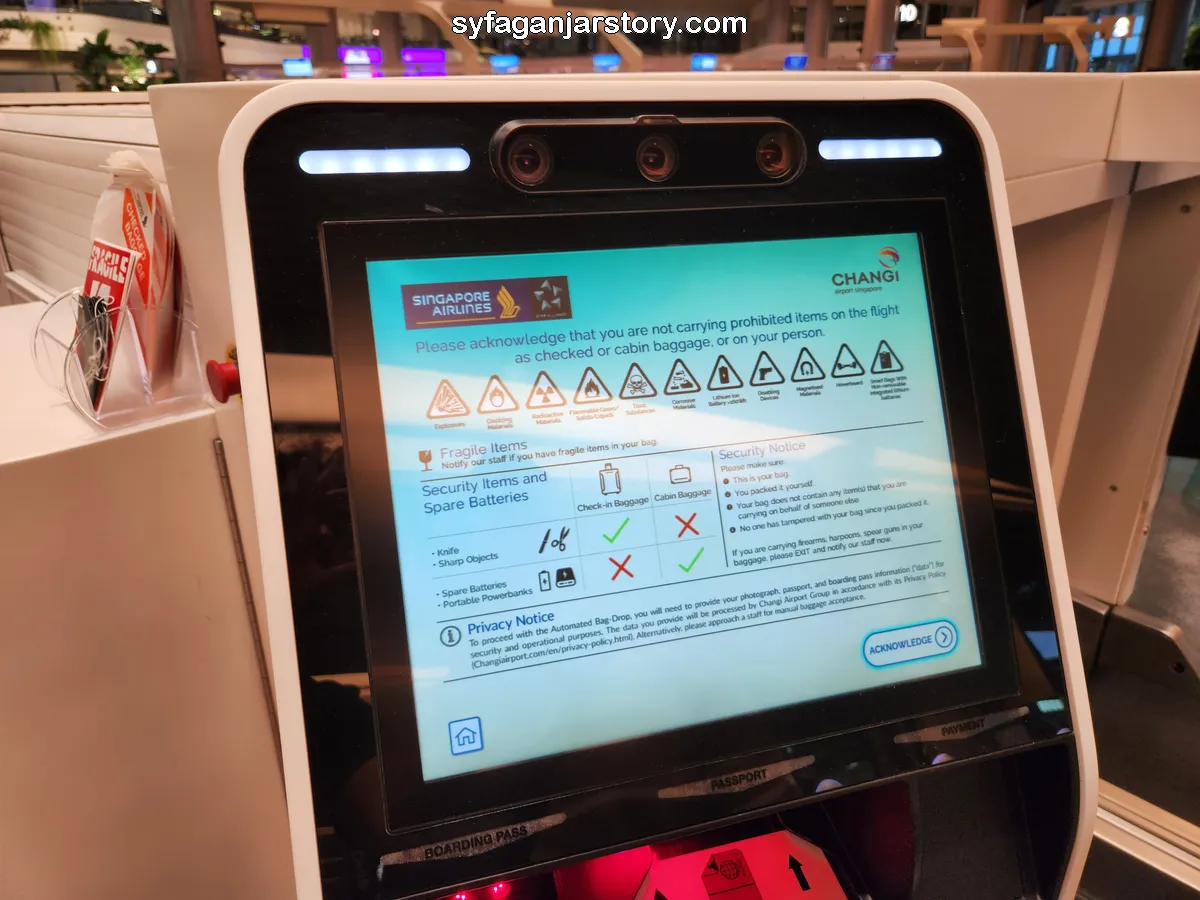
The following page requires you to confirm that your luggage doesn't contain any prohibited items. To be sure, refer to the list of prohibited items shared earlier.
This page emphasizes two categories of items. First, sharp objects like knives and scissors are forbidden in the cabin but permissible in checked luggage. Conversely, power banks are allowed in the cabin but banned from checked luggage. Once you've read and understood the information, click the "Acknowledge" button.
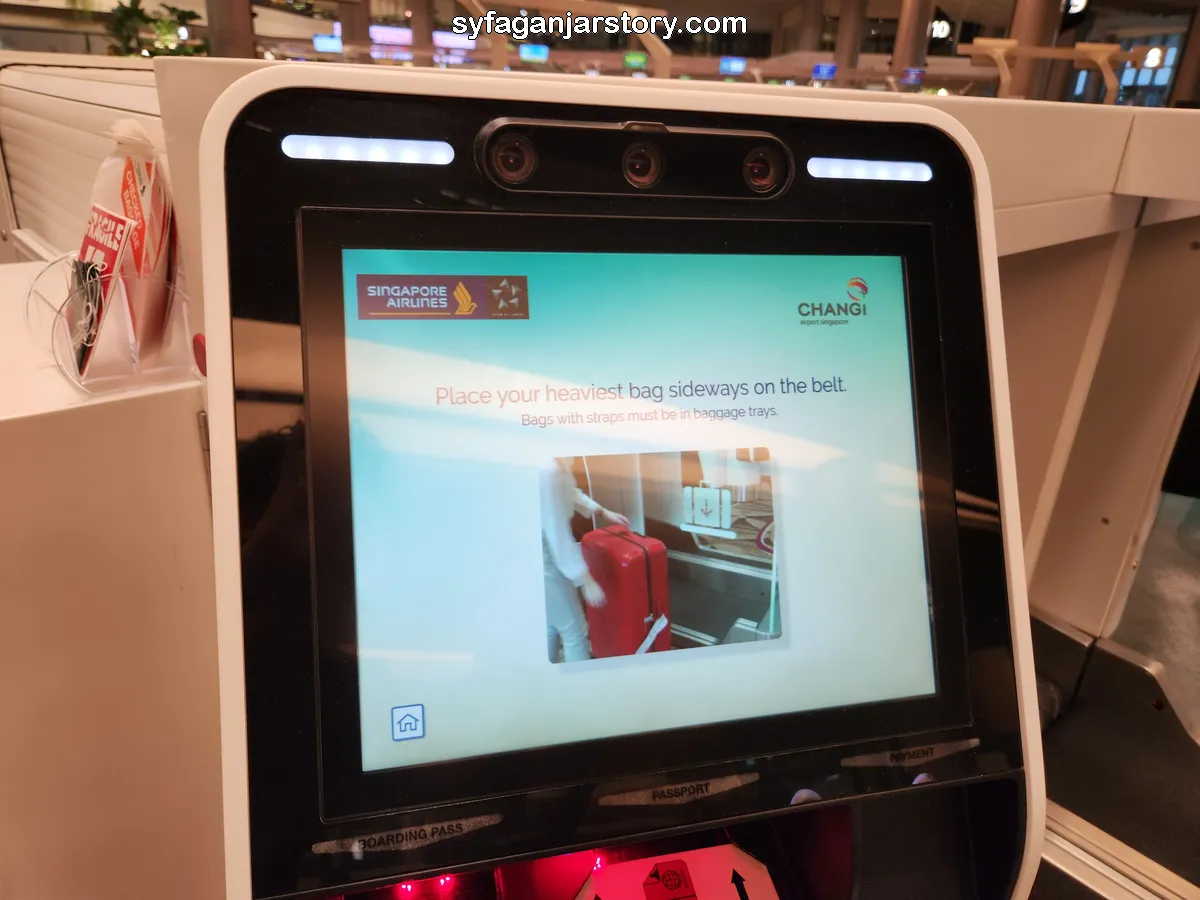

Next, place your luggage on the conveyor belt. Your suitcase should be positioned on an incline, not lying flat. Refer to the provided image for an example of correct suitcase positioning.
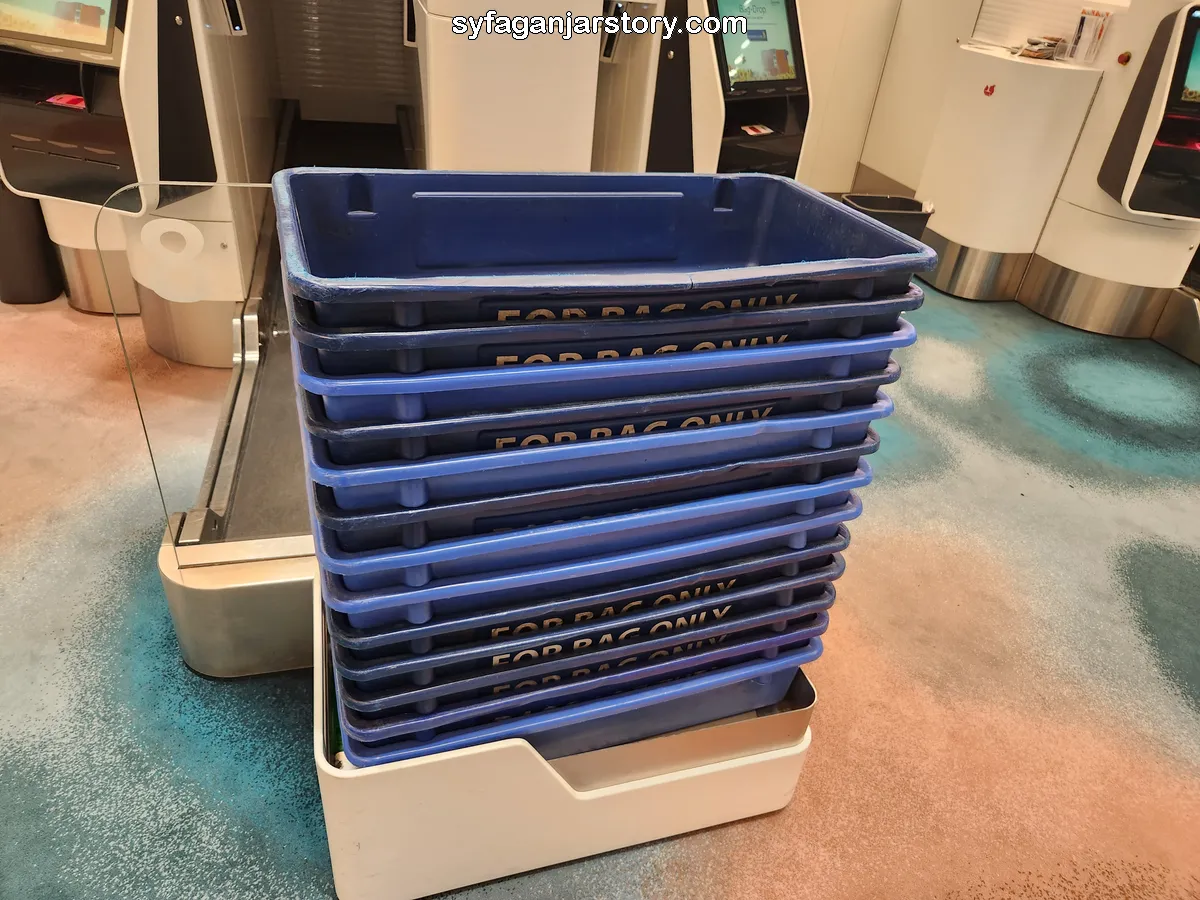
If you have a bag or any item with a strap, use the tray provided. Position the tray on the belt, then place your bag in the tray. Don't place the bag directly on the belt without the tray.
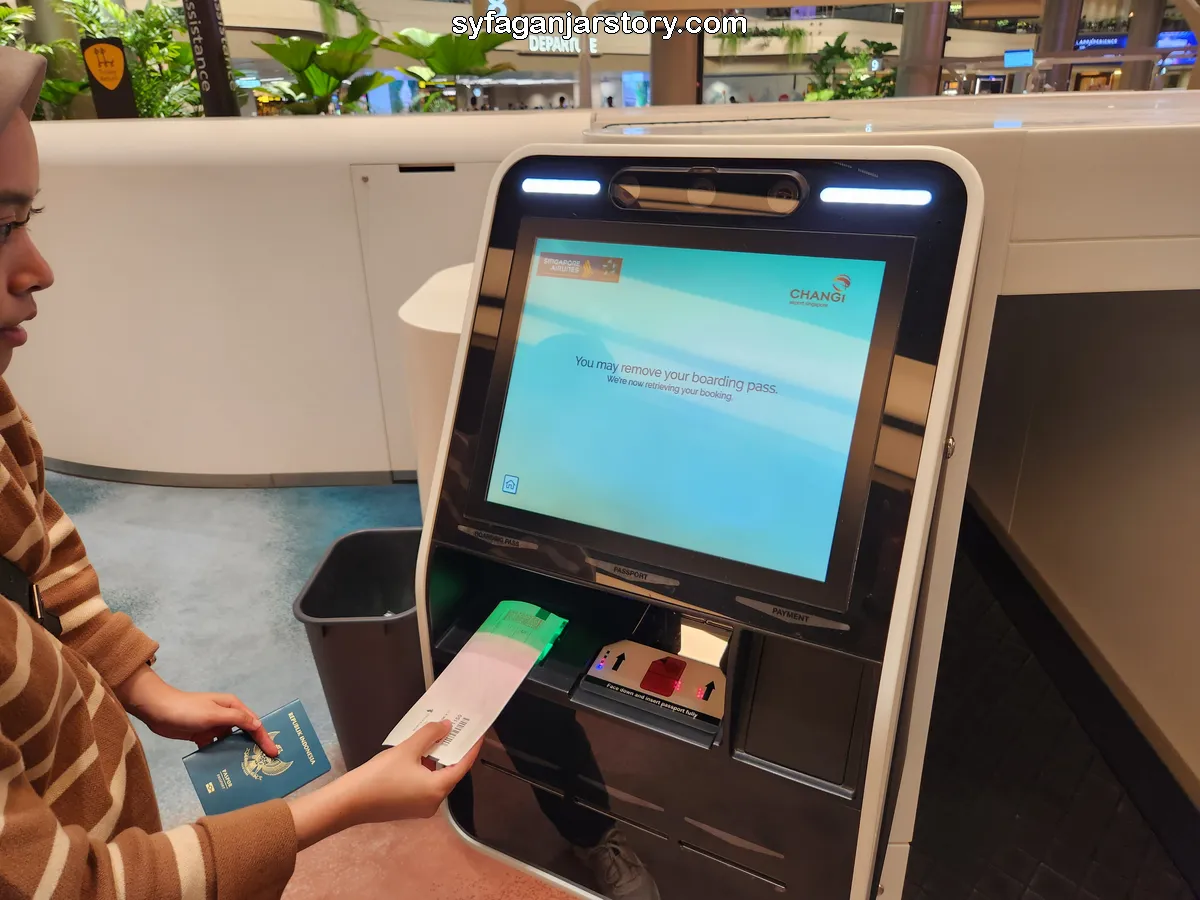
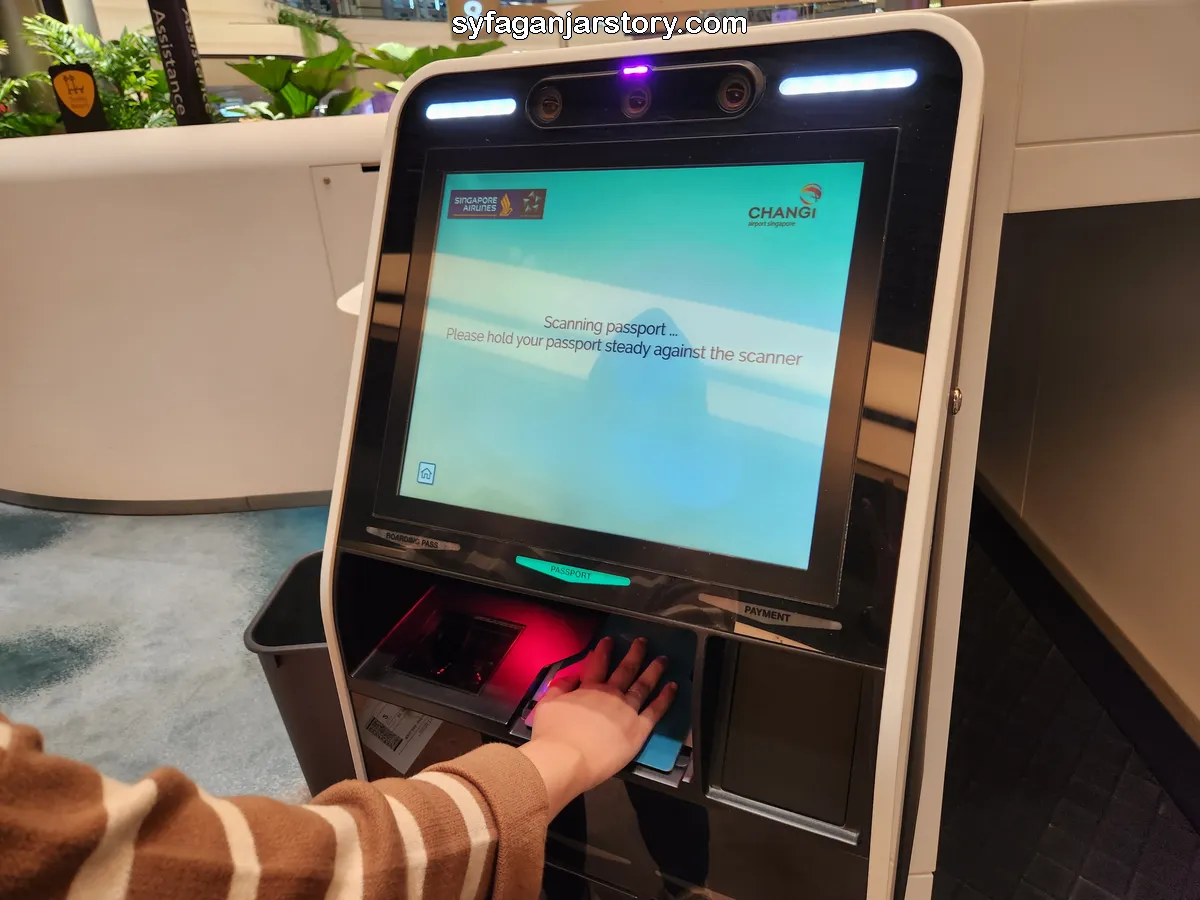
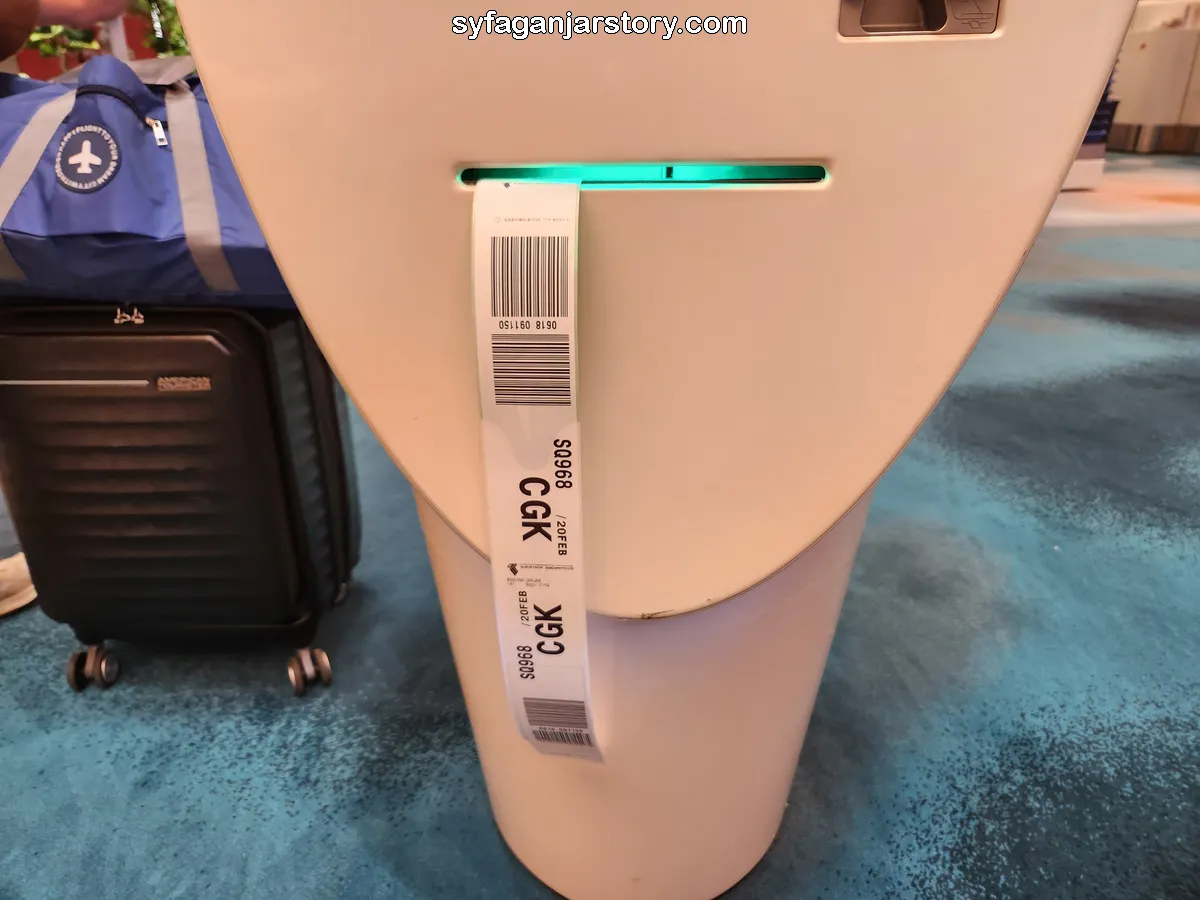
Now, scan your boarding pass by placing it barcode-first into the scanner situated at the bottom left of the screen. After successful scanning, you'll be prompted to scan your passport using the adjacent scanner.
Simultaneously, ensure you're looking at the camera located above the screen. This process verifies that the individual standing in front of the machine corresponds to the passport photo.
After a brief moment, an on-screen notification will indicate when to remove the passport from the scanner. Do so and proceed to the next step.
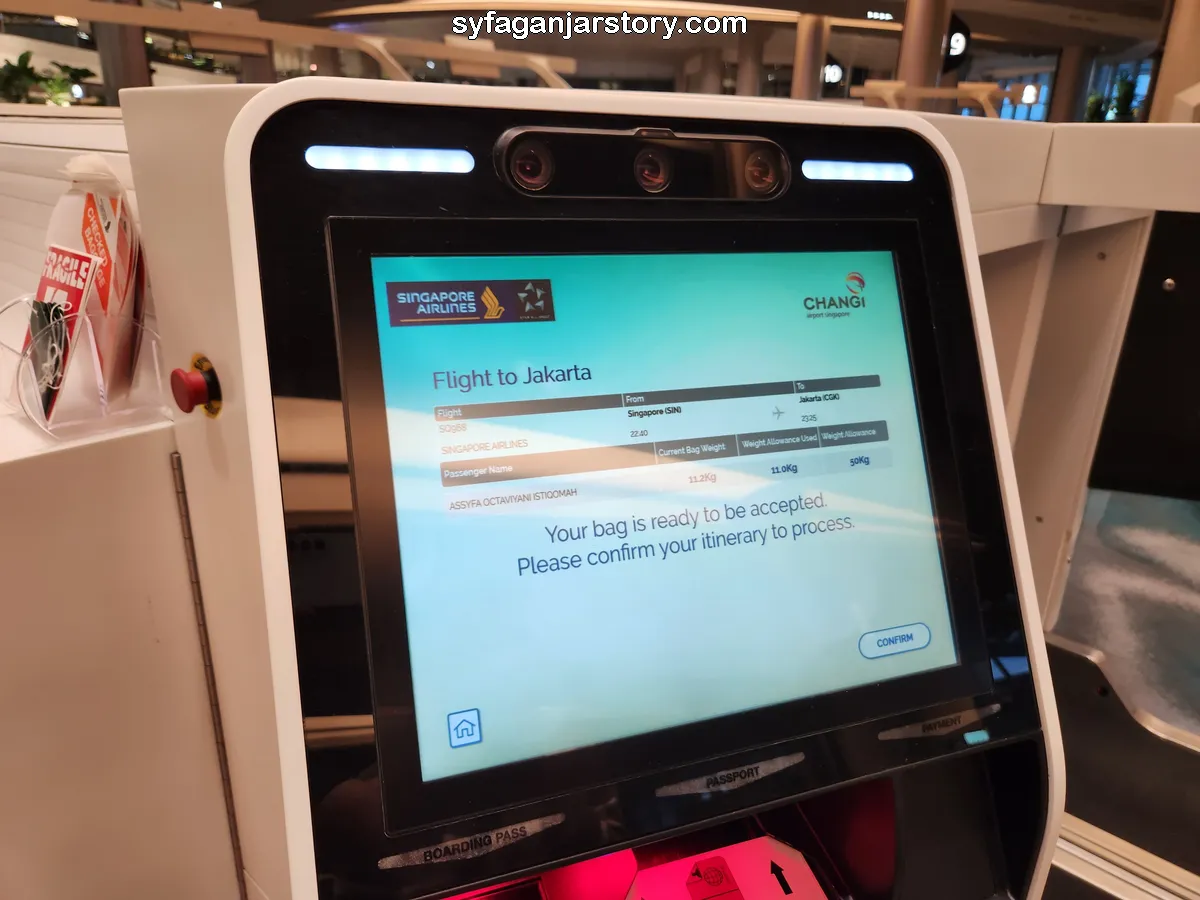
The subsequent screen will display your flight data, such as flight numbers, airline, and destination airports. Additionally, it will show the passenger's name, the weight of the baggage entered, and the maximum permissible weight.
Once you've confirmed all the details are correct, click the "Confirm" button. Your luggage will then be automatically taken and loaded onto the conveyor belt. Make sure to stand clear of the belt during this process to avoid interfering with the baggage identification process.
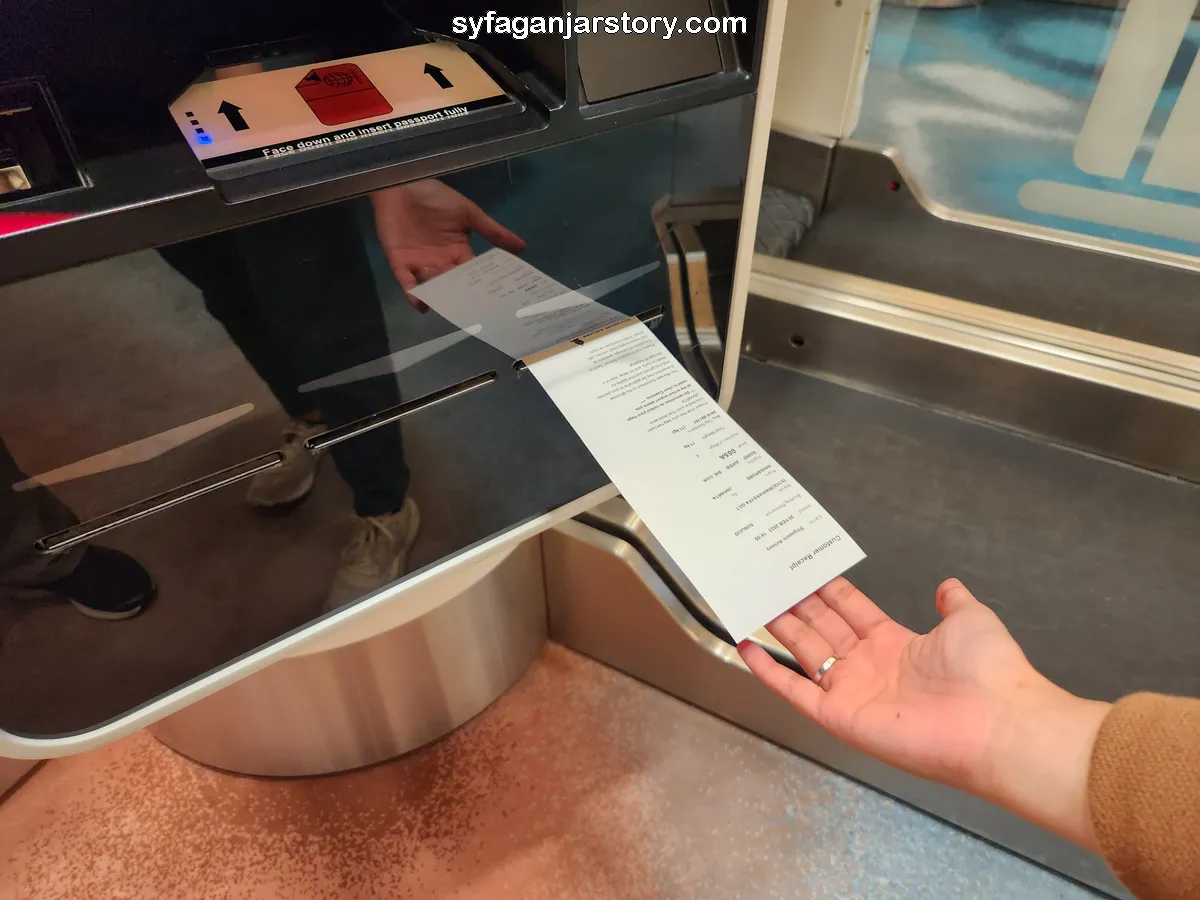
Upon the successful insertion of your suitcases and bags, the bag drop machine will issue a receipt containing pertinent details about your baggage. Take the receipt and keep it in a safe place as it might prove useful later.
With the bag drop process now complete, you can head directly to the immigration area. It's simple, isn't it? If you're checking in multiple suitcases or bags, just repeat the steps outlined above for each item.

This is the clearest and most complete info on the kiosks I've found so far. It answers all my queries. Thank you so much!
Thank you for being here!!! Happy traveling! <3